Marteau reflexe electronique - electronic reflex hammer
thingiverse
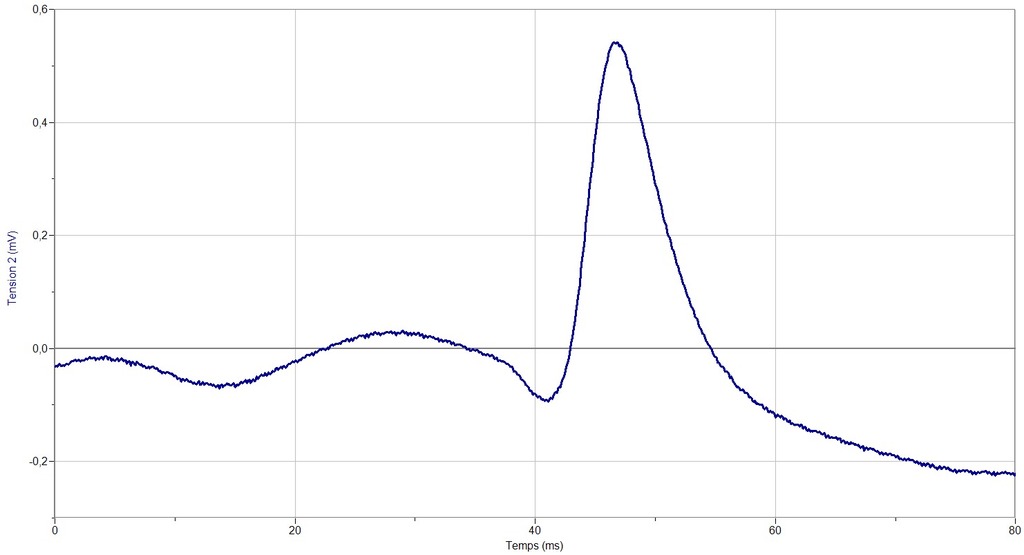
Electronic Reflex Hammer for Performing Experiments on the Myotatic Reflex in EXAO (Computer-Assisted Experimentation). The hammer produces the stimulus and triggers the measurement. Another sensor (ECG type) is needed to record the electromyogram. Required Material: - A 3D Printer: Print the "Marteau Reflexe 3.0" file (1) - A Push Button Switch r1396 (2) - A Cap for Push Button Switch r1396 (3) - Two PJP Cords 1m (4) - OFC Stereo Cable for Microphone MIC206BK (5) - Fishing Weights (for weighing the hammer) (6) - Thermally Contractible Sheath Assembly Instructions: 1. Print the "Marteau Reflexe 3.0" file. Note: I use a RAISE N1 printer with the following settings: Speed: Rapid 50 mm/s Filament thickness: 0.25 mm per layer Infill: 10% Presence of raft (1) and support (2) The impression takes about 5 hours. The hammer structure consists of three parts: the "handle" (3), a "head" (4) where the switch will be fixed, and a "base" (5) that will serve to weigh the hammer. 2. Place the cap on the push button switch r1396. 3. Fix the push button switch r1396 to the "head" of the reflex hammer. 4. Solder the PJP cords to the OFC stereo cable for microphone MIC206BK. Do not forget the thermally contractible sheaths! 5. Pass the micro cable through the "handle" of the reflex hammer. 6. Solder the micro cable to the push button switch. 7. Place a little parafilm around the "head" of the reflex hammer (this will allow for easy removal in case of a problem). 8. Insert the "head" of the reflex hammer into the handle. 9. Fill the base of the reflex hammer with fishing weights, apply strong glue and insert it into the handle of the reflex hammer.
With this file you will be able to print Marteau reflexe electronique - electronic reflex hammer with your 3D printer. Click on the button and save the file on your computer to work, edit or customize your design. You can also find more 3D designs for printers on Marteau reflexe electronique - electronic reflex hammer.
