Marker Lights for night time RC flying
thingiverse
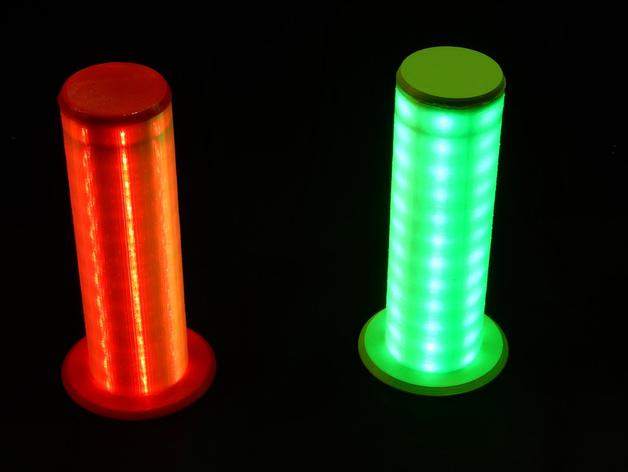
These were engineered for designating landing zones at night for RC aircraft enthusiasts. The outer case is made from transparent PLA material. Internally, a pillar (refer to third photo) holds six strips of LED lights in place. Power can be drawn from either two or three cell lithium polymer batteries. View instructions for required parts and assembly process. Assembling this product requires basic gluing skills and familiarity with connecting electrical wires and powering LED light strips. Parts list: 1) STL files for the 3D components 2) Six long LED strips, each around seven inches 3) Thin wiring material, such as magnet wire 4) Two-wire connectors that match your LiPo battery plugs 5) Two or three cell lithium polymer batteries 6) Adhesive epoxy Assembly process: 1) Use translucent plastic for the outer case 2) Place the LED strips in their designated clips on the Internal-thinner strips column. Connect the wires from the strips together with thin connecting wire, then attach them to the plug. 3) Glue the LED Column to the Base while ensuring a ninety-degree angle. 4) Fit the Top Centering Ring onto the top of the LED Column around one to two inches below the top edge and secure with epoxy. 5) Put the Outer Case over the LED Column and onto the Base and attach using adhesive epoxy.
With this file you will be able to print Marker Lights for night time RC flying with your 3D printer. Click on the button and save the file on your computer to work, edit or customize your design. You can also find more 3D designs for printers on Marker Lights for night time RC flying.