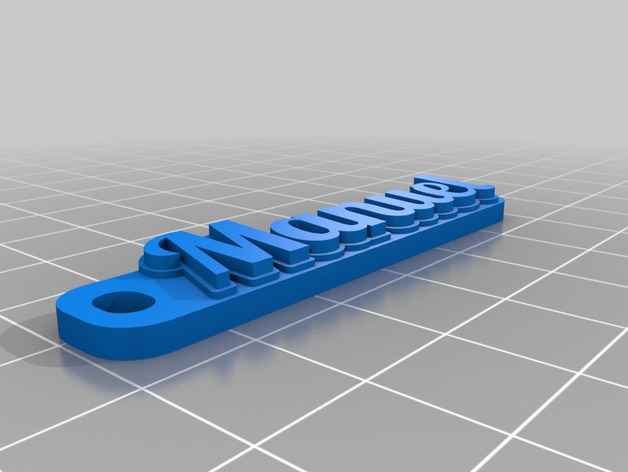
Manuel
thingiverse
Manuel Designed a Unique Customized Version of Thingiverse's http://www.thingiverse.com/thing:739573. This Innovative Model Was Created with the Powerful Customizer App Found at http://www.thingiverse.com/apps/customizer/run?thing_id=739573. To Bring Your Custom Creation to Life, Simply Use the Following Settings: - Set Font Weight to 0. - Choose a Writing Direction of Left-to-Right. - Utilize Extruder2 for Text Generation. - Set Bar Shift to 0. - Designate Extruder2 for Border Production. - Select a Font Size of 12. - Adjust Character Spacing to 1. - Configure Bar Thickness to 2.4. - Determine Outer Margin Width to Be 1. - Choose a Vibrant Bar Color - Khaki. - Set the Selected Extruder to Monochrome. - Assign Extruder1 as the Primary Bare Font Outputter. - Opt for Black as Border Color. - Round Out Fonts with Rounded Edges and No Widen Style. - Ensure Font Narrow Widening Is Set to 0. - Optimize Ruler Unit to Display Measurements in Decimals of 10. - Combine Glyphs at a Rate of 25%. - Select the Classic Lobster Font for Maximum Impact. - Incorporate Lugs in Plate Style and Distance Text by 2 Units. - Highlight Your Message with Dark Red. - Set Border Width to Zero, But Enlarge Outline Thickness to 3.0 Units. - Define Minimum Color Layer Depth at 0.6 Unit Thick. - Arrange Lines of Text 1.4 Units Apart. - Implement the Effective Bar and Glyph Coalesce Strategy. - Specify Lug Size and Shape as Plate Lugs with a Length of 5 and Width of 4. - Configure Outline, Border, and Bar Outputs via Extruder1, Customized by Settings. - Optimize Your Display to Best Match Your Design Aesthetic
With this file you will be able to print Manuel with your 3D printer. Click on the button and save the file on your computer to work, edit or customize your design. You can also find more 3D designs for printers on Manuel.
