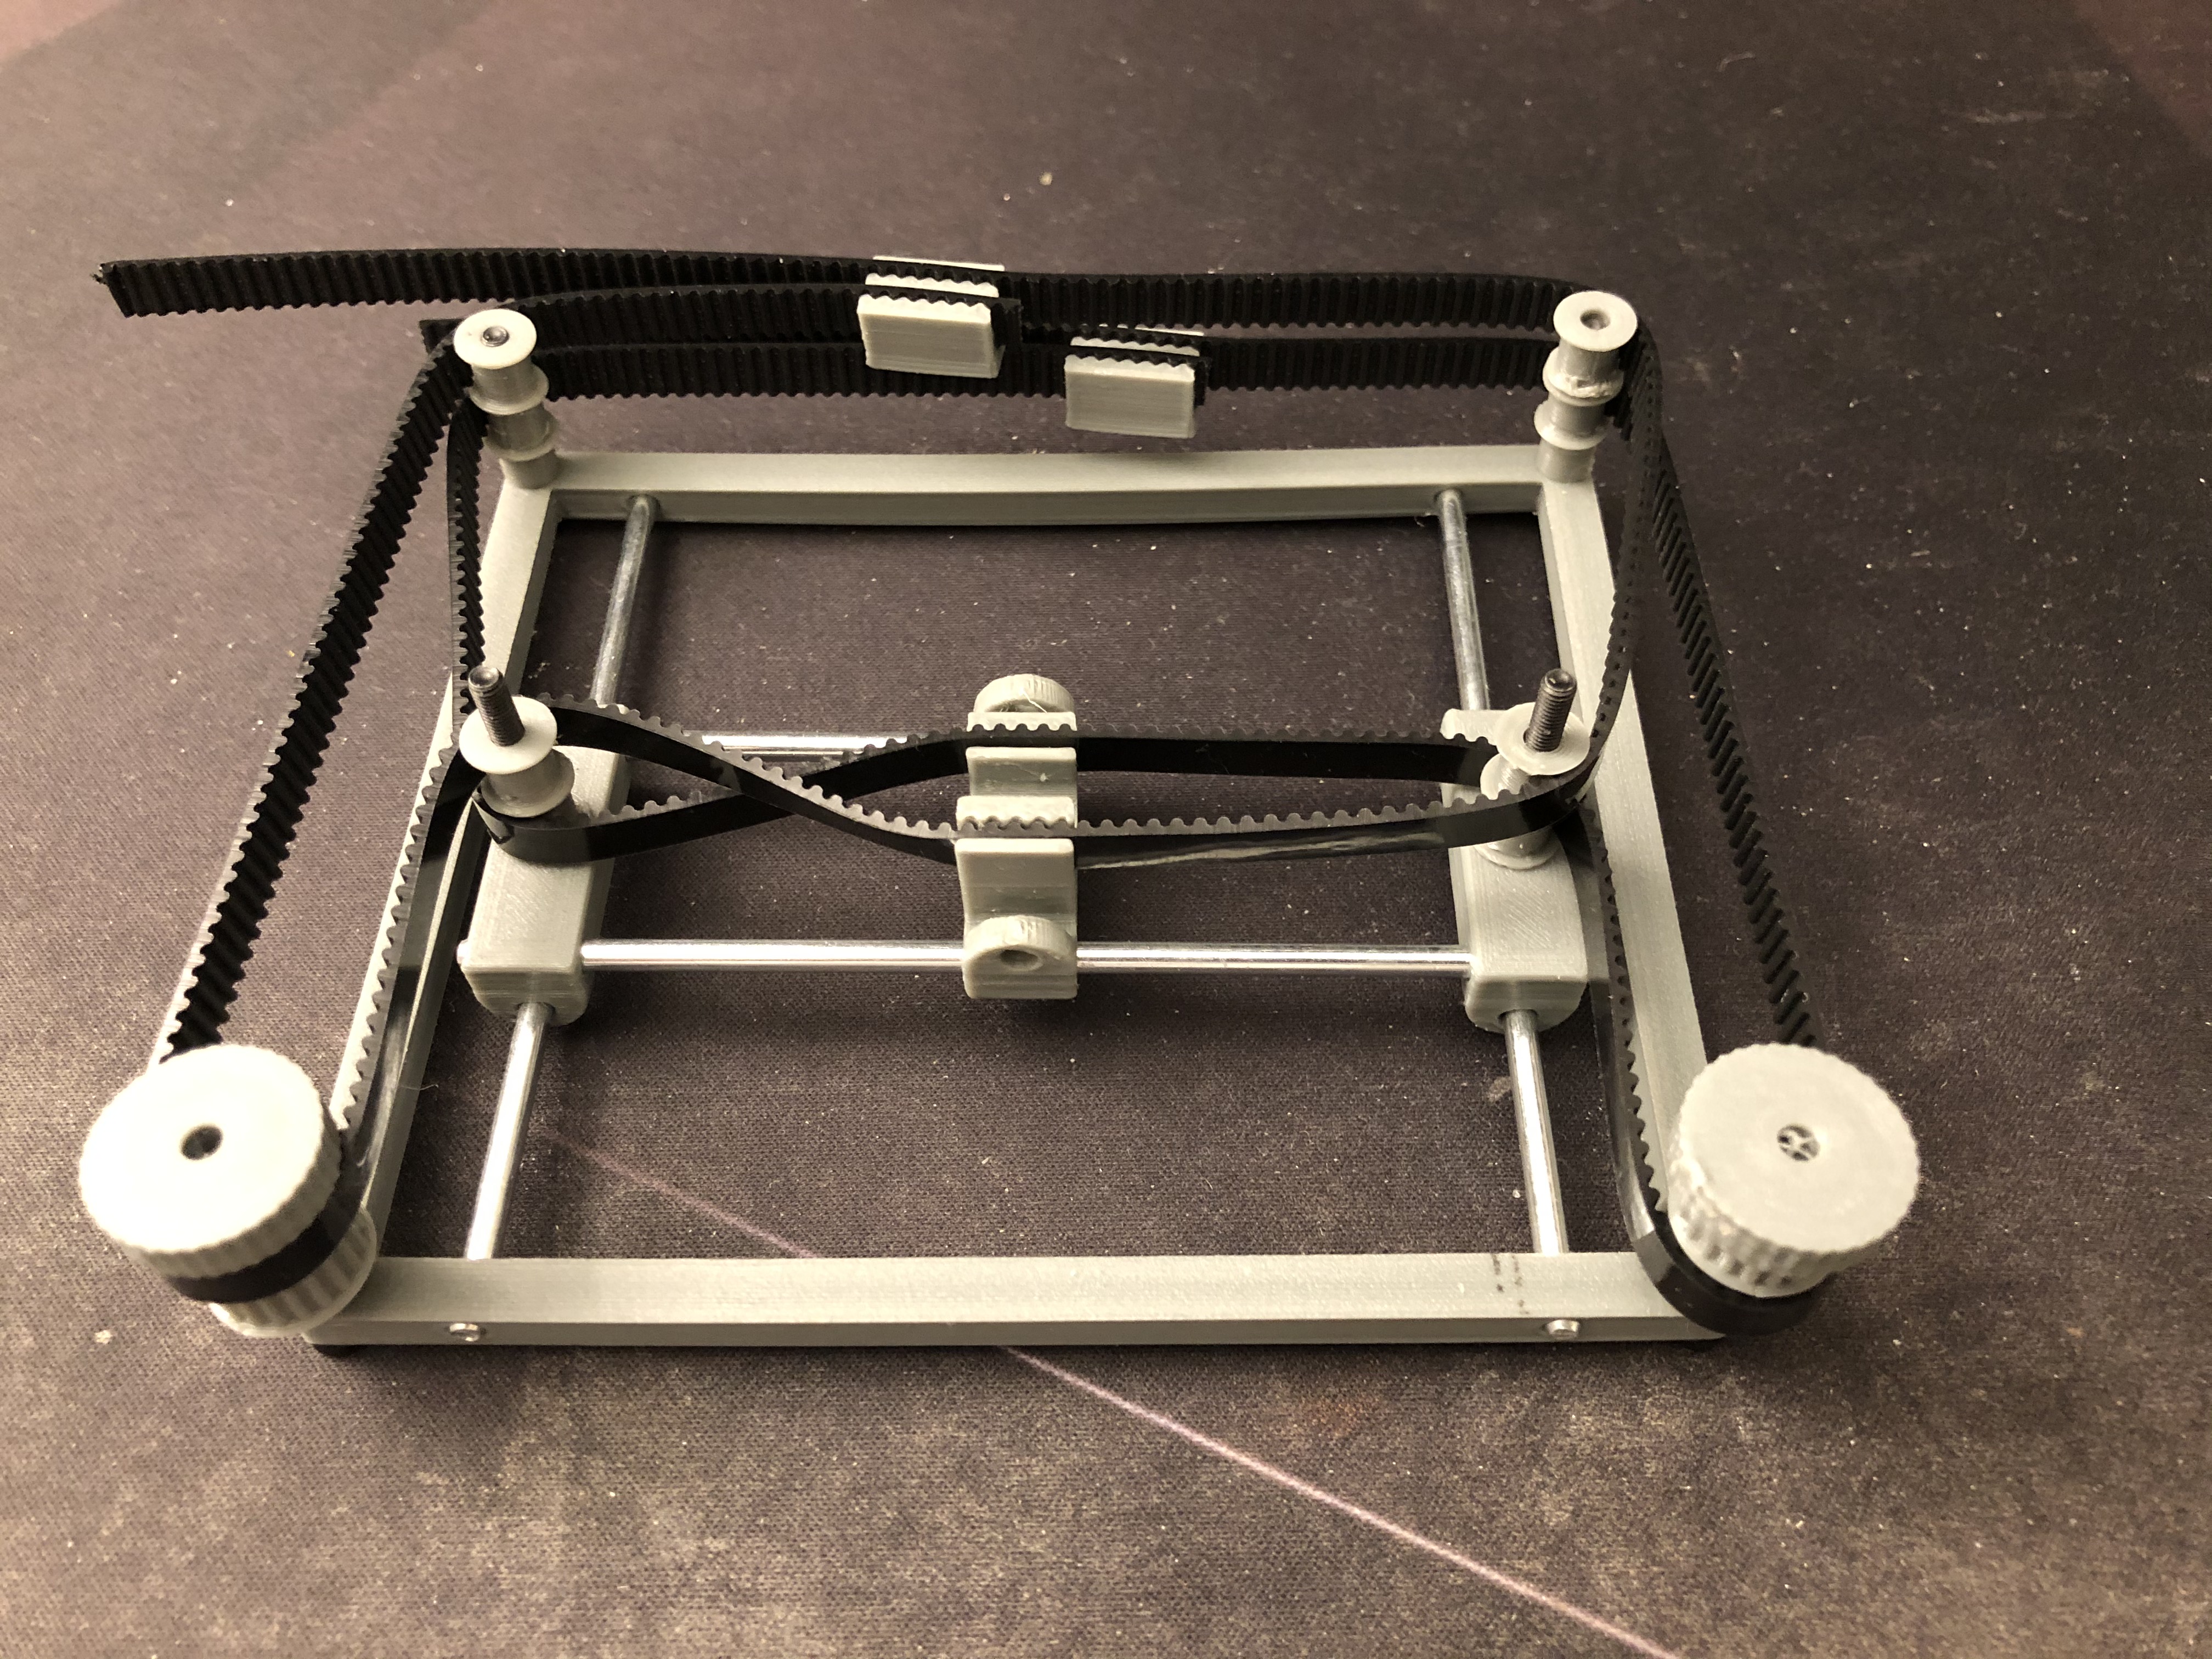
Manual CoreXY Mechanism
prusaprinters
<p>This is a small, inexpensive (<$10) CoreXY mechanism which illustrates how CoreXY works. When the user turns the two knobs in the same direction, the X axis moves. When in opposite directions, the Y axis moves. This is purely for illustration purposes, there is currently no attachment for a pen or pencil (nor laser nor extruder). However, the concepts learned from this can lead to scaling up and improvements and the addition of stepper motors.</p> <p>Required:<br/> 4 x 3mm by 100mm aluminum rods (or other material may work)<br/> 1m GT2 timing belt 6mm (this is overkill, a thinner belt should work)<br/> 6 x 3mm x 25mm (or longer) screws<br/> To print:<br/> 1 x Inner bearing<br/> 2 x Outer Bearing<br/> 1 x Frame<br/> 4 x Spacers<br/> 8 x Spindles<br/> 2 x Control knobs<br/> Optional:<br/> 2x Belt Connectors</p> <p>I used PETG but any material should work.<br/> I used 20% infill but use 65% to be sure, it doesn't take much longer to print.</p> <p>Here is a video of it working: <a href="https://youtu.be/tElMsCfxDCs">https://youtu.be/tElMsCfxDCs</a></p>
With this file you will be able to print Manual CoreXY Mechanism with your 3D printer. Click on the button and save the file on your computer to work, edit or customize your design. You can also find more 3D designs for printers on Manual CoreXY Mechanism.
