Manta MK2 CR Touch Mount Center Mount
prusaprinters
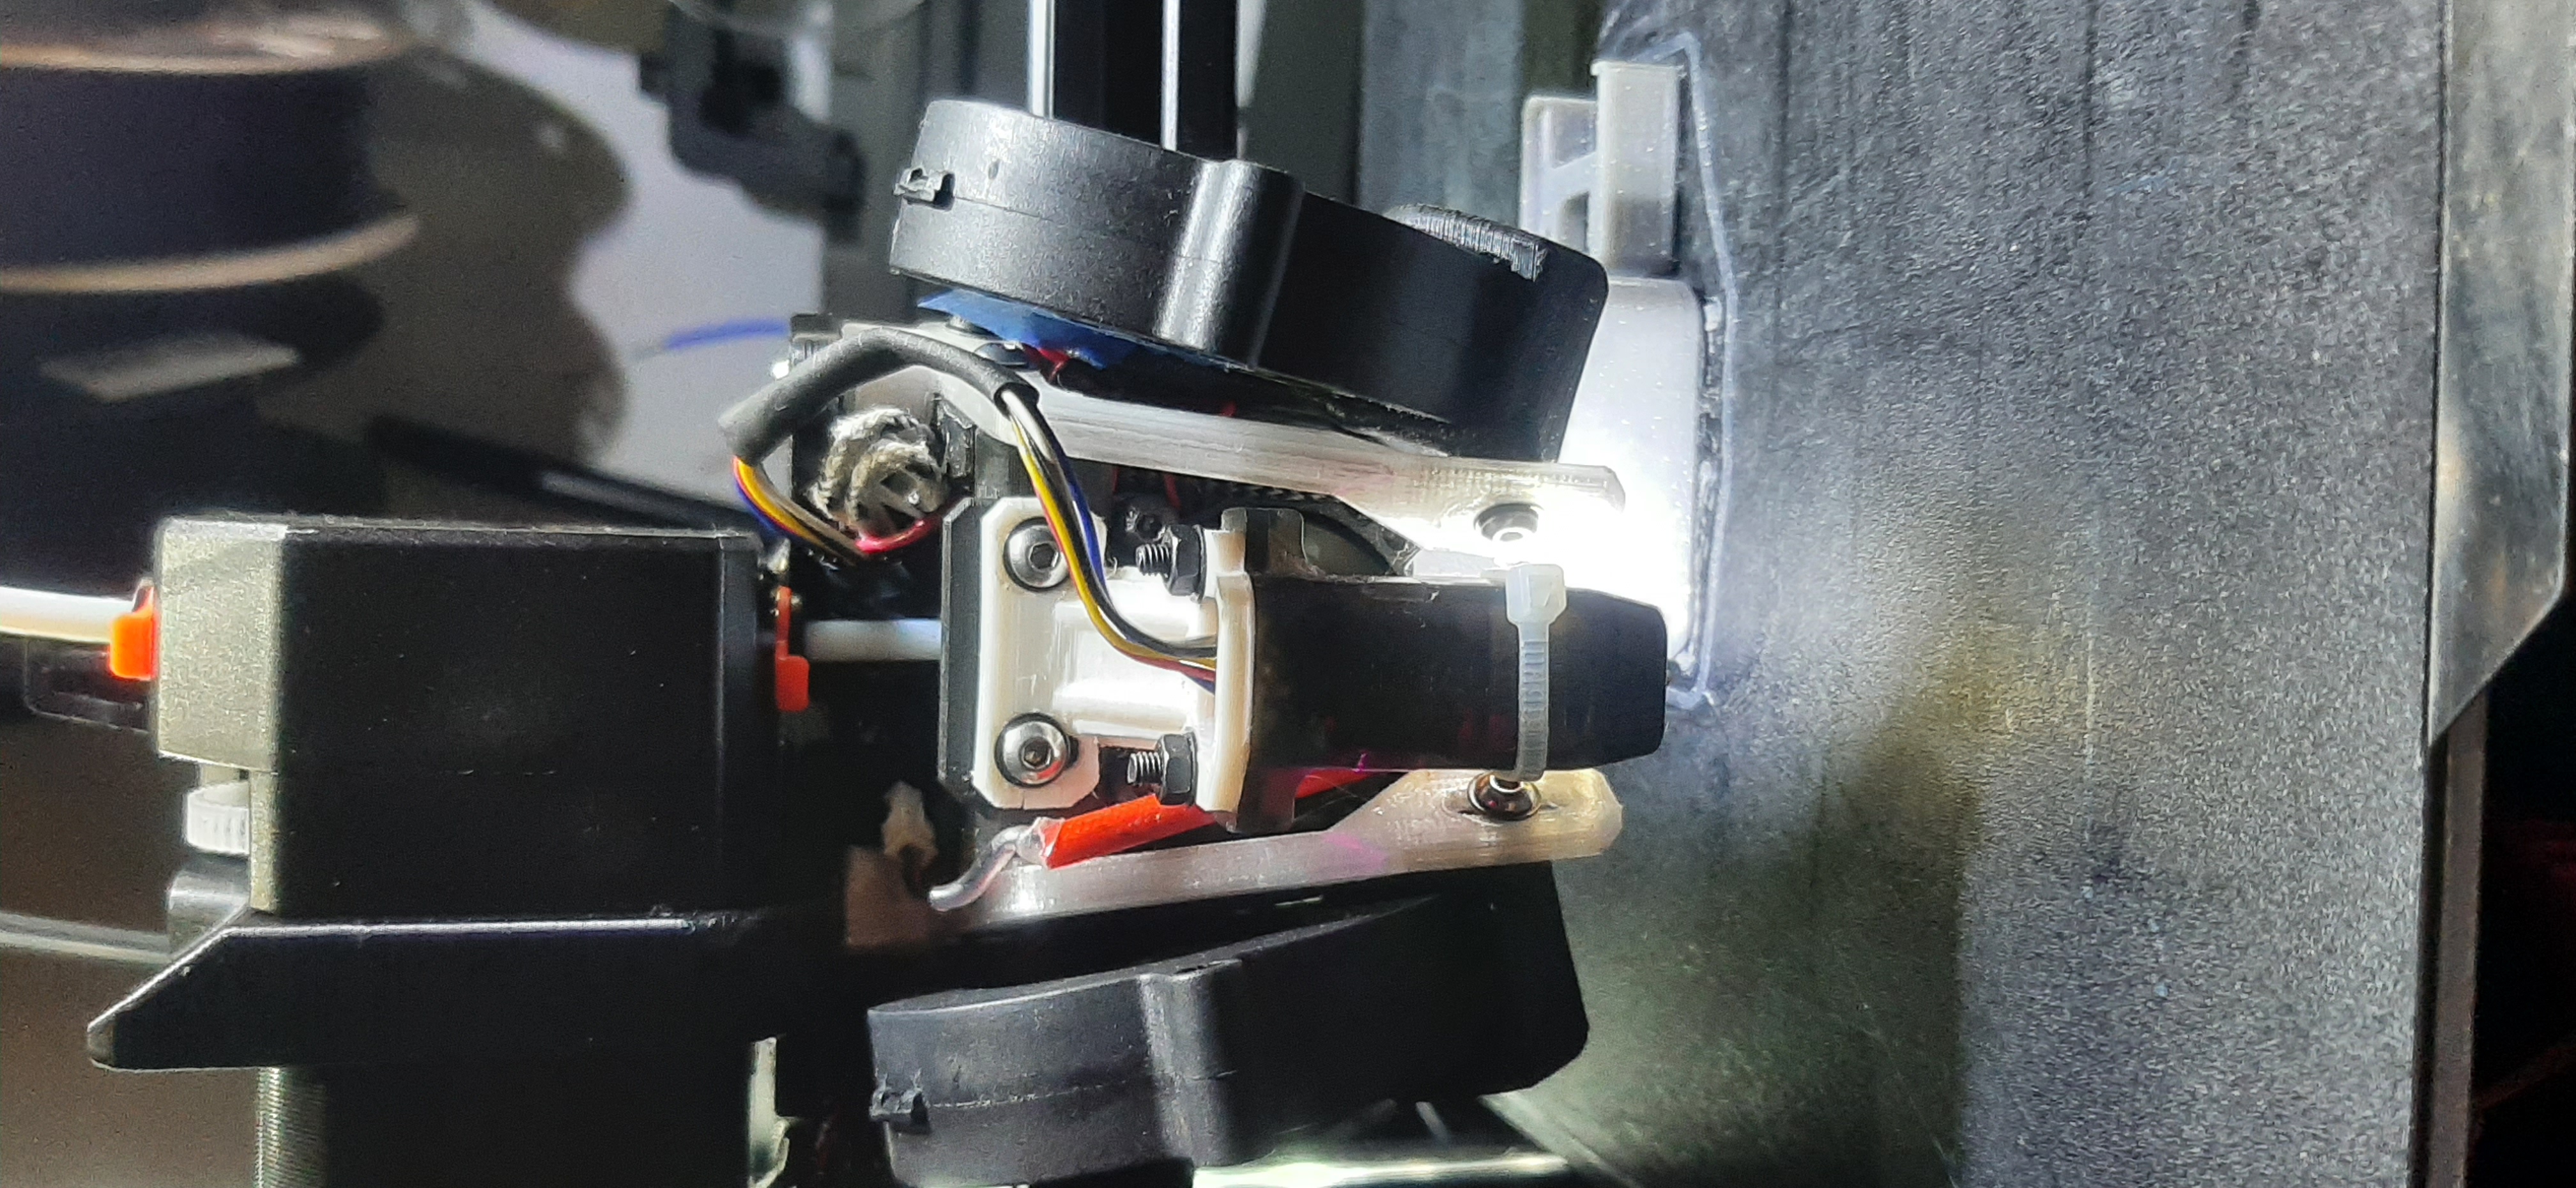
<p>When making the bracket try using petg or abs or anything stronger then pla. If you run a hi-temp set up use something that can stand hi-temps</p><p> </p><p>when installing use, the spacer to adjust the CRt at about 3mm above the nozzle. (the spacer is the same one you use to adjust the fans).</p><p>When installing use washers', Screws through CRt and bracket then washer then nut</p><p><strong>The X/Y Offset I use:</strong></p><p><strong>X=</strong> -1.8 </p><p><strong>Y=</strong> -37.5</p><p> </p><p><strong>Print Setting:</strong></p><p><strong>Layer height</strong> 2.0 or 1.6 (I prefer 1.6)</p><p><strong>Infill</strong> 100% (it doesn't really matter I jus set it up this way)</p><p><strong>speed</strong> 40mm/s for abs and petg</p><p>Note: </p><p>You can use the 2mm side of the spacer or even flush the cr to the bed. I wouldn't recommend using the bracket that way but, in the time, I've had this bracket made, spacing it 3 mm above the nozzle is the best option. it will not crash nor give you some funny z offset spacing like -5, -6 mm z-offset </p><p> </p><p> </p><p> </p>
With this file you will be able to print Manta MK2 CR Touch Mount Center Mount with your 3D printer. Click on the button and save the file on your computer to work, edit or customize your design. You can also find more 3D designs for printers on Manta MK2 CR Touch Mount Center Mount.