Mangalore Grenade
thingiverse
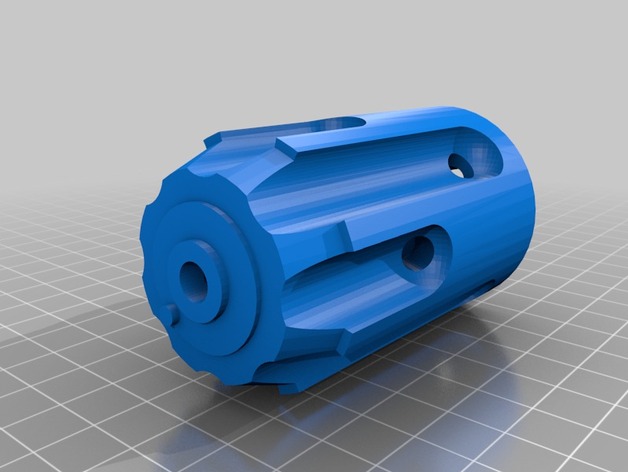
Fifth Element fans will know exactly what this is, and that there are only a handful of very nice machined aluminum replicas circulating that sell for around US$400. Here's an affordable alternative. Google Image the name and you'll find plenty of photos of both the replicas and the original prop - mostly on The RPF site. Take note that to complete it, you will need to acquire a black Maglite Mini (AA batteries, not AAA)(getting harder to find in stores, but still available if you look) and the cute little vernier knob on the nose. Sadly, the latter is an obsolete RS Components product, stock no. 509-973. I was lucky enough to find a collector on The RPF website selling his spare. (For those of you less fortunate, I've also created a printable version of the knob as a separate item.) Search for the cleverly-named 'Mangalore Grenade Knob'. You will also need a short length of fluoro red acrylic rod, 1/4 inch diameter, to make the four little lights around the middle of the body. Unfortunately, I'm in Australia where such things are unattainable, so my grenade still has four black holes waiting to be filled. And some springs: 1/4 inch diameter extension springs. I found mine in one of those cheap spring assortment boxes that I got from somewhere or other once upon a time... Isn't that helpful? PS: While I do intend to also get around to doing the storage tube, I confess there are many things I intend to get around to eventually... In the meantime, the rather more prolific 'Imirnman' has kindly beaten me to it. See his tube thing here; http://www.thingiverse.com/thing:1822384 Print Settings: Printer Brand: MakerBot Printer: MakerBot Replicator Rafts: Doesn't Matter Supports: Yes Resolution: 0.2 mm Infill: 15% Notes: For best results, print the body parts vertical, standing on their wide end (where they will join together). This way there is minimal support material to mar the surfaces and none of that 'driftwood' texture on the curved surfaces. Likewise with the spikes - print them standing on their peg ends. I printed the ball on its flat face with no raft to get a nice clean surface. Post-Printing My one-and-only complete print so far, from silver ABS filament that looks suspiciously gray and caramel-colored stuff that is brass, apparently! The ball on the end of the handle has been lightly sanded and given the acetone vapor treatment. How the Maglite fits inside. The ring can be glued in place - the Maglite can still be pushed/pulled through, but is tight enough not to come out without effort. Glue the Maglite cap into the ball knob so you can unscrew it to fit the batteries. The 1/4 inch diameter springs on the spikes are cut to about 16mm long and (on this print, at least) are a tight screw fit into the holes in the body. Screw them in backward (ie: rotate as if unscrewing, while pushing into the hole) so that they contract a little as they go in. How I Designed This This is where it started - lots of proud owners of replicas posting excellent photos on the net for people like me to take measurements from. The Maglite handle is exactly 18mm in diameter, and the vernier dial is 28mm diameter, so with those two references, everything else can be scaled fairly accurately. And then into Solidworks, still largely a mystery to me, but I'm making progress.
With this file you will be able to print Mangalore Grenade with your 3D printer. Click on the button and save the file on your computer to work, edit or customize your design. You can also find more 3D designs for printers on Mangalore Grenade.