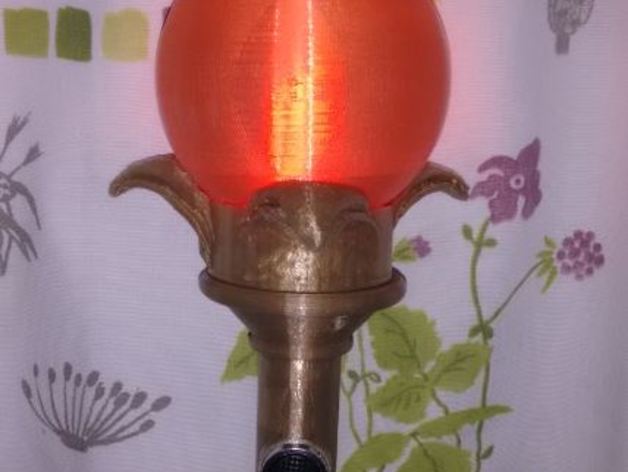
Maleficent style staff
myminifactory
This is a custom staff created for an exhibition. The body can be drilled to accommodate any size LED you prefer. A separate body with a hole for the torch will soon be uploaded, allowing users to easily fit it in place. The handle securely holds the battery pack and switch. The body and handle are connected using three small screws, with recessed holes located at the bottom of the handle. To assemble, simply screw them together. No screws are needed on the body since I'm unsure about the size required, so users will need to line up the holes and drill them themselves. The handle fits a standard 1-inch pole. A cheap aluminum torch from a dollar store was repurposed as the light source. About an inch below the LEDs, the top part of the torch was cut off, and wires were soldered onto the inside of the LED to connect it with the battery pack and switch, completing the circuit. The torch head is secured in place using hot glue within the main body. Be cautious not to reverse the polarity, or you risk damaging the LEDs. The original torch power switch has been reused and should easily fit into the handle as shown. A diffuser can be printed and simply pushed over the top of the torch; users are free to choose their preferred color. My staff was created using gold PLA and is transparent enough for the diffuser's color to shine through. For those who desire symmetry, a model for the side button has been included. Although this project was completed in just one week, there may be room for improvement, and I apologize if my explanations seem vague in certain areas. The globe was printed with 100% infill using .8mm walls on the outer layer and 20% infill with 1.2mm walls on the rest.
With this file you will be able to print Maleficent style staff with your 3D printer. Click on the button and save the file on your computer to work, edit or customize your design. You can also find more 3D designs for printers on Maleficent style staff.
