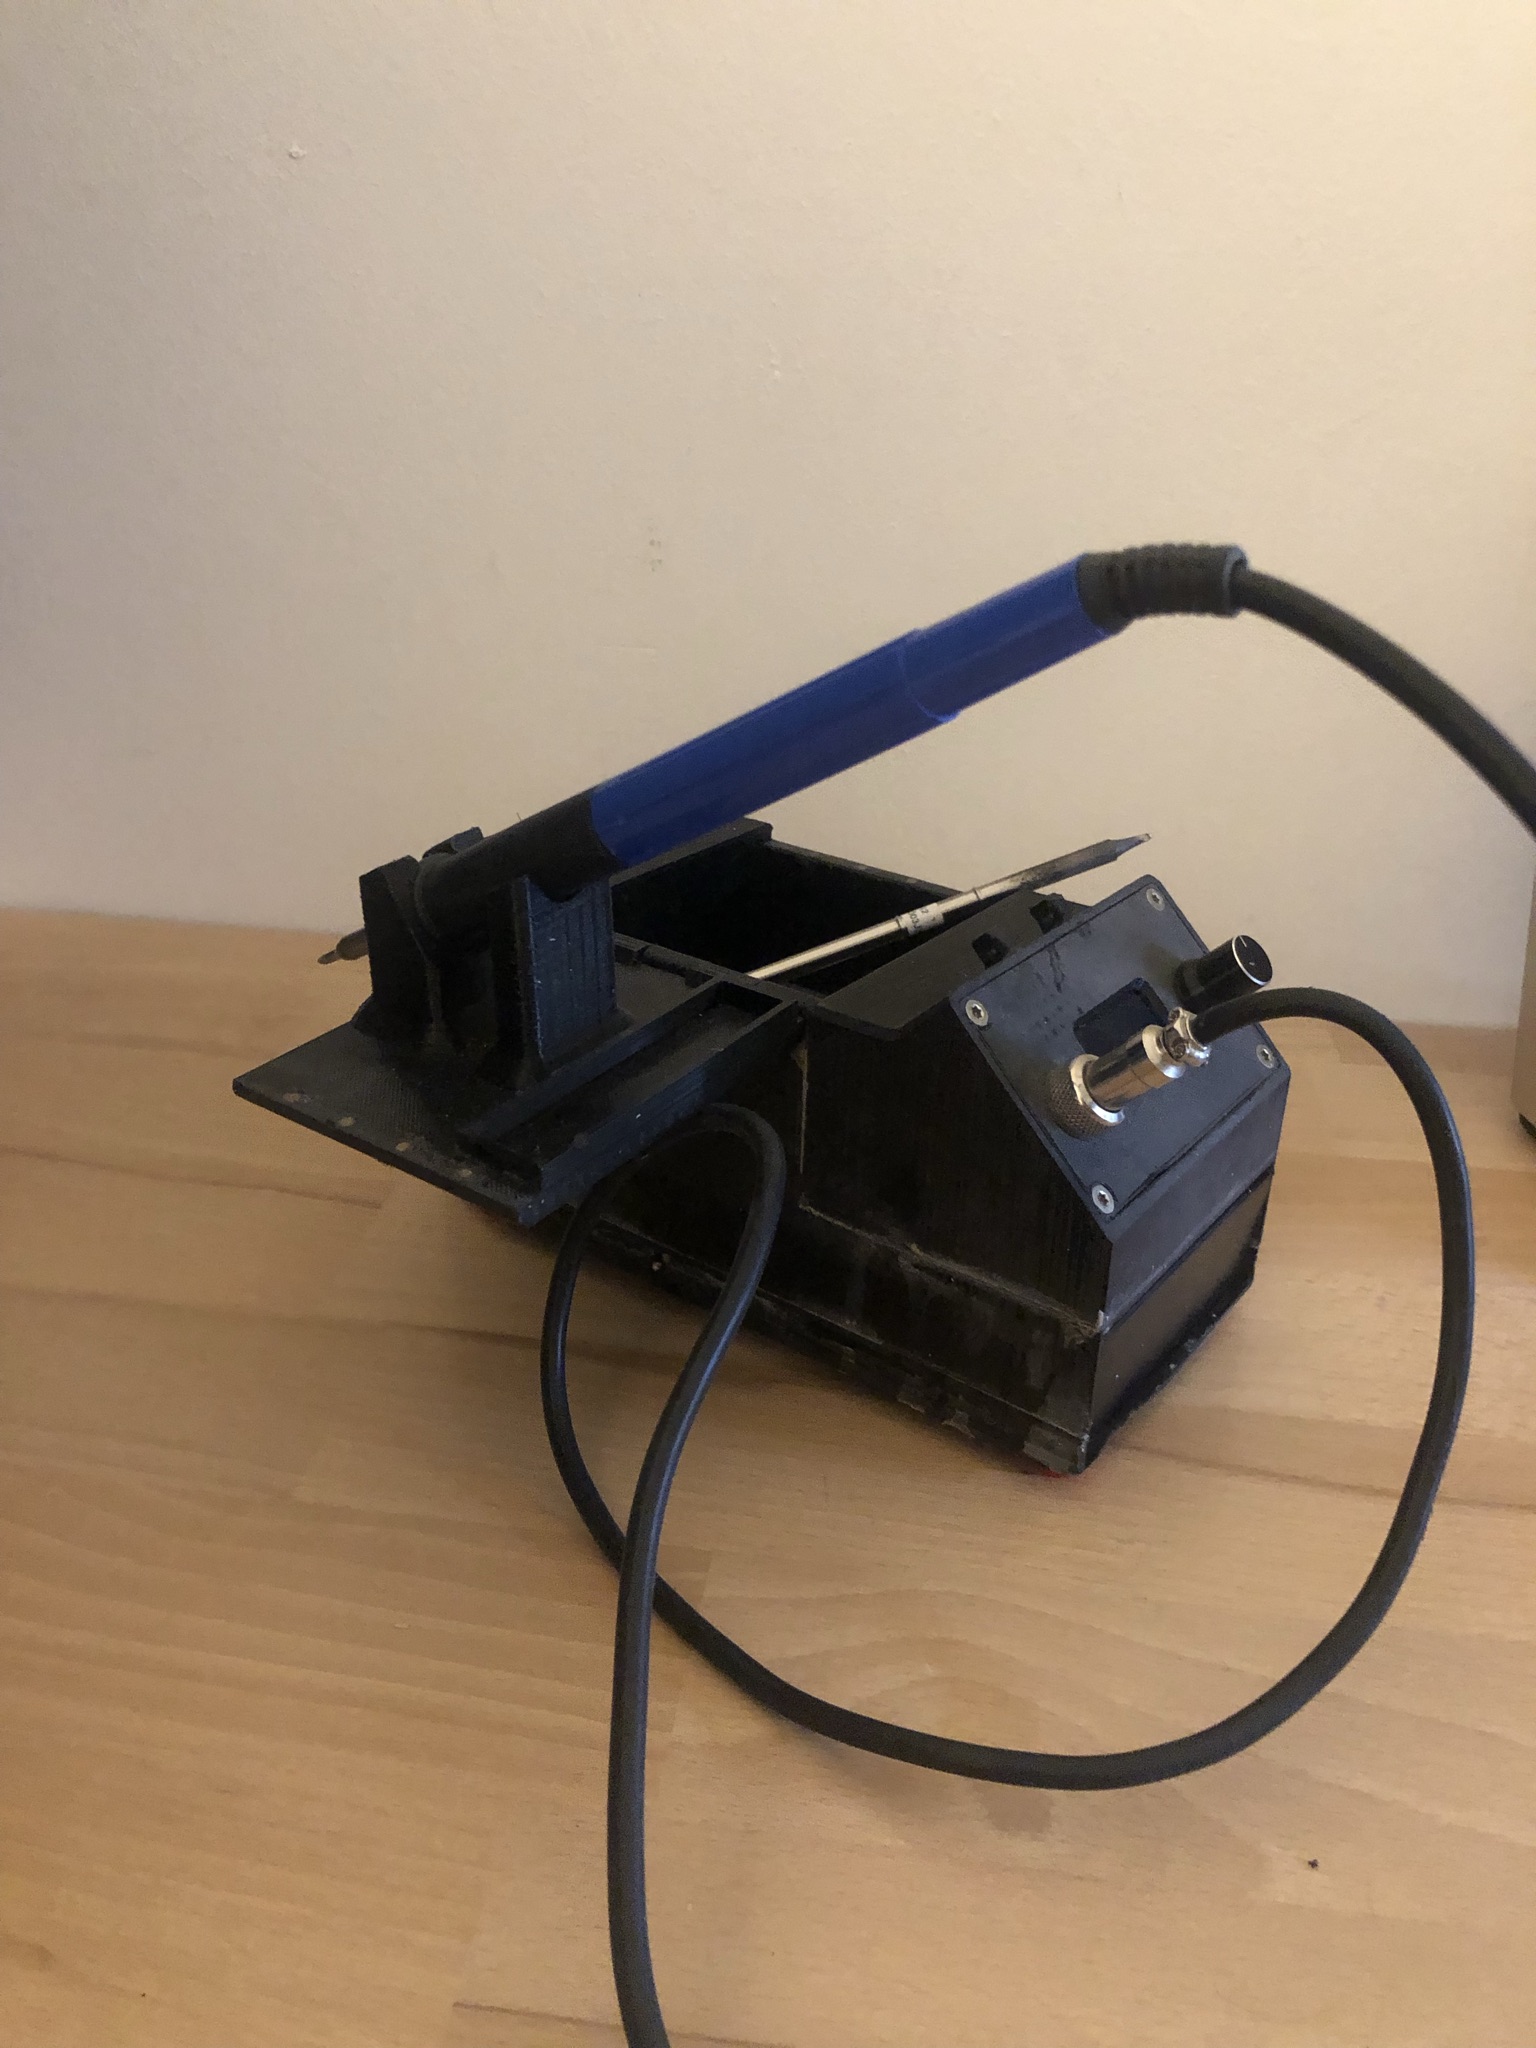
Makita T12 Soldering Station - WIP
prusaprinters
<p>This is still a work in progress model, the basic functionality is tested and works. I've used V1, shown in the photos, for 1 year now, as my main solderingiron, even though it was only intended to use it mobil. </p><p>V2 has a couple of changes, which are not fully tested yet:</p><ul><li>30mm longer to accomodate the solderingiron better</li><li>The frontlid is now opening downwards</li><li>Magnetic lock for the front lid</li><li>An OnOff switch is considered in the design</li><li>A temporary rest for the tips</li><li>A little compartment for the solder</li><li>More magnets to hold the lid close</li></ul><p> </p><p>BOM:</p><ul><li>Every printed part 1x except for the feet</li><li>20mm wide 20mm long 1mm thick fabric strip for the front latch</li><li>5x 3x20mm woodscrew for the soldering iron rest and cleaner brush</li><li>1-2x <a href="https://www.herz-gmbh.com/media/djcatalog2/images/item/0/messingbuerste-klein-34mm-fuer-schweissduesen_f.png">brass brush</a></li><li>2x M3 Nut for 2 feet</li><li>2x M3x5mm countersunkscrew for the 2 front feet</li><li>2x M3x10mm hexscrew for the 2 back feet</li><li>4x (M)4x15mm allenscrew like DIN912 for the battery holder</li><li>26x d3x3mm <a href="https://de.banggood.com/100-Piece-3-x-3mm-NdFeB-Neodymium-Magnet-Circular-Cylinder-DIY-Set-p-77490.html?imageAb=2&rmmds=myorder&cur_warehouse=CN&akmClientCountry=DE&akmClientCountry=DE">Neodym magnets</a> for the holderlid and the compartment lid</li><li>4x M3x8 countersunk screw for the front panel</li><li>4x M3 hexbolt for the front panel</li><li>1x rockerswitch like <a href="https://www.conrad.com/p/tru-components-toggle-switch-tc-r13-66a-02-250-v-ac-6-a-1-x-offon-latch-1-pcs-1587515">this</a></li><li>1x 51,5mm 1,75mm filament as a hingepin for the compartment lid</li><li>1x 125mm 1,75mm filament as a hingepin for the holder lid</li><li>2x 54x19x1mm metalstrip as contactors for the battery, need to be bend in shape</li><li>4x 3x5mm countersunk screw for the battery terminal</li></ul><p> </p><p>The build:</p><p>Should be straight forward.</p><ol><li>Print all parts</li><li>Place the controller in the frontpanel</li><li>Connect the controller with the switch</li><li>fixate with the 125mm filament the holder lid to the mainbody</li><li>fixate with the 51mm filament the front lid to the baseplate</li><li>Glue/screw the fabric strip in place</li><li>Glue all magnets in place</li><li>Bend the metal strips 29-16-9 and place it in the terminalblock</li><li>solder the wires from the switch and the controller to the batteryterminalblock</li><li>Screw the terminalblock in the batteryholder</li><li>Glue the controller housing to the mainbody</li><li>Glue the mainbody to the baseplate</li><li>Screw the batteryholder to the baseplate and the mainbody</li><li>Attach the feet</li></ol><p> </p><p>Possible future changes:</p><ul><li>Merge the baseplate and the mainbody, since the baseplate is pretty shitty to print currently</li><li>A new closing mechanism for the compartmentlid</li><li>Using a different method to bond all big parts together since glue is messy</li></ul><p> </p><p>Thanks for reading this post. If you have any suggestions or tips feel free to comment on this print.</p>
With this file you will be able to print Makita T12 Soldering Station - WIP with your 3D printer. Click on the button and save the file on your computer to work, edit or customize your design. You can also find more 3D designs for printers on Makita T12 Soldering Station - WIP.
