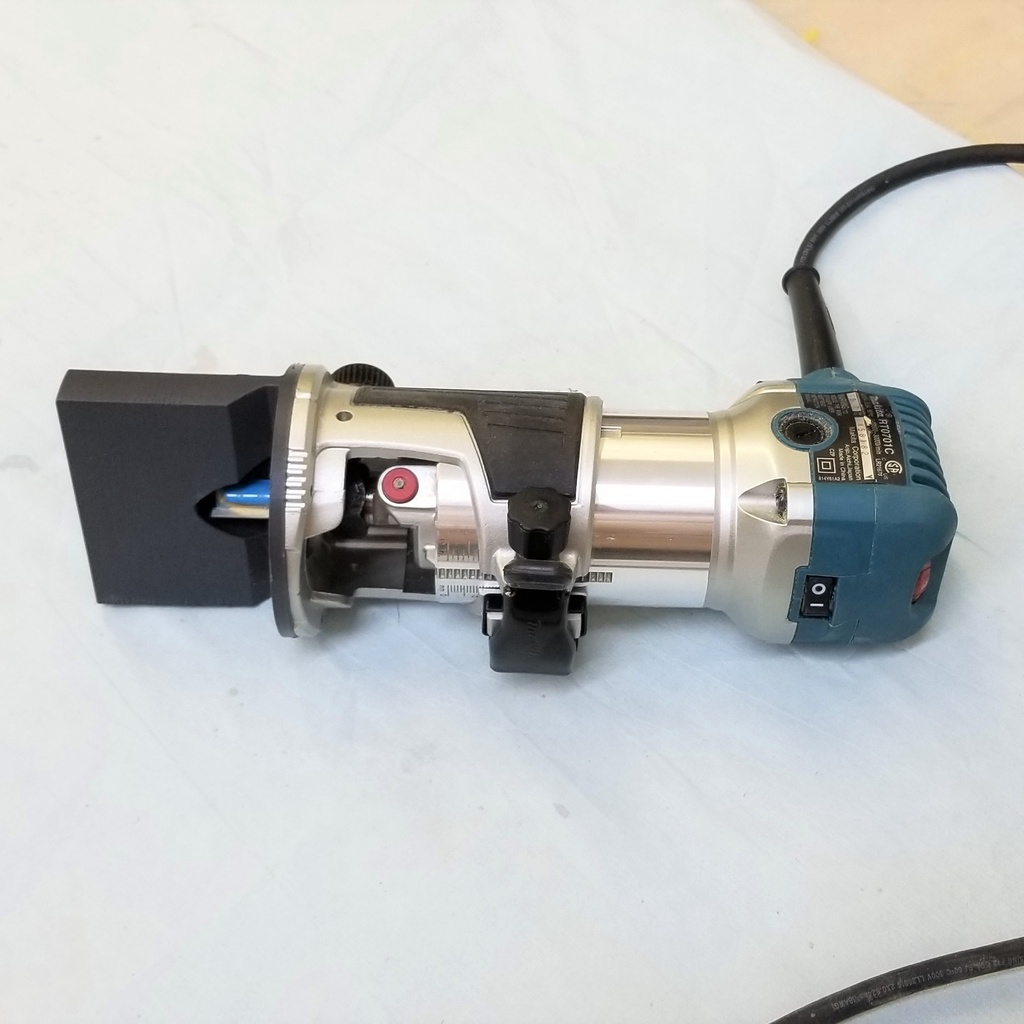
Makita banding trim attachment
prusaprinters
<p>This is an attachment for the Makita trim router for edge band trimming. It is designed to use with a 0.5" bit. The mounting plate allows for micro-adjustments to allow for a perfect trim. I use a bullnose router bit to avoid an edge caused by the straight bit.</p><p>For safety, the router bit is completely covered. There is a small opening that allows the shaving to escape.</p><p>To install, replace the router soleplate using the same screws.</p><p>If the amount of trimming is significant then I suggest you lift the motor end slightly and take several light passes before you do a final 'flush' pass.</p><p>This tool requires two hands to operate safely, therefore the routing object needs to be fastened down.</p><p>Please like and post a make!</p><h3>Print Settings</h3><p><strong>Printer Brand: </strong>Prusa</p><p><strong>Printer: </strong>I3 MK3S</p><p><strong>Rafts: </strong>No</p><p><strong>Supports: </strong>No</p><p><strong>Resolution: </strong>0.2</p><p><strong>Infill: </strong>20%<br/><strong>Filament: </strong>Filament One ASA gray </p><p><strong>Notes: </strong>this needs to be strong so use at least 5 layers. I chose ASA filament because of its strength. PETG could be used.<br/>No supports are needed, print at presented.</p><h3>How I Designed This</h3><p>Fusion 360</p><p> </p><p> </p><p> </p><p> </p><p>Category: Parts</p>
With this file you will be able to print Makita banding trim attachment with your 3D printer. Click on the button and save the file on your computer to work, edit or customize your design. You can also find more 3D designs for printers on Makita banding trim attachment.
