Makita 7.2V BL0715 Battery Holder/Tester
prusaprinters
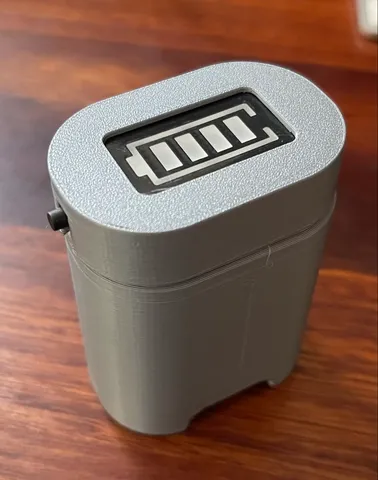
I have a Makita TD022D impact driver, which comes with two 7.2V batteries. There is no battery meter on the driver or the batteries (unlike the bigger 18V batteries). I use this to store the spare battery and to test the charge level.Required parts:Battery Meter (https://www.aliexpress.com/item/4001025276668.html). I use the 1-8S adjustable ones for various projects. $1.52 AUD at time I created this.4mm Tactile switch, should be less that $1, but I buy them in bulk like this kit: https://www.aliexpress.com/item/1005001827519363.html)Terminal: Can be hard to find, I purchased "Makita Terminal Gn900se/um164d/cl070d 643817-4" from https://www.partshopdirect.co.uk/makita-terminal-gn900seum164dcl070d-p643817-4/ for £2.49 Sorry, I don't have any photos of the construction, but its very simple:Print all parts (I didn't use supports) If you bought the adjustable meter, make sure the meter is set for 2 batteries (3.6V * 2) in series (2S) by creating a solder bridge on 2S pads, and removing all other solder bridges 1S, and 3-8S pads. Solder short wires between switch, terminal and meter to make a simple circuit, with the tact switch connecting the battery terminals to the meter. Glue the meter and tact switch into the cap, and glue cap onto the body. I used hot glue.
With this file you will be able to print Makita 7.2V BL0715 Battery Holder/Tester with your 3D printer. Click on the button and save the file on your computer to work, edit or customize your design. You can also find more 3D designs for printers on Makita 7.2V BL0715 Battery Holder/Tester.