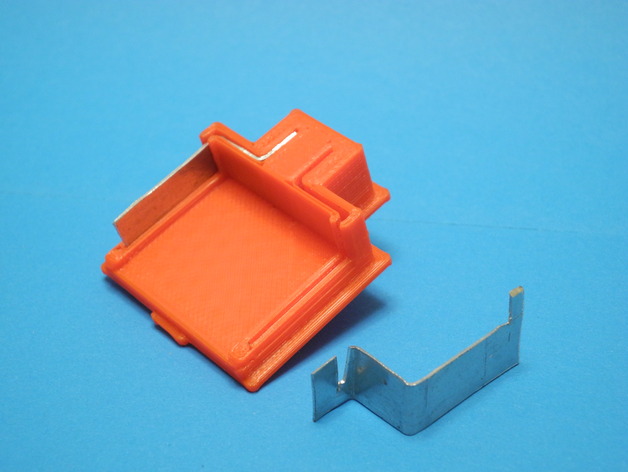
Makita 18v battery terminal connector
thingiverse
This adapter was designed as a direct drop-in replacement for the Maktita battery terminal. It is meant to work seamlessly with the exceptional battery mount from GPlatek, found on Thingiverse http://www.thingiverse.com/thing:352094 as shown in the accompanying images. **Step 1: Initial Print** Firstly, print out the adapter successfully! **Cutting Metal Strips** Next, cut two strips of metal that measure approximately 12mm by 51mm from a sheet with a thickness of 0.8 - 1.0 mm. I personally utilized a piece of zinc gutter pipe that was roughly this size. It's recommended to make these cuts using high precision. **Creating Slots for the Cable Lug** To allow for proper insertion, create a slot on the opposite side of the metal strips, precisely 5mm from the edge. This adjustment makes it simple to secure the cable lug accurately in place. **Shaping and Preparing the Adapter Components** Use a sharp file or other precise tool to carefully bevel the shorter metal strip at one end for a smooth connector slide-in. **Final Assembly and Securing the Metal Pieces** Using instant glue, fit together all metal parts with their printed counterparts, ensuring snug lugs hold them securely in place. This is where patience plays its part! Voila! Your custom battery adapter replacement for your Maktita tool now functions as expected, giving you precise voltage regulation at a lower cost.
With this file you will be able to print Makita 18v battery terminal connector with your 3D printer. Click on the button and save the file on your computer to work, edit or customize your design. You can also find more 3D designs for printers on Makita 18v battery terminal connector.
