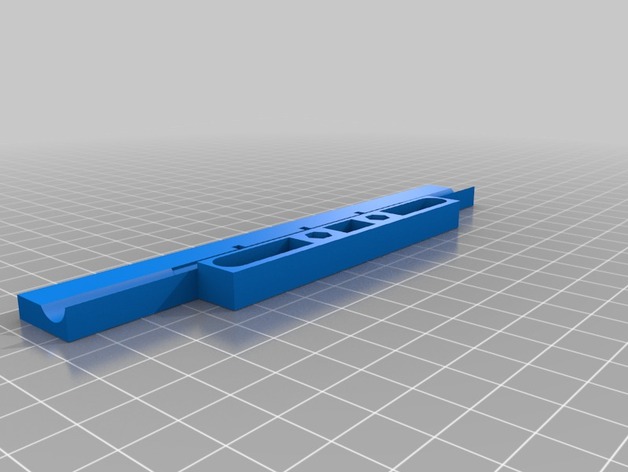
Makergear M2 Goal Zero Luna USB Light Bracket
thingiverse
Bracket designed to securely attach a Goal Zero Luna USB light, or similar cylindrical lights, under the X-stage of a Makergear M2 printer. Three variants fit onto the center two bolts of the linear slide rail on the X-stage. All versions are held in place by three zip-ties, four inches long, which attach through channels specifically modeled into the bracket. The bracket itself is designed to be straightforward and uncomplicated. The shorter edge is at the front for added stability, while the longer edge provides extra protection by blocking direct light when looking at the build platform or a part in progress. Designing the bracket involves precise measurements using calipers. Model makers can create these brackets quickly with the help of AutoCAD. Brackets print best at layer resolutions between 0.1 and 0.2 mm, and should be supported while printing. Once ready, attach your Goal Zero light using zip-ties through channels in the bracket. Place the bracket onto the underside of the X-stage using both linear slide rail bolts. Ensure you hide the light's cable from any extruder heads or nozzles under the stage to prevent complications during printing. You can then provide build platform lighting by plugging a USB extension cord into an available USB port.
With this file you will be able to print Makergear M2 Goal Zero Luna USB Light Bracket with your 3D printer. Click on the button and save the file on your computer to work, edit or customize your design. You can also find more 3D designs for printers on Makergear M2 Goal Zero Luna USB Light Bracket.
