MakerBot Dioder Light Mounts and Replacement Connector
thingiverse
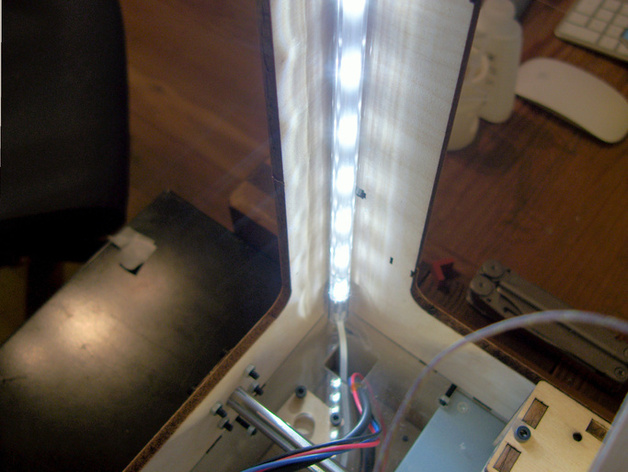
Create two lights using Ikea Dioder strip lights, attaching them with 45 degree mounts to the left and right inside corners of your project, securing them with hot glue and routing the wires through designated holes. Mount a Clas Ohlson LED Spot Light on the Z Stage's bottom, utilizing its compatibility with Ikea connectors. To power the lights, snip off 30cm of Ikea power connector wire and connect it to a 12V rail (positive and ground wires identified using a multi meter). For a replacement connector, use a leftover wall-wart, spare light strips, and proto board to create a circuit with parallel pin headers, ensuring polarity. Assemble the box around the proto board for testing.
With this file you will be able to print MakerBot Dioder Light Mounts and Replacement Connector with your 3D printer. Click on the button and save the file on your computer to work, edit or customize your design. You can also find more 3D designs for printers on MakerBot Dioder Light Mounts and Replacement Connector.
