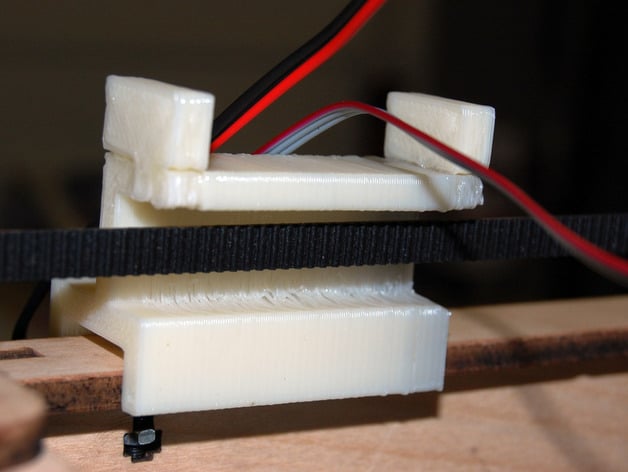
MakerBot Cable Bridge
thingiverse
This solution might be unnecessary for a non-existing issue. After fitting a Heated Build Platform on my MakerBot, I routed the cables from the extruder over the robot's top, down its back towards the HBP. I disliked how the cables rested on the z-belt. Instead of using the machine's interior for cable passage, I designed a device to hold and safeguard the belt. I had an almost irresistible inclination towards symmetry that led me to model the bottom endcap separately. The bottom notch printed flawlessly. To assemble, print one bridge and two endcaps. Attach endcaps at the back of your MakerBot where cables are located using acetone, and if needed, sand out the channel for a proper fit.
With this file you will be able to print MakerBot Cable Bridge with your 3D printer. Click on the button and save the file on your computer to work, edit or customize your design. You can also find more 3D designs for printers on MakerBot Cable Bridge.
