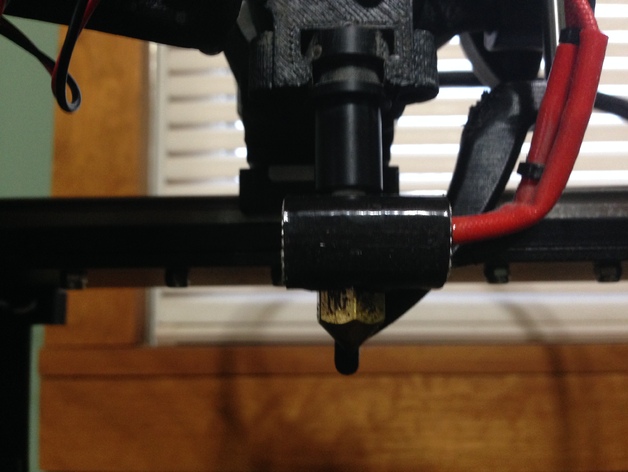
Maker Gear M2 Dial Indicator Mount and Indicator Point
thingiverse
To make bed leveling and Z-stop indication quick and easy, attach a standard dial indicator behind the nozzle with a post (10 mm). I added gussets to my r2 extruder motor mount for strength. An upgrade of the r2 extruder motor mount includes the addition of a post for mounting a dial indicator, and two standard M2 holes for attachment points, one can be used as an adjustment point and is easily removed when done, this will also aid in printing complex shapes or when working with a small workspace and precision print settings. The bed leveling and Z-stop setup takes less time due to precise placement of the nozzle, I am getting good prints at -.005 in on my Z stop calibration. Instructions Printed components for bed leveling use Simplify 3D and are produced from PLA material with 80% infill, fine resolution and supports that need to be deleted later. Using a standard M2 wrench ream out the attachment holes before sanding smooth both the support area of the dial indicator and printed point on it's stem where the stem fits into a standard dial gauge clamp that holds the point at the required height, which then indicates bed leveling when nozzle is set to precise positioning. Printed the motor mount for extruder with PLA material from Simplify 3D software in high detail settings using the M2 post that provides easy alignment of standard 4 mm or smaller diameter post into one side where the stem attaches via the dial gauge's own adjustment feature, then sand down and smooth the mounting surfaces. Note there will be holes automatically made to support cables when the mount was printed; they must all manually be deleted on a printed object for proper installation and easy print finishing without needing special support removal tool that many users might have laying around, also some areas on this design are best completed using hex keys due to internal design.
With this file you will be able to print Maker Gear M2 Dial Indicator Mount and Indicator Point with your 3D printer. Click on the button and save the file on your computer to work, edit or customize your design. You can also find more 3D designs for printers on Maker Gear M2 Dial Indicator Mount and Indicator Point.
