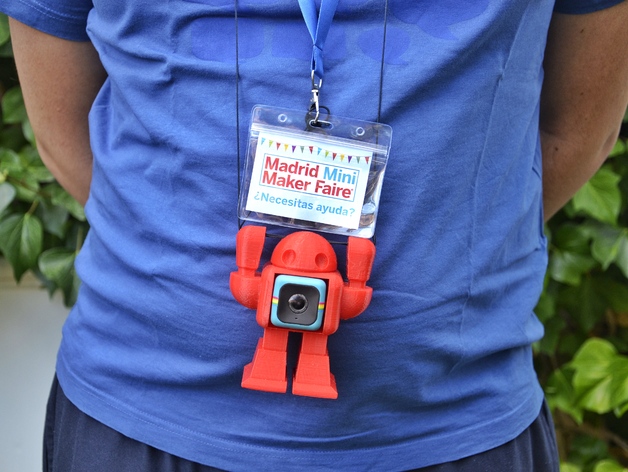
Maker Faire Robot Polaroid Cube
thingiverse
This year I participated as a volunteer at Mini Maker Faire Madrid, collaborating with others to make the event an overwhelming success. The experience was exhilarating, and I wanted to capture every moment while working behind the scenes. To accomplish this, I decided to utilize the Maker Faire Robot as a camera holder for my Polaroid Cube camera. It performed flawlessly, and the attendees loved it! I had to repair the damaged STL files using a reliable mesh algorithm; ultimately, the simplest approach was employing the Autodesk STL Tinkercad algorithm. You have access to a free CAD file with a solid robot model if you wish to modify it. The original hack can be found at: https://tinkercad.com/things/39nks4tkwH7 I hope you enjoyed this project! If you decide to use it, please share some photos of your creation. This minor modification (just a few holes) is a remix of the next model: http://www.thingiverse.com/thing:40212 Additionally, I drew inspiration from the original design: http://www.thingiverse.com/thing:40212 Print Settings: Printer: Prusa i3 Hephestos Rafts: No Supports: Yes Infill: 0.10 Notes: Remember to add supports and use red filament! Post-Printing: Coin Hack To keep your Polaroid Cube securely attached to the robot, I highly recommend gluing a small coin inside the hole as shown in the photos. I used an euro 1 cent coin, which works perfectly with the magnet of the Polaroid Cube. You can connect your robot to a pendant cord and take it for a spin around the world. Simply thread the cord through the four holes (arms and head) and add two loops to reinforce the system. Finally, glue the coin firmly to the robot.
With this file you will be able to print Maker Faire Robot Polaroid Cube with your 3D printer. Click on the button and save the file on your computer to work, edit or customize your design. You can also find more 3D designs for printers on Maker Faire Robot Polaroid Cube.
