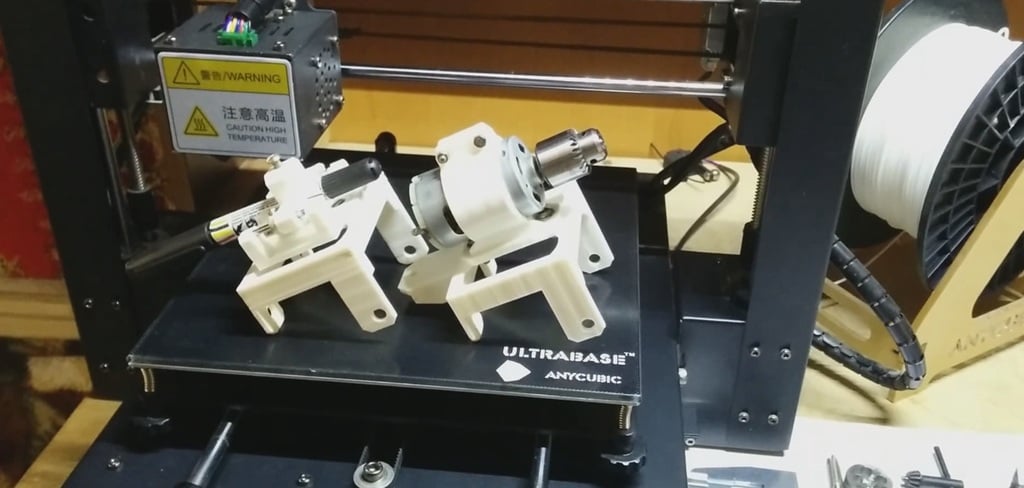
Make a PCB on a 3D printer - Anycubic I3 Mega
thingiverse
Design and Print a Custom PCB Using an Anycubic I3 Mega 3D Printer Get ready to unleash your creativity with this exciting project that combines the power of 3D printing with electronic design. In this tutorial, we will show you how to make a custom Printed Circuit Board (PCB) using an Anycubic I3 Mega 3D printer. First, let's start by understanding what a PCB is and why it's essential for any electronics project. A PCB is a flat piece of material with conductive pathways on both sides that connect electronic components such as resistors, capacitors, and ICs (Integrated Circuits). It serves as the backbone of any electronic device, allowing components to be connected and wired together efficiently. To design your own custom PCB, you will need a few essential tools. A computer with a 3D modeling software like Fusion 360 or Tinkercad is required for designing the PCB layout. Additionally, you will need a 3D printer capable of printing high-resolution objects, such as the Anycubic I3 Mega. Now that we have our tools ready, let's dive into the design process. Start by opening your chosen 3D modeling software and creating a new project. Choose the desired PCB shape and size based on your project requirements. You can use pre-designed templates or create your own custom design from scratch. Once you have designed your PCB layout, export it as an STL file, which is compatible with most 3D printers. Next, prepare your Anycubic I3 Mega for printing by leveling the print bed and ensuring proper calibration. Now it's time to start printing! Load the STL file into your 3D printer software and begin the printing process. The Anycubic I3 Mega will work its magic, layer by layer, creating a high-resolution PCB that meets your design specifications. After the printing process is complete, carefully remove the printed PCB from the print bed and inspect it for any defects or warping. If necessary, apply a thin layer of varnish to protect the PCB from moisture and ensure durability. Finally, assemble your custom PCB by connecting electronic components using standard soldering techniques. Ensure that all connections are secure and properly insulated to prevent short circuits. Congratulations! You have successfully designed and printed a custom PCB using an Anycubic I3 Mega 3D printer. With this technique, you can create complex electronic devices with precision and accuracy, pushing the boundaries of innovation in the world of electronics.
With this file you will be able to print Make a PCB on a 3D printer - Anycubic I3 Mega with your 3D printer. Click on the button and save the file on your computer to work, edit or customize your design. You can also find more 3D designs for printers on Make a PCB on a 3D printer - Anycubic I3 Mega.
