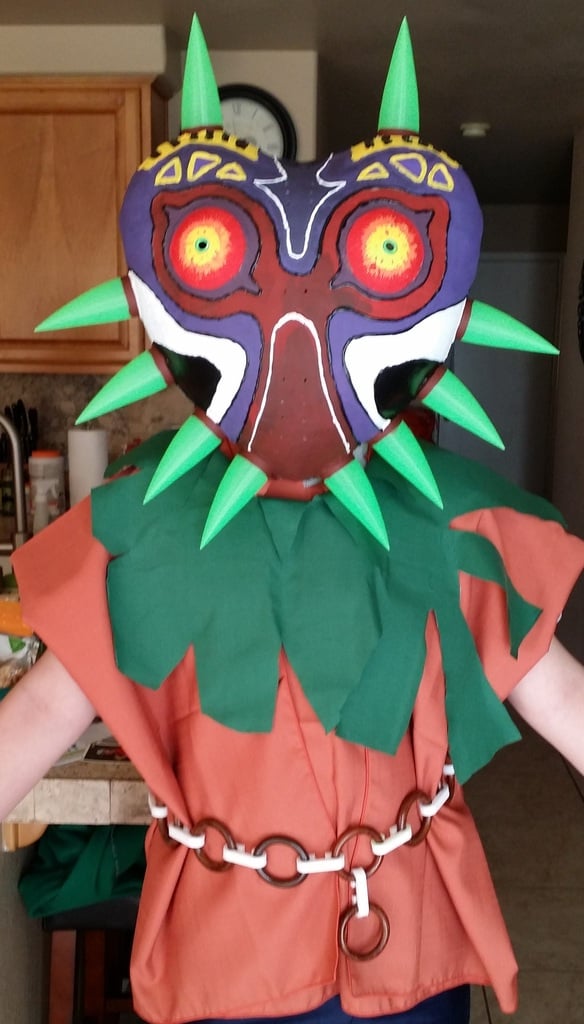
Majoras Mask
thingiverse
My youngest child was set on dressing up as Skull Kid for Halloween. I had no idea what that entailed, but he showed me a picture of Majora's Mask, which left me speechless. He then pointed out how much it would cost to buy one online - the price tag was staggering! Determined to save money, I decided to make the costume myself. The total cost turned out to be remarkably low: fabric and wooden curtain rods from GoodWill for the belt, a few dollars' worth of acrylic paint, a bottle of Elmer's glue, and a heart-shaped balloon. In all, it came in under $15. As it happens, Majora's Mask is actually shaped like a giant heart. I applied multiple layers of paper mache to create the mask (around six), and then used a hot glue gun to outline the features and markings. This made painting much easier once I'd primed the surface with white paint. It's worth noting that hot glue guns work surprisingly well on both paper mache and PLA plastic. My 14-year-old child and their friends were absolutely blown away by the finished product, calling it awesome. I'm pretty pleased with myself, too! One useful tip is that you can use acrylic paint directly over PLA without any issues - just be sure to use a light infill for the eyes (around 10-15% should do the trick). The horns are designed as spiral vases, while the belt buckle is simply a two-part snap that connects the curtain rings in whatever length you prefer. I printed these parts with double-walled PLA and 15% infill, knowing they'd only need to last one night. To be safe, I also made a few extra just in case something broke during trick-or-treating. Be sure to scale up or down the eyes and horns according to the size of your mask.
With this file you will be able to print Majoras Mask with your 3D printer. Click on the button and save the file on your computer to work, edit or customize your design. You can also find more 3D designs for printers on Majoras Mask.
