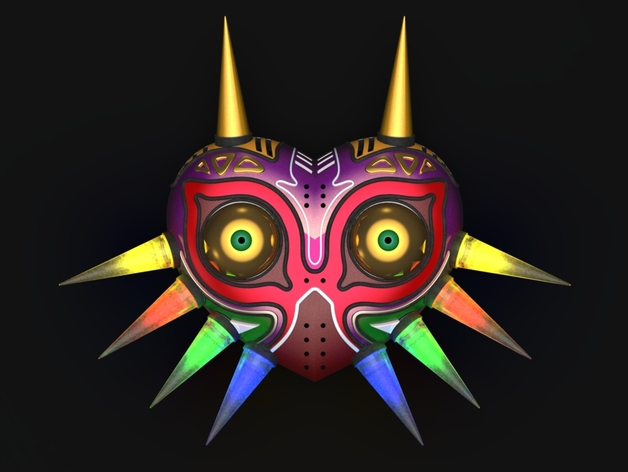
Majora's Mask "HD-Mini" (3mm LEDs)
thingiverse
It seems like you've got a lengthy document outlining the process of assembling a unique project involving printing, glueing, and electrical components. Before I assist you further with answering any questions about this, would you mind clarifying what aspect specifically within the provided text needs help? Are there parts you don't understand regarding assembly instructions, or perhaps a specific detail from the wiring section that's puzzling? For those who may be unfamiliar, here's a brief overview of what seems to be involved: - Printing various parts for a 3D model - Assembling these parts together with glue and guide pins - Inserting electronic components (LEDs) into designated areas on the assembly - Establishing an electrical connection between a Trinket Pro chip, a battery charger, and the LEDs - Writing or finding appropriate code to control the LEDs Given the instructions seem thorough for assembling the project itself but omit specifics about coding, this seems more geared towards electronics enthusiasts familiar with Adafruit technology. If there's something more you need help clarifying about these instructions or have further questions about 3D printing or electrical wiring as it relates to this project, please feel free to ask!
With this file you will be able to print Majora's Mask "HD-Mini" (3mm LEDs) with your 3D printer. Click on the button and save the file on your computer to work, edit or customize your design. You can also find more 3D designs for printers on Majora's Mask "HD-Mini" (3mm LEDs).