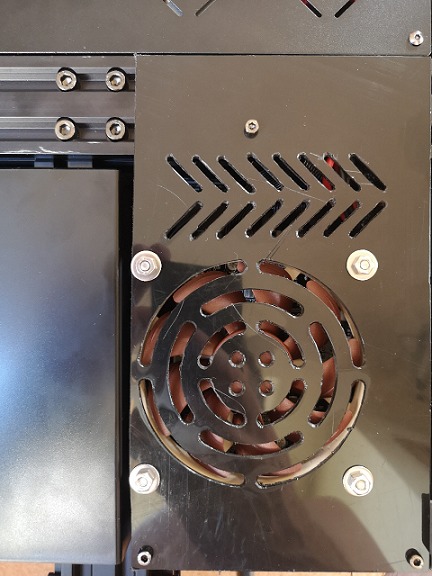
Mainboard Fan Anycubic Vyper
thingiverse
This is a low noise Upgrade for Anycubic Vyper. Replace original Fan to Noctua Used parts https://www.amazon.de/gp/product/B009NQM7V2/ref=ppx_yo_dt_b_asin_title_o01_s00?ie=UTF8&psc=1 Because the original has 24V and the Noctua is a 12V one you need a step down regulator https://www.banggood.com/3pcs-Mini-DC-DC-Adjustable-Step-Down-Power-Supply-Module-12V-24V-to-5V-3_3V-9V-3A-mini360-p-1542721.html?cur_warehouse=CN&rmmds=search - Cut the conductor path "ADJ" an shorten the 12V Pads - Cut the wire from the original fan - Solder red wire to In+ and black to GND - Cut the four wires from the Noctua fan - Just use yellow and black wire. Solder yellow to VO+ and black to GND
With this file you will be able to print Mainboard Fan Anycubic Vyper with your 3D printer. Click on the button and save the file on your computer to work, edit or customize your design. You can also find more 3D designs for printers on Mainboard Fan Anycubic Vyper.
