Mailbox number set
pinshape
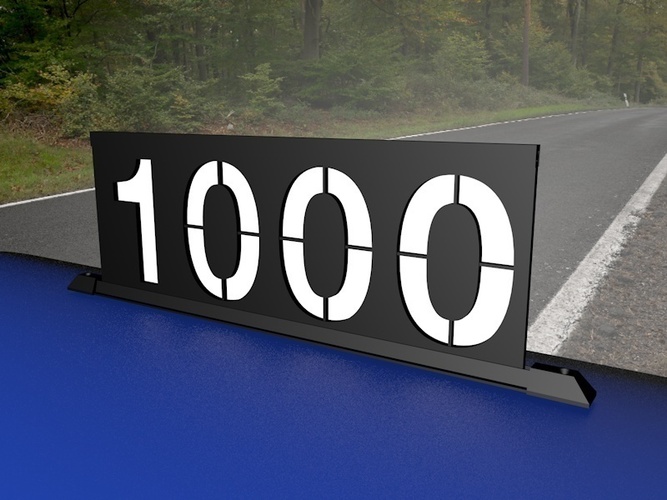
A Set of Numbers and Rails to Build a Durable Mailbox Sign Combine side by side to print a single plaque if desired. After printing, measure total width and print top rail exactly that wide, plus bottom rail to width plus 1/2" (12.7mm). Rail Caps fit over longer bottom rail with holes for easy mounting. After assembly, attach ultra bright plastic coated reflective tape on backside. Numbers now jump out at night. Previous mailbox numbers had sprayed on reflective coating that grew dim over time. Added a 'Flush Mount Cap' for mounting on the side of the mailbox or wall. Print two top rails 1/2" (12.7mm) longer than total width of numbers and two Flush Mount Caps for set. Updated Rail Cap with proper geometry at each end. Print Settings: MakerBot Printer, .2mm Resolution, 10% Infill, No Rafts, Supports. Post-Printing Assembly: Use glue to lock top and bottom rails to assembled numbers. Use rail caps to mount to mailbox.
With this file you will be able to print Mailbox number set with your 3D printer. Click on the button and save the file on your computer to work, edit or customize your design. You can also find more 3D designs for printers on Mailbox number set.