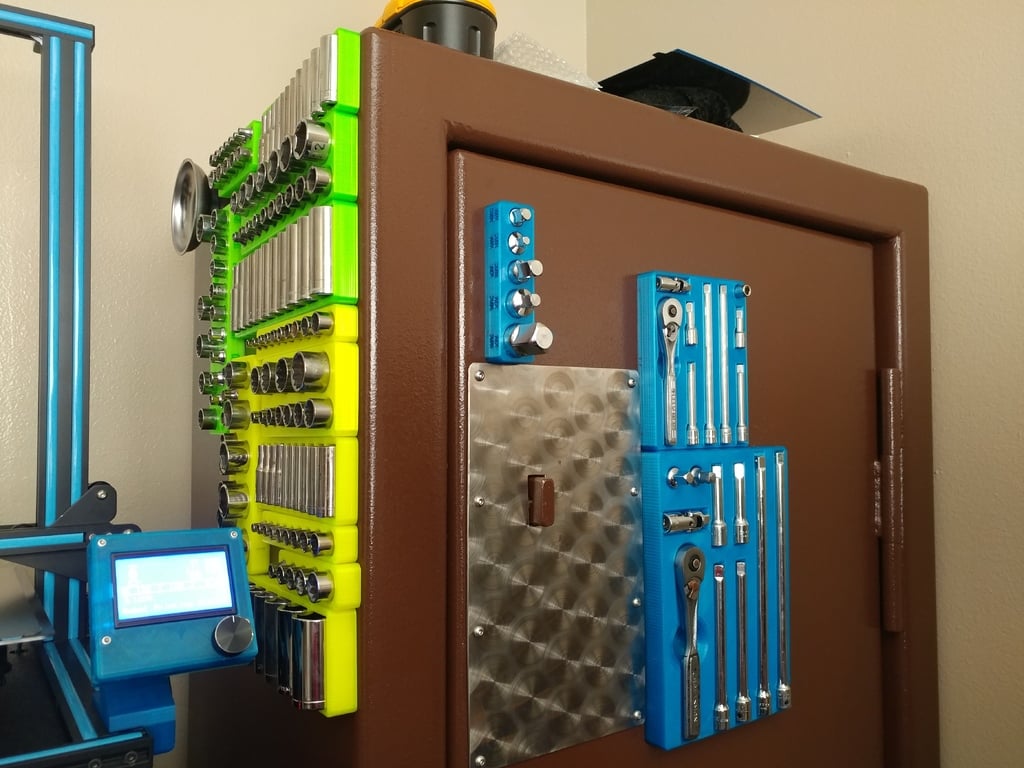
Magnetic Socket Organizers
thingiverse
I have sockets rolling around in my tool bag or toolbox and love magnets. If you're like me, I've got a solution for you. Frustrated with searching for the socket I needed while working on a project (it was usually the elusive 10mm), I decided to take matters into my own hands through 3D printing. These holders use neodymium bar and disc magnets embedded inside the print to hold your sockets to the tray, as well as secure them to the frame rail or any metal member you're working on near. I based this project off of a Craftsman Mechanic set given to me by my father for Christmas a few decades ago. Over time, I've lost a few pieces and replaced them with newer Craftsman pieces. They all have roughly the same outside diameter. I'm happy to report that these even work with my friend's Snap-on and Bluepoint sets...as well as my no-name socket set in my truck for emergencies. The driver/extension/swivel holder trays were modeled after my Craftsman set, so chances are they won't work with your set if they aren't the same as mine. I'm including my Fusion 360 files just in case you need to tweak or remix them. I used these bar magnets: https://www.amazon.com/gp/product/B07DFZH4WT/ref=ppx_yo_dt_b_asin_title_o03_s00?ie=UTF8&psc=1 I also used these disc magnets: https://www.amazon.com/gp/product/B07BDFPX6K/ref=ppx_yo_dt_b_asin_title_o08_s00?ie=UTF8&psc=1. Any 60x10x3 bar or 6x3 disc magnet should work, and I made the pockets a bit oversized to account for any tolerance between different magnets. These holders will require you to pause the print to insert the magnets. I created a video (found here: https://www.youtube.com/watch?v=5Z4r2KL3P0Y ) explaining how I did this using Cura and Octoprint. If you're using S3D or another slicer, or don't use Octoprint, your process will vary, and you'll need to do some research on your own. The driver/swivel/extension trays will require multiple pauses to insert all of the magnets at their different depths. I used a tiny dab of CA glue in each magnet pocket and brushed them with a cotton swab soaked in CA glue activator to keep the magnets in place until they were covered. I also laid out all of the magnets on my workbench to help align them and minimize polarity issues. I hope you find these magnetic socket holders as useful as I do. I spent many evenings designing, tweaking, and refining these. As a complete novice with Fusion 360, if the workflows look a bit amateurish, that's why. I did learn a lot during this project, and I think that was one of the most rewarding aspects of this entire endeavor.
With this file you will be able to print Magnetic Socket Organizers with your 3D printer. Click on the button and save the file on your computer to work, edit or customize your design. You can also find more 3D designs for printers on Magnetic Socket Organizers.
