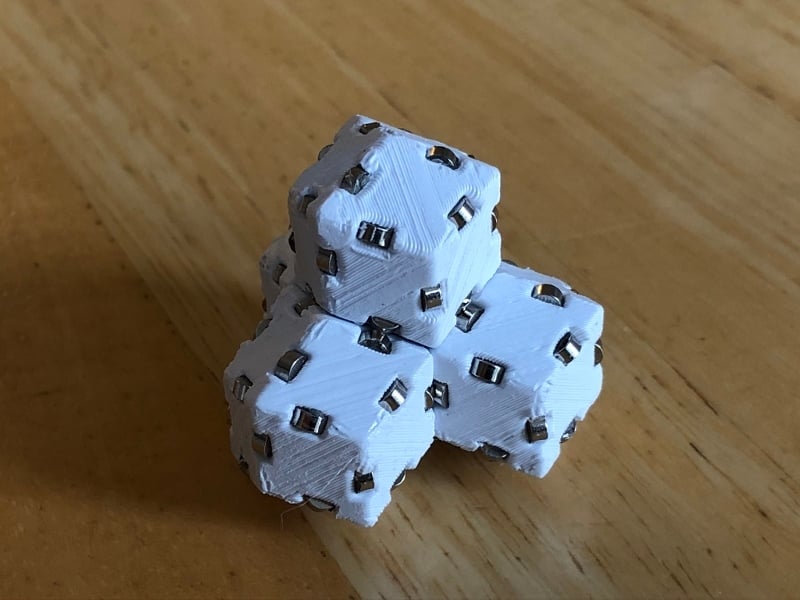
Magnetic Rhombic Dodecahedron Blocks
thingiverse
The rhombic dodecahedron is one of the few polyhedra that tiles 3D space, but it can be difficult to visualize. Here are two options for magnetic rhombic dodecahedron blocks. All magnets used where purchased through www.kjmagnetics.com. Small The “Small” block is easier and cheaper to make and requires only one 1/4” x 1/8” magnet. The downside is that it doesn’t hold together as well and is only suitable for small clusters. For each block, print two of each “Small – Inner Magnet Holder” and “Small – Outer Rhombic Dodecahedron Block”. Snap a 1/4” x 1/8” magnet between the two hemispheric Inner Magnet Holders and clamp together with pliers. You usually won’t need glue for this. Ensure that the inner surfaces of the Outer Rhombic Dodecahedron Block are free of any burrs or imperfections, place the ball containing the magnet inside and ensure that it can rotate freely. Using a very small amount of glue, glue the two Outer Rhombic Dodecahedron Blocks together being careful that glue does not squeeze inside and prevent the magnet ball from rotating. When placing two of the small blocks together, the magnet will rotate inside to maximize attraction between neighbouring blocks. Large The “Large” block is challenging to make and requires twenty-four 1/8” by 1/16” magnets for each block. The benefit is that is holds together very well and is just really cool to play with. Every face connects solidly with every other face in any direction, so the more blocks you use the stronger the structure gets. If you enjoy this type of geometry, it is worth the effort! The “Large – With supports” is ready to print as is. Use the “Large – No Supports” if you would like to add your own supports. It is easiest to smooth and remove any imperfections from the surface before inserting the magnets. Proper orientation of the magnets is critical. Insert the magnets so that the poles facing the center of each rhombic face alternate N-S-N-S. Here is one approach. Insert the first magnet, orientation doesn’t matter. Now stick a second magnet temporarily edge-to-edge with the first. This ensures that the rhombic face-oriented pole of the second magnet facing is the opposite of the rhombic face-oriented pole of the first magnet. Unstick the magnets and rotate the second magnet to one of the neighbouring holes keeping the same pole oriented towards the center of the rhombi face. Insert the second magnet. Following the same process, magnet to magnet, until all the holes are filled. The magnets can be press fit into the hole with pliers, no glue needed..
With this file you will be able to print Magnetic Rhombic Dodecahedron Blocks with your 3D printer. Click on the button and save the file on your computer to work, edit or customize your design. You can also find more 3D designs for printers on Magnetic Rhombic Dodecahedron Blocks.
