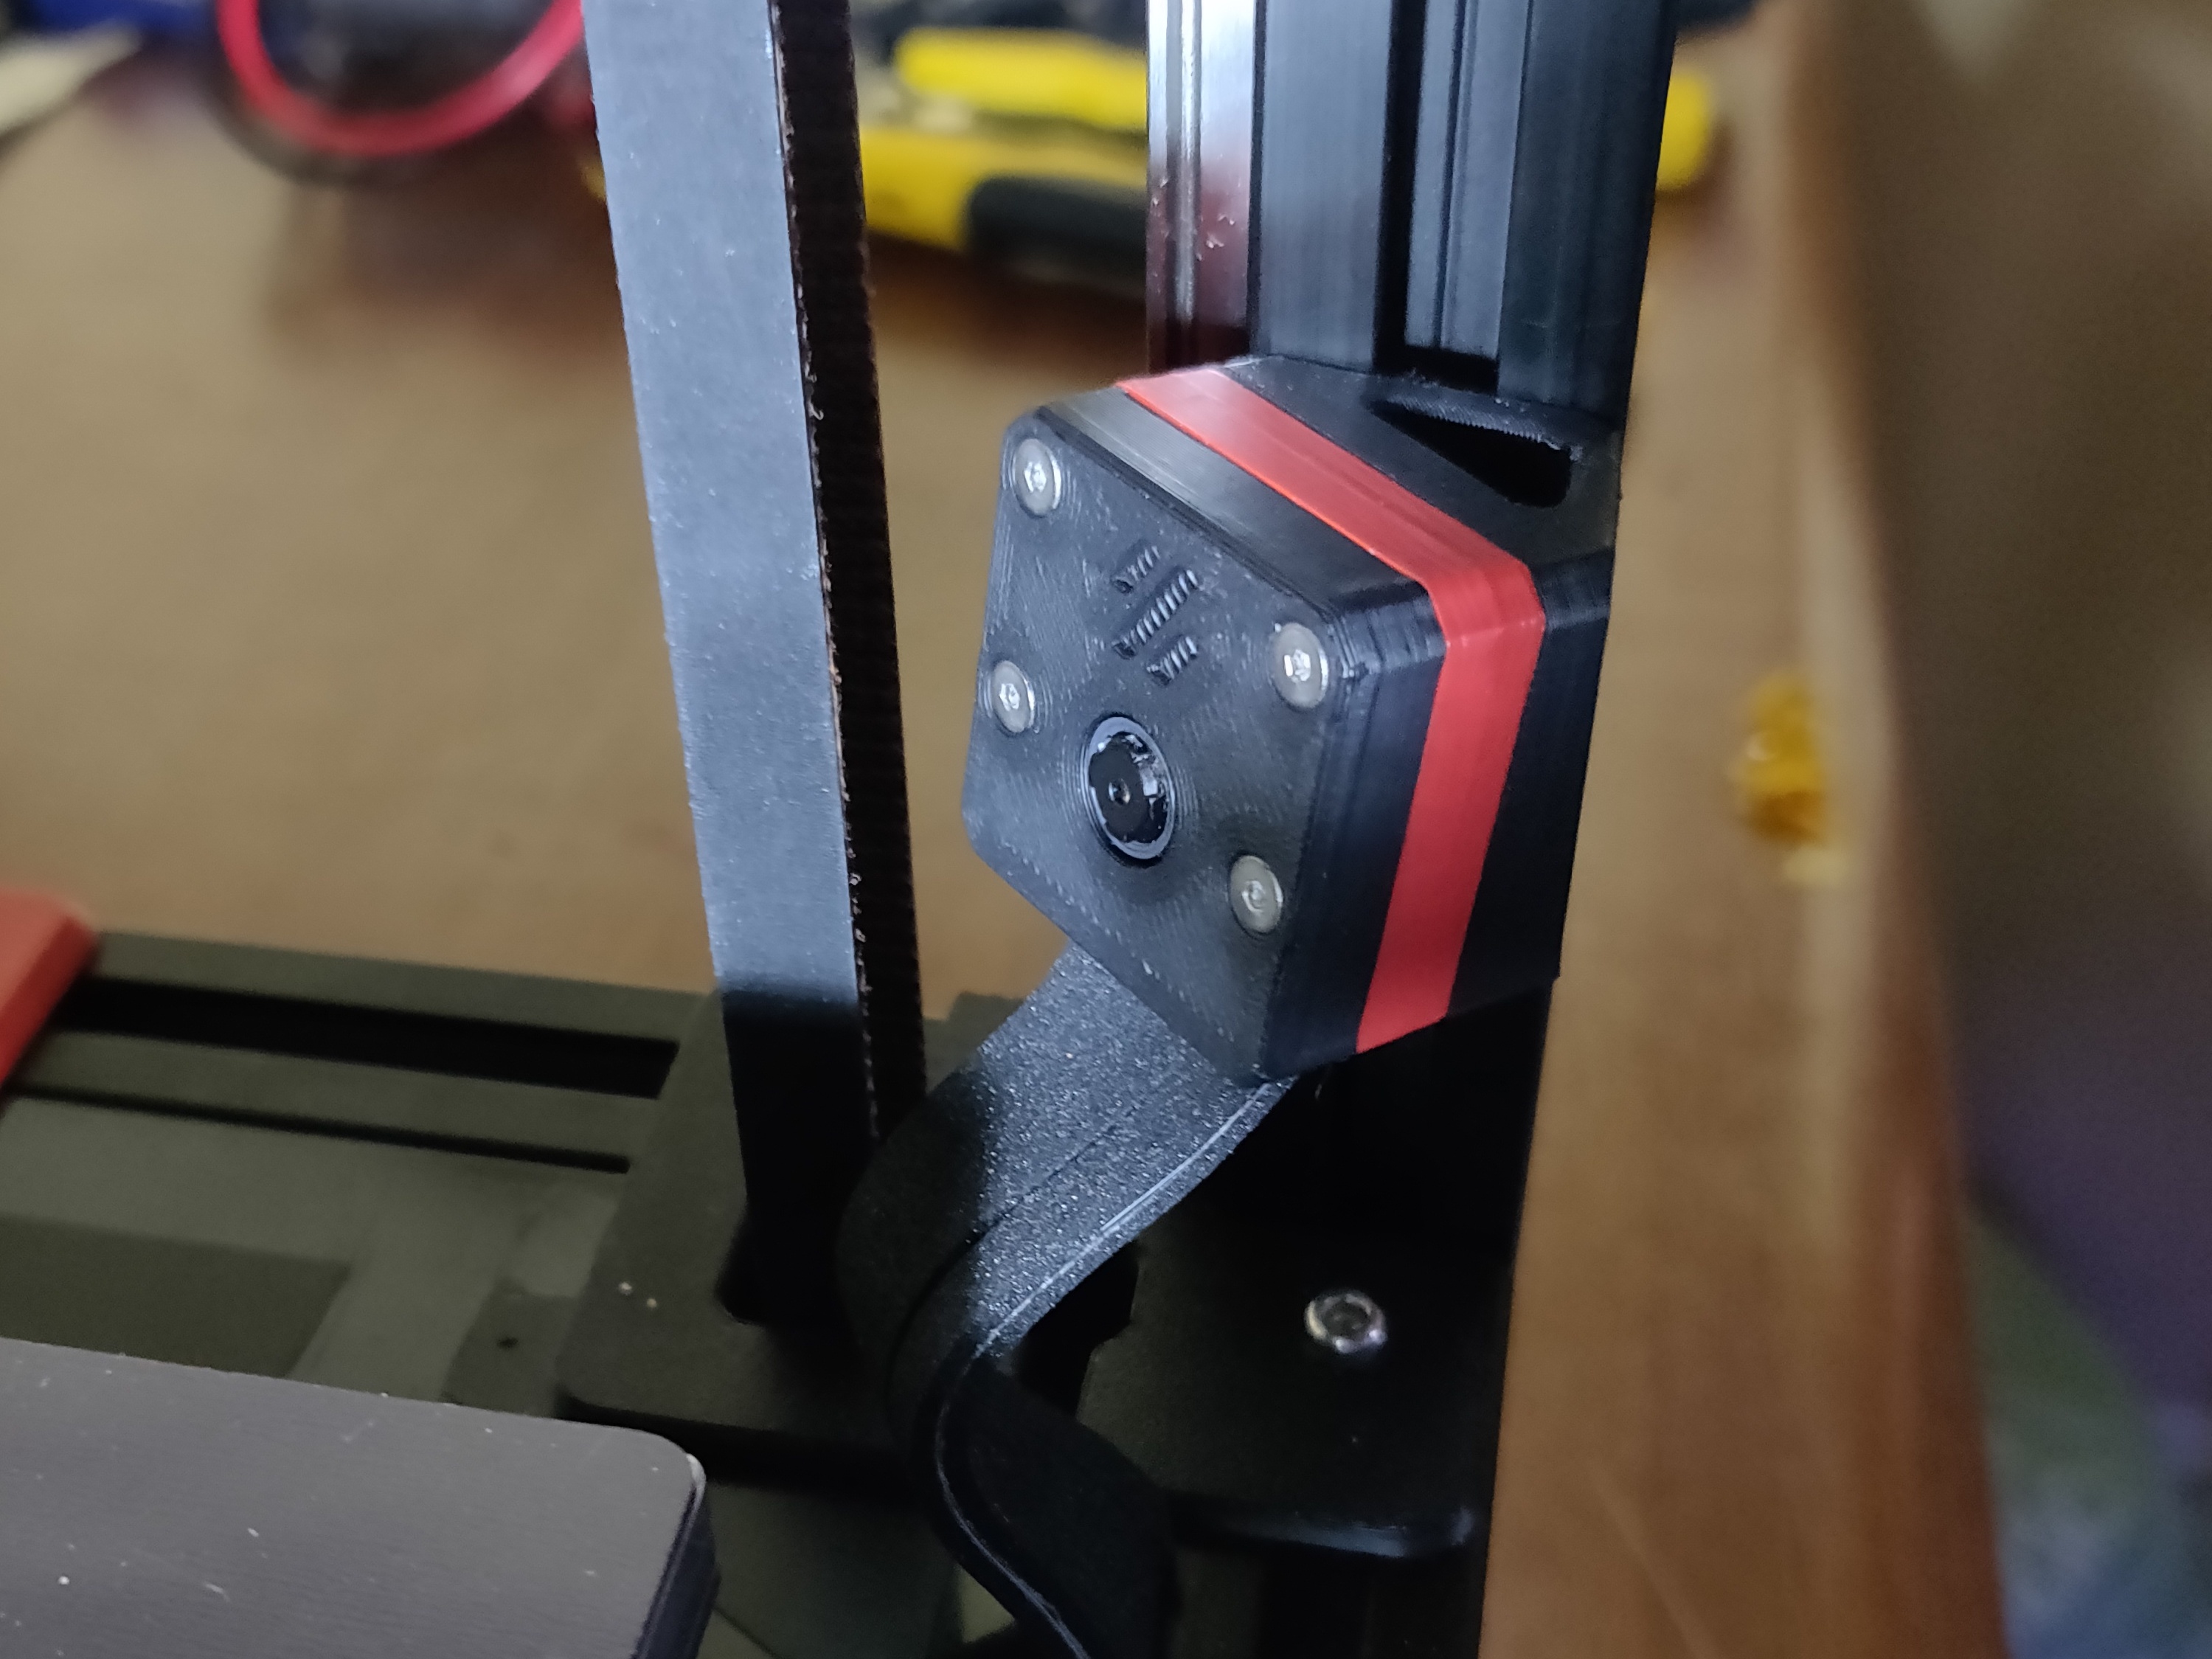
Magnetic Pi Camera Corner Mount for 2020 Extrusion
prusaprinters
<p><i><strong>Introduction:</strong></i></p><p>Minimal setup for surveillance of any printer using a 2020 extrusion as frame.</p><p>It is rotated 45° from the extrusion it's mounted on, so it can look at your build plate/print.</p><p>It uses small screws and embedded magnets for alignment and attatchment.</p><p>I made this for my VORON 2.4.</p><p><i><strong>______________________________________________________________________________________________________________</strong></i></p><figure class="table" style="height:178.891px;width:714px;"><table style="background-color:rgb(255, 255, 255);border:3px ridge rgb(0, 0, 0);"><tbody><tr><td style="background-color:rgb(250, 104, 49);border:1px solid rgb(191, 191, 191);padding:0.4em;vertical-align:top;"><strong>HARDWARE</strong></td><td style="border:1px solid rgb(191, 191, 191);padding:0.4em;vertical-align:top;"><i>Q.ty</i></td></tr><tr><td style="border:1px solid rgb(191, 191, 191);padding:0.4em;vertical-align:top;"><strong>FHCM2x16[mm]</strong> flat head screws for the camera housing parts.</td><td style="border:1px solid rgb(191, 191, 191);padding:0.4em;vertical-align:top;"><i><strong>4x</strong></i></td></tr><tr><td style="border:1px solid rgb(191, 191, 191);padding:0.4em;vertical-align:top;"><strong>M3X8[mm]</strong> BHC or SHC screw to fix the mount to the frame.</td><td style="border:1px solid rgb(191, 191, 191);padding:0.4em;vertical-align:top;"><i><strong>1x</strong></i></td></tr><tr><td><strong>M3 T-nut</strong> for screwing the mount to the frame. Roll-in or hammer head.</td><td><i><strong>1x</strong></i></td></tr><tr><td><strong>5x2[mm] Magnets</strong> for Back Housing and Mount</td><td><i><strong>6x</strong></i></td></tr><tr><td><strong>Foam Tape</strong> to protect the ribbon cable</td><td><i><strong>-</strong></i></td></tr></tbody></table></figure><p>________________________________________________________________________________________________________________</p><figure class="table" style="height:144.125px;width:714px;"><table style="background-color:rgb(255, 255, 255);border:3px ridge rgb(0, 0, 0);"><tbody><tr><td style="background-color:rgb(250, 104, 49);border:1px solid rgb(191, 191, 191);padding:0.4em;vertical-align:top;"><strong>Slicing Instructions</strong></td></tr><tr><td style="border:1px solid rgb(191, 191, 191);padding:0.4em;vertical-align:top;"><i><strong>Material:</strong></i> Recommended ABS/ASA or better</td></tr><tr><td style="border:1px solid rgb(191, 191, 191);padding:0.4em;vertical-align:top;"><i><strong>Quantity:</strong></i> <i>1x</i> Mount; 1<i>x</i> Front Housing; 1x Back Housing.</td></tr><tr><td style="border:1px solid rgb(191, 191, 191);padding:0.4em;vertical-align:top;"><i><strong>Layer Height:</strong></i> 0.2 [mm]</td></tr><tr><td><i><strong>COLOR CHANGE:</strong> at 2,6 [mm] for embedding magnets, for Mount and Back Housing.</i></td></tr></tbody></table></figure><p><i>I recommend printing the mount first, since it takes longer, it's best to get it right the first time.</i></p><p>________________________________________________________________________________________________________________</p><p><i><strong>Embedding Magnets:</strong></i></p><p>Start your print, then make a pile of 6 magnets and take 3 out one at a time, placing them in their holes all in the same orientation at color change. Then resume and let the print finish.</p><p>When it's finished, DO NOT yank it off the plate. Let it cool and detatch, otherwise the magnets will damage the single layer they're sitting on.</p><p>Once you have your mount, take the remaining 3 magnets and attatch them to the newly created 3 spots on the mount , then start the back plate print. </p><p>Keep the mount handy and when it's time, take the 3 magnets off the mount and before inserting them in the holes, FLIP them. Swap left magnet with right magnet too.</p><p>If all goes well, when both magnetic parts are finished they should couple without issues.</p><p>________________________________________________________________________________________________________________</p><p><i><strong>Assembly:</strong></i></p><p>Take your ribbon cable and protect it with some sort of tape. I used KAPTON, as there was no way of inserting foam tape due to clearance, but foam might be better. (I later added foam in the last part of the cable). </p><p><i><strong>---FOR VORON 2.4: </strong>Try to insert it through the deck panel directly, or via one of the Z belt holes. If you can't, try to make your way in by using some sort of spacing tool.</i></p><p><i>If you still can't, use the spacing tool to insert some sandpaper between the estrusion and deck panel, and make some space.<strong>---</strong></i></p><p>Secure the ribbon cable into the Pi Cam, and palce the camera in the Front Housing. </p><p>Sandwich it between the front and back housing, then thread in the screws until the heads are flat. It's normal that the screws come out of the housings.</p><p>________________________________________________________________________________________________________________</p><p><i><strong>Mounting:</strong></i></p><p>You can now screw the mount to the frame, holding it on with a T-nut. I recommend using a hammer head T-nut in case you want to remove the whole thing, keeping your frame clear. Don't fully tighten it yet, you'll be adjusting the height once the camera is on.</p><p>I used some foam tape between the mount and the frame in hopes of dampening some of the vibrations that could transfer through to the camera.</p><p>Now, Take your camera assembly and let it attatch to the mount. Adjust tension on the ribbon cable. It shouldn't be straight, just a little inward curve (I'll eventually make a Z belt cover for VORON 2.4 which has a dedicated slot for the cable).</p><p>________________________________________________________________________________________________________________</p><p><i><strong>Adjusting & Testing:</strong></i></p><p>Connect to your Pi, test that the height is correct, adjust abd tighten if needed, then set the focus with the provided Pi cam tool.</p><p><strong>DONE!</strong></p><p><i><strong>______________________________________________________________________________________________________________</strong></i></p><p>Feel free to <strong>post your makes</strong>, feedback is highly appreciated. </p><p> </p><p>TO-DO:</p><ul><li>Z belt guard with a spot for the ribbon cable;</li><li>Alignment slot on the mount piece;</li><li>Options for other Pi Camera lenses;</li><li>Reversed orientation mount for top to bottom view.</li></ul><p> </p><p>Loosely based on <a href="https://github.com/VoronDesign/VoronUsers/tree/master/printer_mods/richardjm/picam-corner">this mod</a> by RichardJM on GitHub.</p>
With this file you will be able to print Magnetic Pi Camera Corner Mount for 2020 Extrusion with your 3D printer. Click on the button and save the file on your computer to work, edit or customize your design. You can also find more 3D designs for printers on Magnetic Pi Camera Corner Mount for 2020 Extrusion.
