Magnetic Miniatures Storage Tray
thingiverse
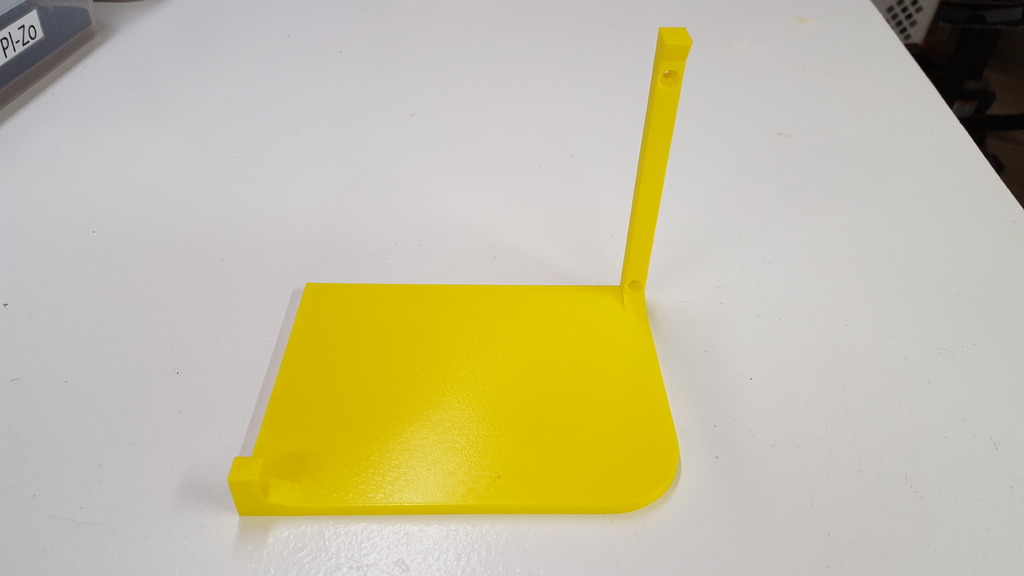
Update - Added Tray_Short_v5 file which is 5mm taller, fitting the short bins perfectly now. This one snugly fits into the smaller compartments. Magnetic Storage Tray for Gaming Miniatures I designed these trays specifically to meet my own needs for storing and transporting Descent 2nd edition miniatures. There are two versions: a shorter one and a taller one. Both require precise .25" x .125" magnets in the tray, while I used .25" x .0625" magnets at the bottom of each miniature. After placing magnets inside the tray, I glued a thin layer of cork to its underside for extra support. Using my router/router table, I carefully routed a slot into the bottom of each miniature to accommodate the magnet's placement. To secure the magnet firmly in place, I applied 5-minute epoxy around it. The tray's side-supports serve multiple purposes: they act as handles for easy removal from the bin and match the height of the bin's interior with its lid on. This way, if the bin is accidentally flipped over, the tray remains securely in position without pushing the miniature tops into the lid. Although not all 63 magnet holes are necessary, especially when using larger base miniatures, they provide a generous setup for storage. The tray consists of four separate parts due to my limited print bed size of 200mm x 200mm. Each part measures 125mm x 160mm in its base form, while the assembled base reaches 250mm x 320mm. To assemble one complete tray, you will need to print four identical pieces: two normal and two mirrored parts. Once printed, these parts can be joined together using glue or bolts – I opted for (6) m3x16 bolts, (6) m3 nuts, and (12) m3 washers for a secure fit. Additionally, there are filament slot guides on two sides of each part to help with assembly. You may need to use a 1.75mm to 1.9mm drill bit to clean out these slots before applying small pieces of 1.75mm filament to provide extra support between the tray parts. This process also aids in keeping the parts aligned during gluing or bolting and while attaching the cork layer to the bottom of the tray. Below, you will find links for the plastic bins and magnets used: Rare-Earth Disc Magnets, 0.25 in. Diameter x 0.0625 in. Thick, 80-Count https://www.magcraft.com/magcraft-nsn0657 Rare-Earth Disc Magnets, 0.25 in. Diameter x 0.125 in. Thick, 40-Count https://www.magcraft.com/magcraft-nsn0579 Sterilite 6.2 qt Modular Latch Box https://www.walmart.com/ip/Sterilite-6-2-qt-Modular-Latch-Box-Teal-Sachet/151160480 Sterilite 12.7 qt Modular Latch Box https://www.walmart.com/ip/Sterilite-12-7-qt-Modular-Latch-Box-Teal-Sachet/164256432
With this file you will be able to print Magnetic Miniatures Storage Tray with your 3D printer. Click on the button and save the file on your computer to work, edit or customize your design. You can also find more 3D designs for printers on Magnetic Miniatures Storage Tray.
