Magnetic LED rail
prusaprinters
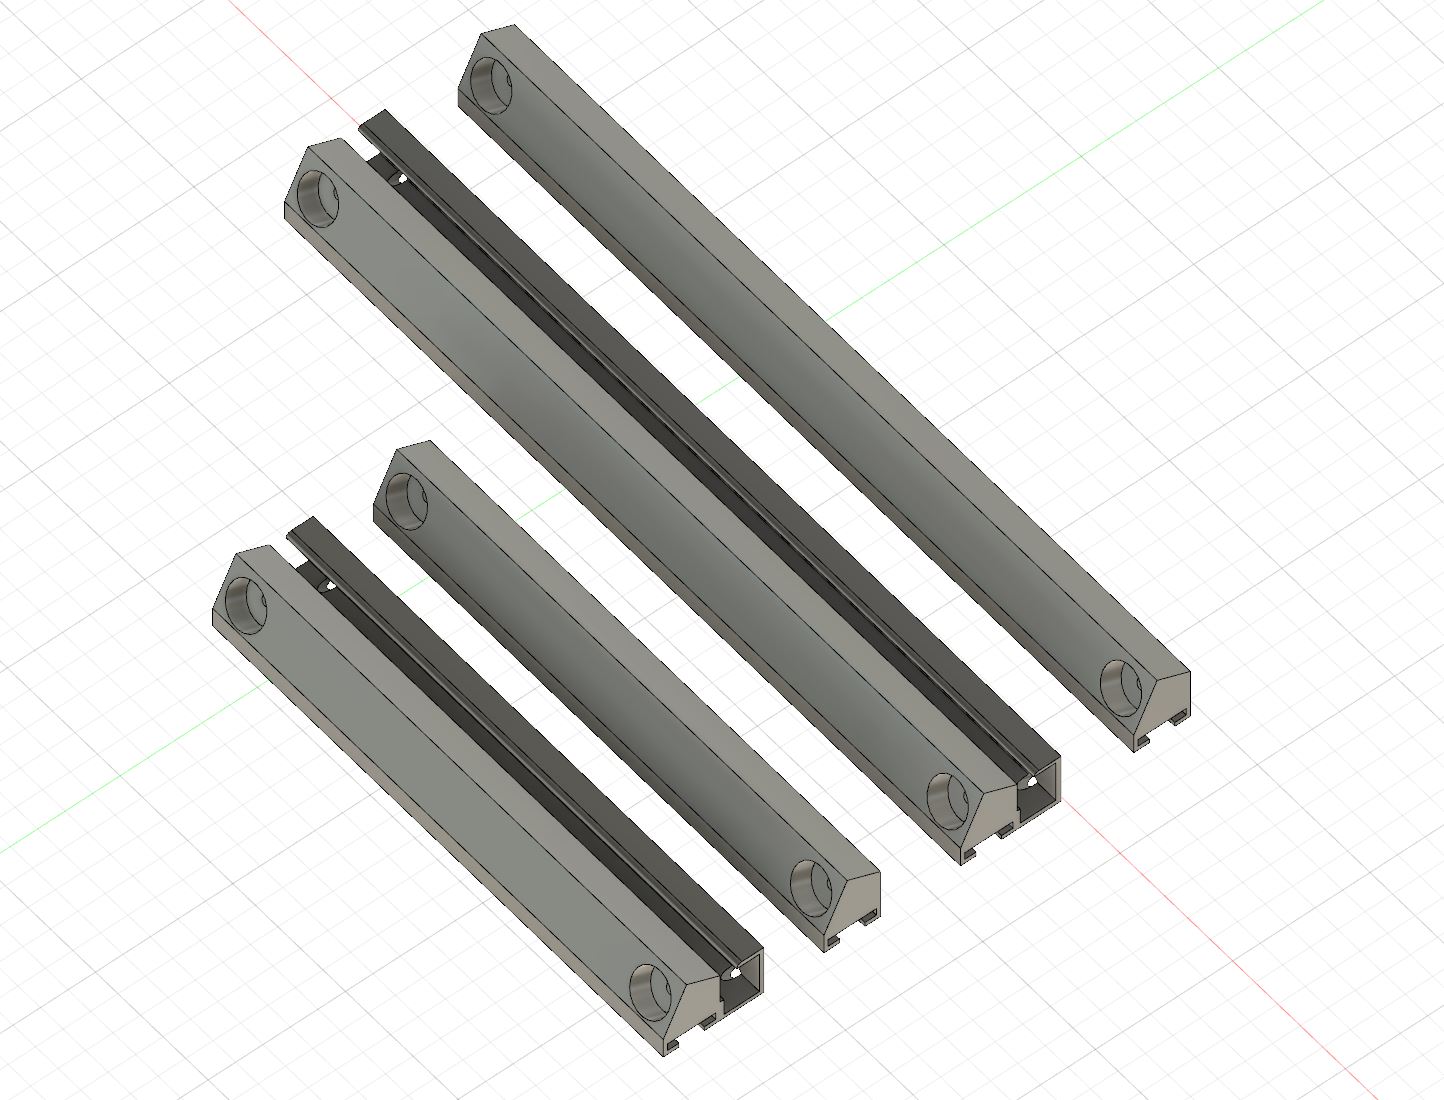
<p>This LED rail does not need brackets, zips or screws like the original. It's pretty easy to mount, can be positioned freely. On top of that you get a much cleaner look.<br><br>The LED strip is simply slid into the rail, which is then fixed with magnets to the corners of the enclosure. </p><figure class="image"><img src="https://media.printables.com/media/prints/177236/rich_content/4e7a5310-226c-47ca-9b5c-ad4888dfe347/whatsapp-image-2022-04-24-at-000258.jpeg#%7B%22uuid%22%3A%221ed956cd-8436-43e8-ae41-deb5d02a39c8%22%2C%22w%22%3A1600%2C%22h%22%3A1200%7D"></figure><p> </p><p><strong>BEFORE</strong><br><br><img src="https://media.printables.com/media/prints/177236/rich_content/b8d33d5a-317f-4da6-a1cc-bbf482490159/lightrail2.jpg#%7B%22uuid%22%3A%2218ad6f7c-1e4a-48f0-9e87-096ba52f0090%22%2C%22w%22%3A1600%2C%22h%22%3A1200%7D"><br><br><strong>AFTER (without cable duct)</strong></p><figure class="image"><img src="https://media.printables.com/media/prints/177236/rich_content/999ecc8a-506f-4017-91d9-e11f8a46f100/whatsapp-image-2022-04-24-at-213330.jpeg#%7B%22uuid%22%3A%227e0fb206-3ffc-47c0-b609-c91c119492de%22%2C%22w%22%3A1600%2C%22h%22%3A1200%7D"></figure><p> </p><p><strong>AFTER (with cable duct)</strong></p><figure class="image"><img src="https://media.printables.com/media/prints/177236/rich_content/890382d8-5187-4022-ad46-efb449bc7583/whatsapp-image-2022-04-25-at-175336.jpeg#%7B%22uuid%22%3A%224af0f135-9312-4b17-a099-7b2332697133%22%2C%22w%22%3A2000%2C%22h%22%3A1500%7D"></figure><p>The LED rail is slightly angled.</p><p>The STL-File contains 4 pieces. </p><ul><li>1 x 15 cm with cable duct</li><li>1 x 15 cm without cable duct </li><li>1 x 10 cm with cable duct</li><li>1 x 10 cm without cable duct</li></ul><p>Print as many you need and combine them as you like. You can use the cable duct version to hide the cable of a temperature sensor for example.<br><br><strong>The rail is designed for 8 mm LED strips without waterproof coating. </strong><br><br><strong>Hint:</strong> Don't remove the protective paper that's on the back of the adhesive tape of the LED stripe, otherwise you will not be able to slide it in. If you plan to reuse your old LED stripe, which was already attached onto the old rail, simply remove all of the adhesive tape.</p><p>You will also need two 8 x 4 or 8 x 3 magnets per piece. <strong>Hint: </strong>Pay attention to the polarity of the magnets at the connection points between two rails. If used correctly the rails will be pulled together. <br><br><strong>Important:</strong> <i>Print upright</i> and with rim. No supports are needed then. Take a look at the gcode. <strong>I strongly recommend PETG due to its resistance to higher temperatures.</strong><br><br><img class="image_resized" style="width:100%;" src="https://media.printables.com/media/prints/177236/rich_content/37907870-98c0-4516-b925-eb8c70cf41ee/whatsapp-image-2022-04-24-at-102437.jpeg#%7B%22uuid%22%3A%2261cee17f-051b-4d6f-96ce-3996cfc36d37%22%2C%22w%22%3A1200%2C%22h%22%3A1600%7D"><br><br> </p>
With this file you will be able to print Magnetic LED rail with your 3D printer. Click on the button and save the file on your computer to work, edit or customize your design. You can also find more 3D designs for printers on Magnetic LED rail.
