Magnetic L.E.D Lighting (Anycubic)
thingiverse
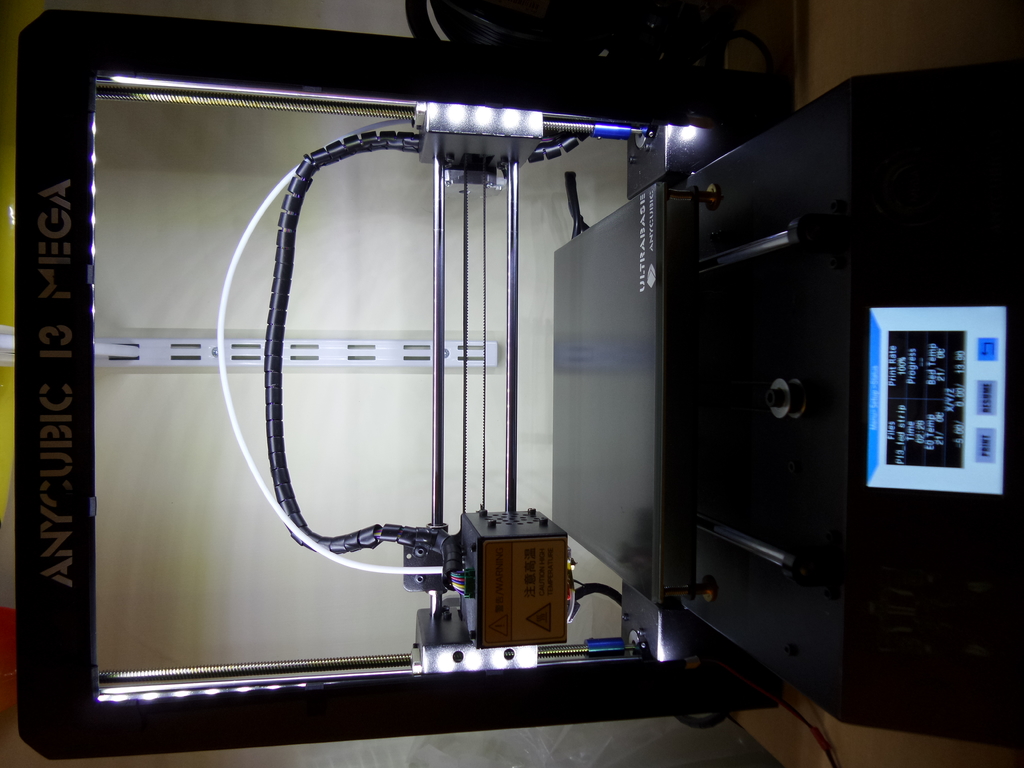
Custom LED Lighting for Printers: A Step-by-Step Guide Designing a unique and functional LED lighting system for your printer requires careful planning. To create an effective lighting solution, you'll need the right materials. Here's what you'll need: * 2 x 120mm LED strips * 6 x 100mm LED strips * 8 small brackets to attach the LEDs to the frame * 2 corner brackets for secure attachment * 12 N50 magnets measuring 6mm x 2mm To begin, arrange the LED strips at an angle to prevent excessive light from shining forward. This will help you achieve a balanced and even lighting effect. Once you've determined the optimal placement of your LEDs, attach them to the frame using the small brackets and corner brackets provided. The N50 magnets will secure the brackets firmly in place. With these materials and a bit of planning, you can create a custom LED lighting system that enhances your printer's functionality and aesthetic appeal.
With this file you will be able to print Magnetic L.E.D Lighting (Anycubic) with your 3D printer. Click on the button and save the file on your computer to work, edit or customize your design. You can also find more 3D designs for printers on Magnetic L.E.D Lighting (Anycubic).