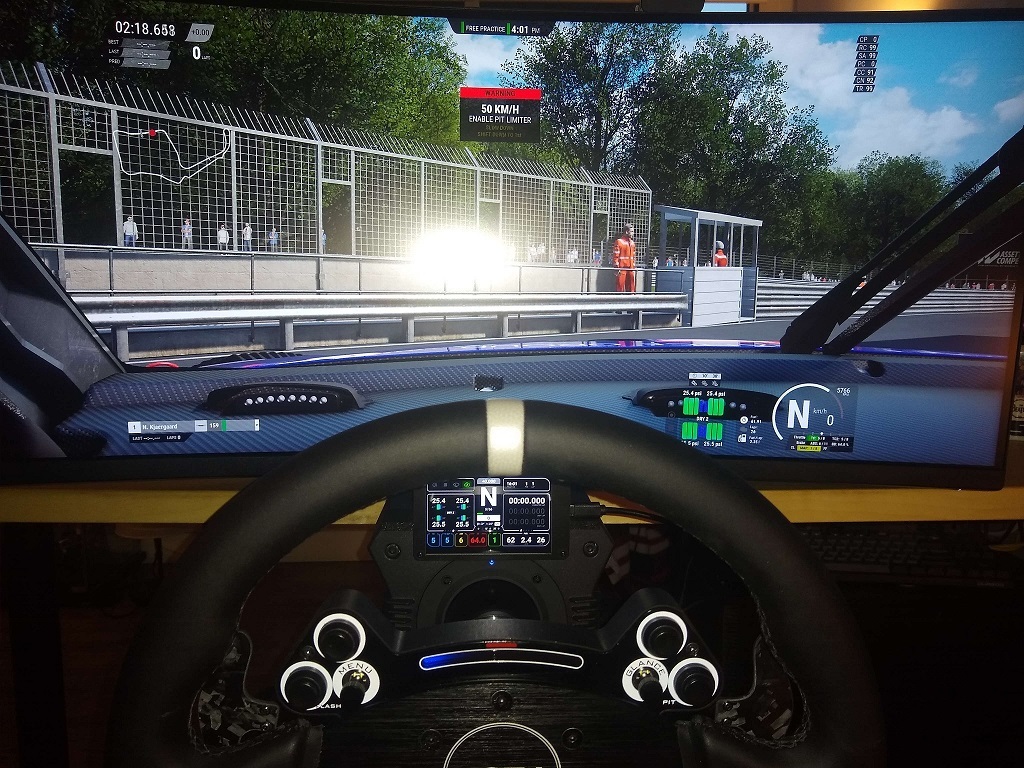
Magnetic Dashboard for Moza R9
prusaprinters
<p>EDIT added V2 components, now the magnets are force mounted but can get away easily thanks to a cut on both sides, does not need magnet cover anymore, and only one magnet per hole is enough.</p><p> </p><p>Mount for 3.5"dashboard for moza R9</p><p>Needed material:</p><p>6 to 12 M2 8mm screws and nuts (you can either use 2 diagonal or 4 screws for each thing)</p><p>8 to 24 12mm diameter magnet (depends on their strenght and thickness, can accomodate up to 4mm thickness)</p><p>Screen (the small one (25CAD) <a href="https://www.aliexpress.com/item/1005002358370951.html?spm=a2g0o.order_detail.0.0.378ef19c3dWMS8">https://www.aliexpress.com/item/1005002358370951.html?spm=a2g0o.order_detail.0.0.378ef19c3dWMS8</a>)</p><p>The bracket and screen magnet support both have 6 holes for magnets, you can double stack thin magnets if needed, I double stacked all but middle rows.</p><p>I used the threads in the scrren case to screw on the screen magnet holder with M2 8mm screws</p><h3>Print Settings</h3><p><strong>Printer:</strong></p><p>KP3S</p><p><strong>Rafts:</strong></p><p>No</p><p><strong>Supports:</strong></p><p>No</p><p><strong>Resolution:</strong></p><p>.2</p><p><strong>Infill:</strong></p><p>10%</p><p><strong>Filament:</strong></p><p><a href="http://www.amazon.com/s?url=search-alias&field-keywords=NA+PLA%2B">NA PLA+</a></p><p>Black</p><p> </p><p> </p><p>Category: DIY</p>
With this file you will be able to print Magnetic Dashboard for Moza R9 with your 3D printer. Click on the button and save the file on your computer to work, edit or customize your design. You can also find more 3D designs for printers on Magnetic Dashboard for Moza R9.
