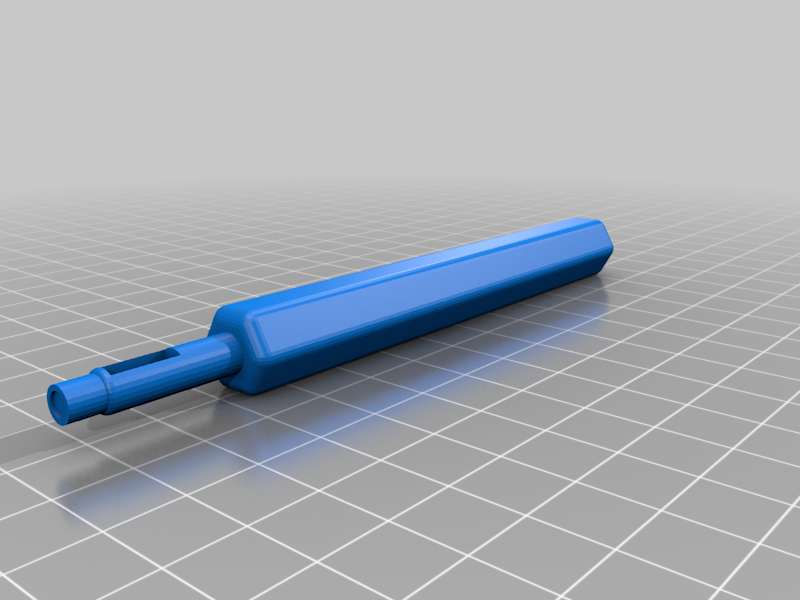
Magnet insertion tool for 3mm, 4mm, 5mm diameter magnets
thingiverse
Designed for inserting 3mm, 4mm, and 5mm diameter magnets into printed projects. - Load a few magnets into the 10mm slot in the post in the desired orientation/polarity. These magnets hold the magnet on the tip in the desired polarity. Place some foam or tissue on the slot and then some cellophane tape to keep them in the slot. - Place a magnet to be inserted into the recess on the tip. It will only stick in the desired polarity. - Put a small amount of superglue in the magnet hole in your project, as needed. - Using this tool, align and start the magnet into the magnet hole in your project. - Remove this tool and press the magnet fully into the hole with a stick and wipe off any excess superglue. - Check the tool for any accumulated superglue and wipe off before it sets. Print two of these in different colors and load them with magnets in opposite polarities. To print, add supports under the post and tip area. This is a Fusion 360 parameterized design. On request, I'll post a .stl for other diameter magnets.
With this file you will be able to print Magnet insertion tool for 3mm, 4mm, 5mm diameter magnets with your 3D printer. Click on the button and save the file on your computer to work, edit or customize your design. You can also find more 3D designs for printers on Magnet insertion tool for 3mm, 4mm, 5mm diameter magnets.
