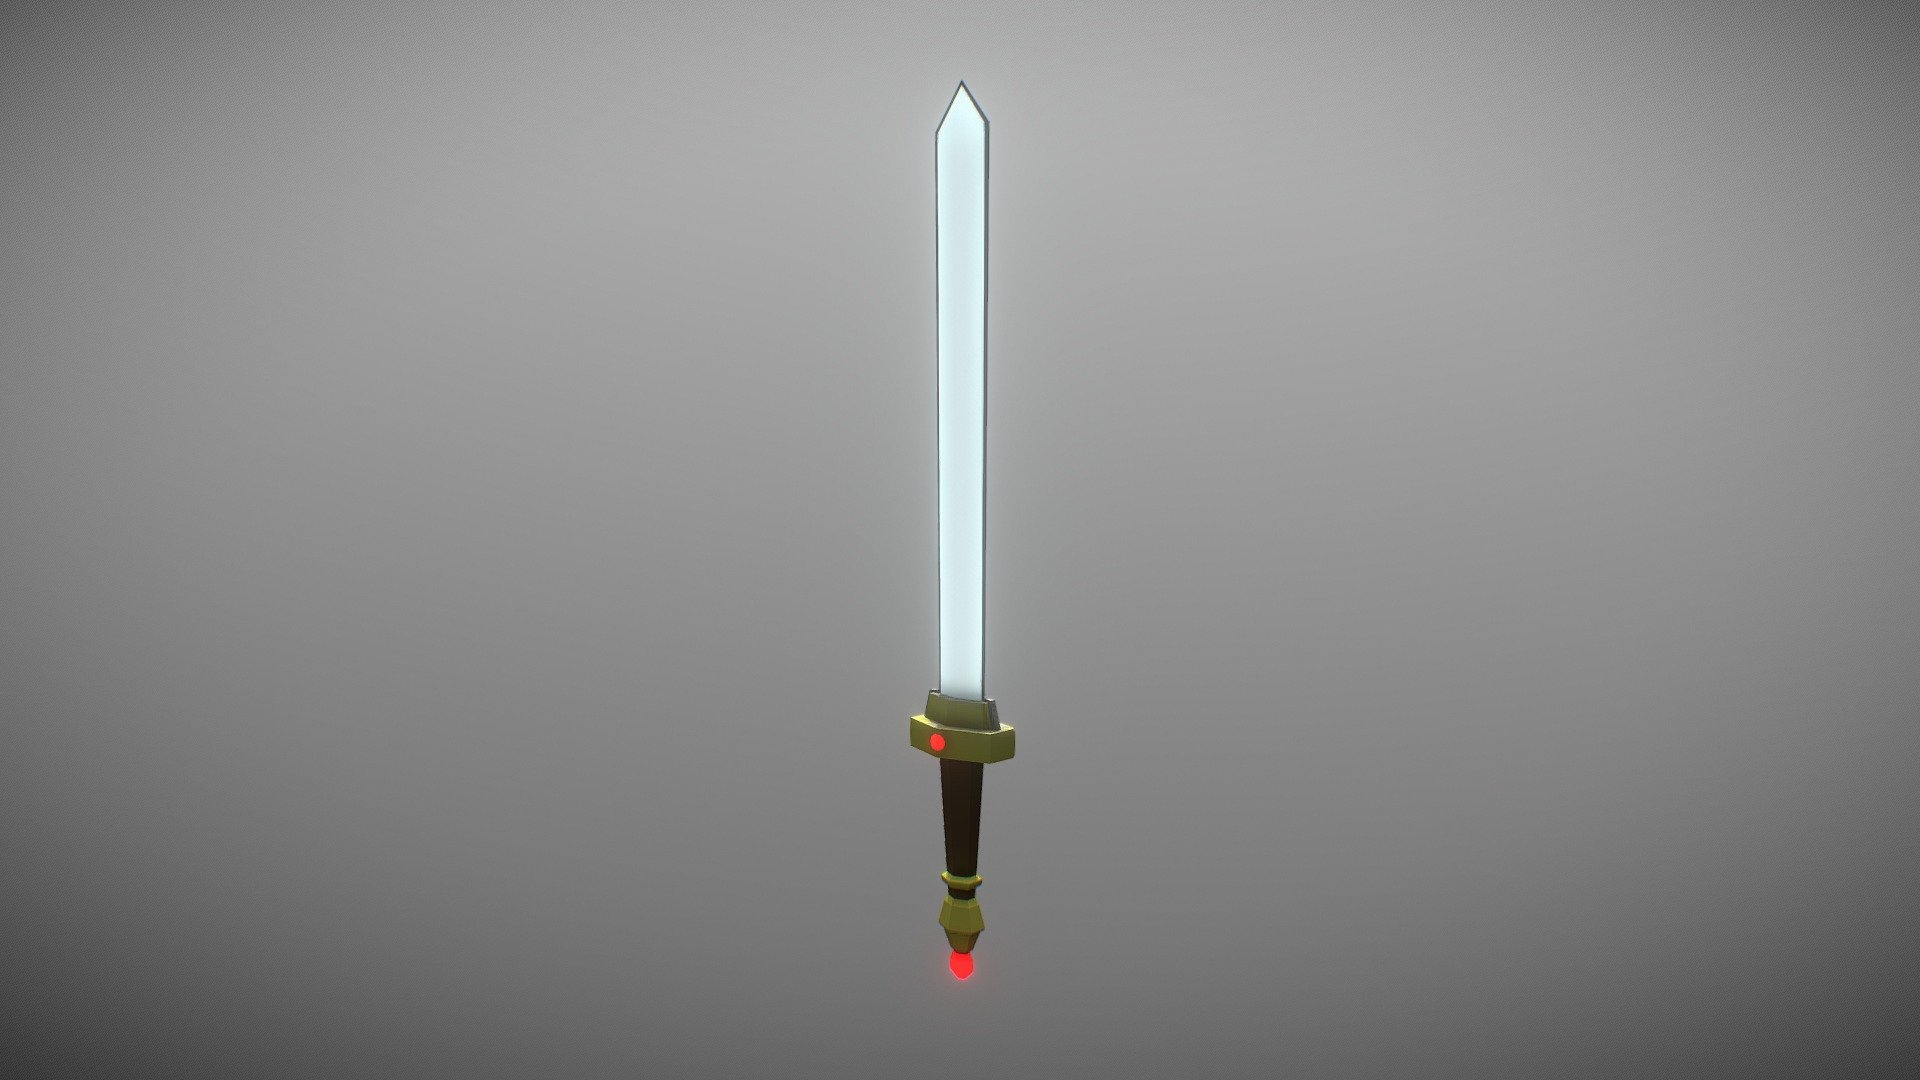
Magical Sword Tutorial
sketchfab
Here's a step-by-step guide to creating your own 3D sculptures at home: First off, you're going to need some basic materials like clay or modeling dough, a digital camera, and a computer with Adobe Photoshop. Now, let's get started! Step 1: Create Your Sculpture Get out your clay or modeling dough and start sculpting away. Don't worry too much about perfection - we'll be editing this later on. Just focus on creating something that looks vaguely like what you want. Step 2: Take a Picture of Your Sculpture Now, take a picture of your sculpture using your digital camera. Make sure the lighting is good and the background is clean. You don't want any distractions in there! Step 3: Edit Your Picture in Photoshop Open up Adobe Photoshop on your computer and import the picture you just took. Now it's time to start editing! Use the "select" tool to select areas of the picture that need fixing, then use the "delete" tool to get rid of any blemishes or unwanted objects. Step 4: Add Some Color Now that your picture is looking good, let's add some color. You can do this by using the "paint bucket" tool in Photoshop. Just select a color and start painting away! Step 5: Save Your Masterpiece Finally, it's time to save your masterpiece! Make sure you save it as a JPEG file so that it will look good on the internet. And there you have it - you've just created your very own 3D sculpture at home!
With this file you will be able to print Magical Sword Tutorial with your 3D printer. Click on the button and save the file on your computer to work, edit or customize your design. You can also find more 3D designs for printers on Magical Sword Tutorial.
