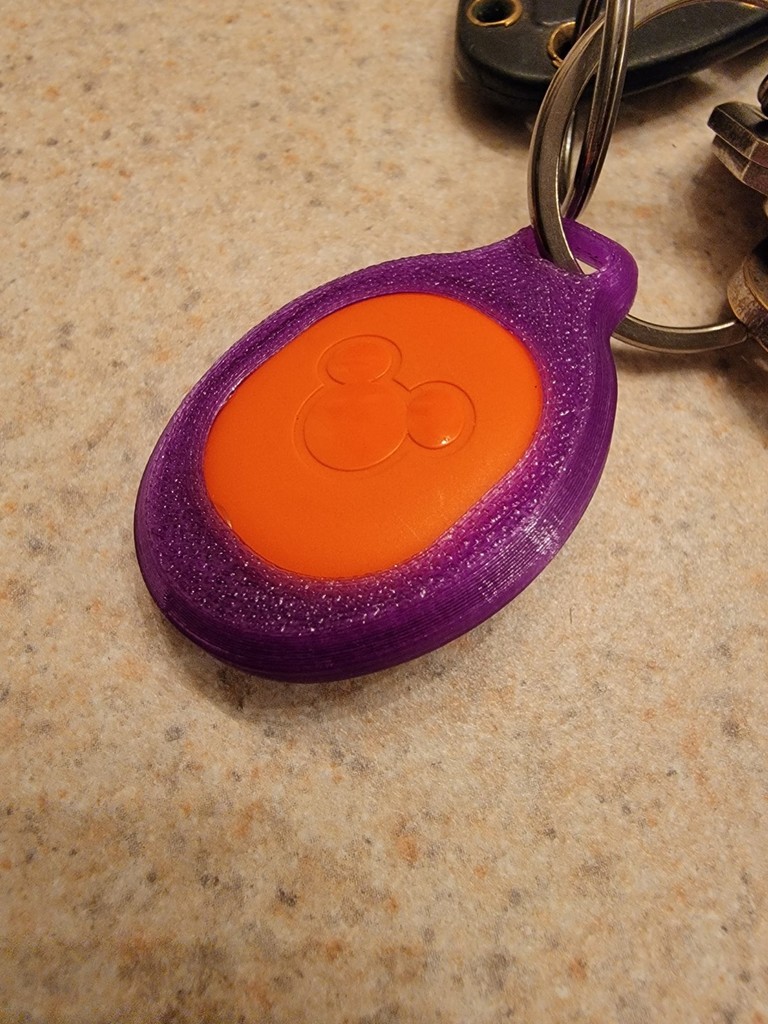
Magic Band Keychain
prusaprinters
<p>Turn your Magic Band v2 bracelet into a sturdy keychain.</p> <p>1.) 3D print this keychain using PETG, 90%+ infill (solid), <= 0.15mm layer height, and no supports. Orient the "face" of the keychain toward the bed, and the "back" upward. I used a textured heat bed sheet, which left a nice texture on the "face".<br/> 2.) Use a Phillips #000 ("triple zero", AKA very small) screwdriver to remove the two screws and backplate from the Magic Band v2 bracelet.<br/> 3.) Remove the RFID puck from the bracelet and put it into the 3D printed keychain.<br/> 4.) Attach the original backplate and screws to the 3D printed keychain.<br/> NOTE: For me, the tiny screw holes in the printed part were open enough to get the screws in. If they aren't for you, perhaps heat a small pin or thin wire, and poke them open?</p> <h3> Print Settings</h3> <p><strong>Printer Brand:</strong></p> <p>Prusa</p> <p><p class="detail-setting printer"><strong>Printer: </strong> <div><p>I3 MK3S</p></div><strong>Rafts:</strong></p> <p>No</p> <p><p class="detail-setting supports"><strong>Supports: </strong> <div><p>No</p></div><strong>Resolution:</strong></p> <p>0.15mm</p> <p><p class="detail-setting infill"><strong>Infill: </strong> <div><p>90%</p></div><br/> <strong>Filament:</strong><br/> eSun PETG Semi-Transparent Purple</p> </p></p></p> Category: Keychains
With this file you will be able to print Magic Band Keychain with your 3D printer. Click on the button and save the file on your computer to work, edit or customize your design. You can also find more 3D designs for printers on Magic Band Keychain.
