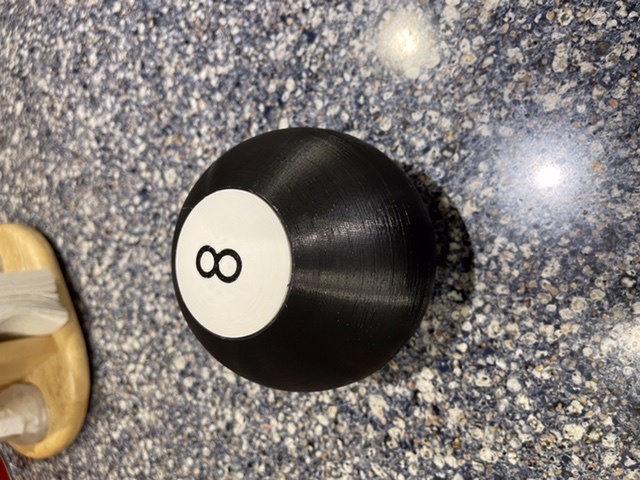
Magic 8 ball with battery
thingiverse
Remake of my plug-in magic 8 ball. You will need some basic Arduino and soldering skills for this. You can get the info you need for the Arduino skills at www.Arduino.cc With a little bit of practice and training you can easily change all of the responses. Setting up electronics on a breadboard print to printing is a good idea. Wiring setup: Battery holder: Positive to B+ on Charger Board Negative to B- on Charger Board Charger Board: Out+ to PIN 30 (VIN) on Nano 33 Out- to PIN 29 (GND) on Nano 33 Nano 33: PN 4 (GND) to GND on OLED PIN 17 (3.3v) to VCC on OLED PIN 23 to SDA on OLED PIN 24 to SCL on OLED PART LIST: Jumper wires and/or soldering setup. Battery holder https://www.amazon.com/dp/B00LSG5BKO/ref=cm_sw_em_r_mt_dp_66Q4CJF6CMS4ZG26CWQS?_encoding=UTF8&psc=1 Charger board https://www.amazon.com/dp/B00LTQU2RK/ref=cm_sw_em_r_mt_dp_SNPDM7BEHPXMW4NR1PA1?_encoding=UTF8&psc=1 Nano https://www.amazon.com/dp/B07WV59YTZ/ref=cm_sw_em_r_mt_dp_Z8989X72S619W05CXSWT?_encoding=UTF8&psc=1 Screen https://www.amazon.com/dp/B08LYL7QFQ/ref=cm_sw_em_r_mt_dp_CP87FPW8CZRK0F9EV4GM?_encoding=UTF8&psc=1 Magnets: https://www.amazon.com/dp/B07873ZCY4/ref=cm_sw_em_r_mt_dp_MC788KGSXTP0GN3GPN6W?_encoding=UTF8&psc=1 Any 18650 battery
With this file you will be able to print Magic 8 ball with battery with your 3D printer. Click on the button and save the file on your computer to work, edit or customize your design. You can also find more 3D designs for printers on Magic 8 ball with battery .
