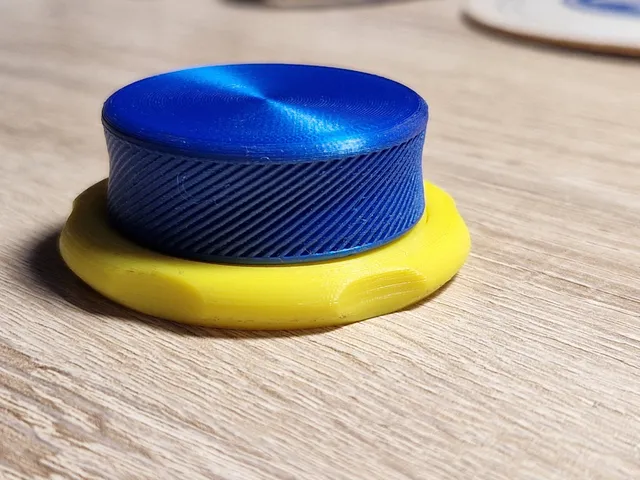
MAG clicker
prusaprinters
IntroThis magical device transfers your feelings of stress and annoyment to other people in the room*, calming your nerves and helping to find focus.*Warning! Other people might return the annoyment and stress to you if this device is used excessivelyTo fine tune the effect on the user and others nearby this device comes with adjustable settings 00 - No click, free spin (if ceramic bearing would be used the spin will be as free as the bearing itself is, with regular metal bearings the magnetic fields inside the device will stop the spin gradually.01* - 2 loud clicks per 1 detent, "dampening" detents10* - 1 soft click per detent, “springy” softer detents (Depending on the print the setting may not want to stay engaged for long) 11 - 2 loud clicks per 1 detent, strong detents*Setting 01 and 10 might get flipped depending on how you assemble the parts.Demo video of the 4 available modes Build GuideBOMNoNameQtyPrint/ BuyNotes1Button1PrintPaint on support for bearing surface. Pause for inserting magnets.2Base1Print 3Inner base1PrintPaint on support for slots and exterior cutouts 4Bearing retainer1Print 5Switch2PrintPause for inserting magnets6Bearing1Buy608 8x22x7 “rollerblade” bearing7M3x16 screw1BuyDIN 7991 or similar Countersunk Head8M3 hexagon nut 1BuyDIN 934 or similar9D5 H2 Magnet14BuyMagnets with diameter 5 mm and height of 2 mmPrintingI recommend using the 3mf files that start with the word “Settings….” as these already include correct orientation and pauses on right heights.Button needs magnets inserted in the middle of the print, insert magnets all in the same orientation (does not matter whether S or N pole is up). I just hold a stack of magnets and push the magnets in one by one from the same end of the stack to keep track of the orientation.Switches need magnets inserted in the middle of the print but those magnets need to go in in flipped orientation (at least for the effect I have shown). I use the same technique of having all the magnets in the stack but I flip the stack between inserts so if one magnet is N pole up the other one will have S pole up.Bases do not need anything special except for some paint on supports for the inner baseAssemblySetup everything you will need (all the magnets should be inside your printed partsCheck that the switches attract to each other as in the image and remember the end that has the magnet for next stepPlace the switches in the Inner Base so that the magnets will be closest to the exterior edgeBut the base on the bottom of the inner base as shown on the imageKeeping things together add the bearingAdd the Bearing retainer and the nutScrew everything together with the screw from the bottom.Bush the button over the bearing and you are done. Happy clicking!( Even if the fit is a bit loose the magnets will keep the button on)
With this file you will be able to print MAG clicker with your 3D printer. Click on the button and save the file on your computer to work, edit or customize your design. You can also find more 3D designs for printers on MAG clicker.