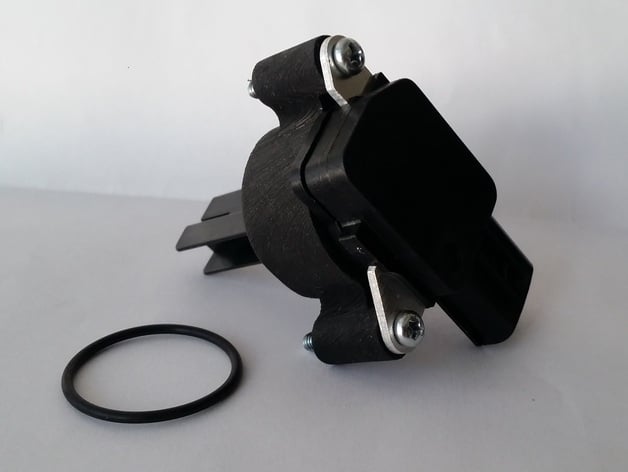
MAF Power spacer
thingiverse
This text appears to be instructions for installing an upgraded MAF (Mass Airflow) sensor in several Toyota models, likely with the aim of improving performance. Here's a step-by-step breakdown: **Step 1: Unscrew the Old MAF Sensor** * Use a Phillips screwdriver to remove the old MAF sensor from the intake. * Be gentle when removing the sensor to avoid damaging any surrounding components. **Step 2: Install the Spacer and New MAF Sensor** * Carefully install the new spacer (if required) into the original MAF sensor housing. * Place the upgraded Denso 197-6110 or 197-6160 MAF sensor onto the spacer (or directly into the intake, if not using a spacer). **Step 3: Reinstall with Longer Screws** * Install longer screws to secure the new MAF sensor in place. * Tighten these screws securely to ensure the MAF sensor remains firmly attached. After completing these steps, your Toyota should have improved airflow and possibly better engine performance. Make sure not to overtighten or damage any surrounding components. The instructions appear to be geared towards improving airflow in Toyota vehicles from 2006-2014.
With this file you will be able to print MAF Power spacer with your 3D printer. Click on the button and save the file on your computer to work, edit or customize your design. You can also find more 3D designs for printers on MAF Power spacer.
