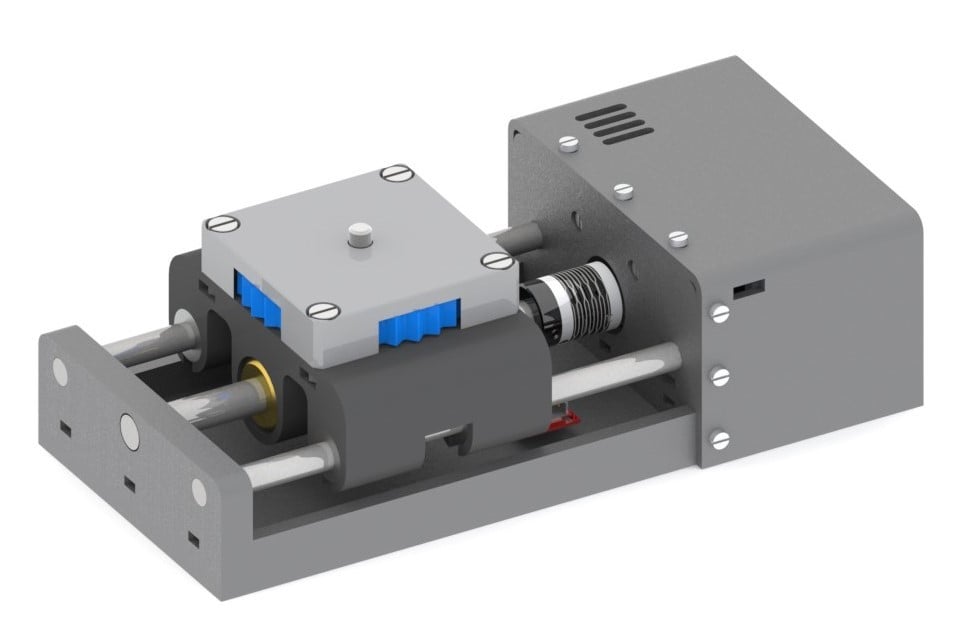
Macro Rail
thingiverse
Macro Rail for Automatic Stacker Photography in Macro Photography. The base has a built-in 3/4" bolt for mounting on the tripod. There is also a recess on the carriage to attach a 3/4" screw to support the camera. The motor and electronics are covered by a lid that forms two departments to the sides of the motor, one for control electronics and another for Bluetooth. In this case, we do not carry a fan, as the motor does not require much power and the driver can be powered without forced cooling. A final stop in the system allows the home of the system. I included two versions of the carriage, one with two bearings and another with 4, to use according to the weight of the camera. The one with 2 bearings allows for a greater travel distance, being shorter. With a trapezoidal screw of 2mm per turn and a driver of 1/32, the system allows a resolution of 0.3um. With a TMC2100 driver of 1/16, we will get 0.6um with total silence. More than enough for good macro photography. In the photos, the camera is mounted with a Nikon x4 objective with a depth of field of 20um and a Tanrom 60 Macro. Besides the printing, you will need a trapezoidal advance screw. http://es.rs-online.com/web/p/products/8625272/?tpr=1 And a round screw in steel http://es.rs-online.com/web/p/rodamientos-planos-tuercas/8625379/?origin=PSF_428577|acc or in copper http://es.rs-online.com/web/p/rodamientos-planos-tuercas/8625345/?origin=PSF_428577|acc Two or four LMU88 depending on the mounted bearing https://kitprinter3d.com/en/mechanical/60-rodamientos-lmu88.html I introduced an improvement, through a wheel that carries the 1/4" screw to be able to tie the camera without needing to turn it on the platform, since in the version of the photograph, to screw the camera you had to advance the Macro Rail previously. For system control, an Arduino Uno with the CNC SHIELD board can be used. And grbl 1.1. The camera trigger should be done through an optocoupler. I uploaded two examples. To control the equipment without cables, a Bluetooth module would be placed in the serial port connector of the SHIELD. Since the control would be gcode, a text editor can be used to generate the program. However, I have made an APK for Android to manage the macro more simply.
With this file you will be able to print Macro Rail with your 3D printer. Click on the button and save the file on your computer to work, edit or customize your design. You can also find more 3D designs for printers on Macro Rail.
