M3D Cable Catch II
pinshape
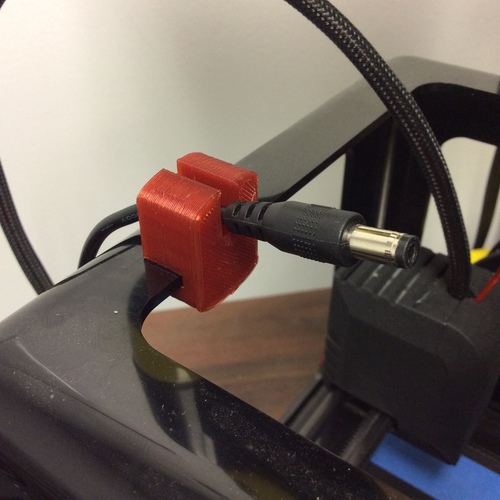
So, my Cable Catch for the Micro has been a modest hit both here and on Pinshape, but let the record show I am not one to rest on laurels and that art is never truly finished, only abandoned. A user on Thingiverse by the name of philipmalone had brought to my attention that design does not work for PLA or ABS-R filaments. This is a perfectly good and fair point. I may use Tough Ink almost exclusively, but it's not for everyone. This is a pair of modified versions of cable catch that will favor solid filaments. I got pretty lucky with print here; it was perfectly snug on that corner of frame, but your mileage may vary. I didn't bother printing second version, but since it's just a retooling of first, your results should be about the same. The Supercatch is all one piece and fairly straightforward, but Pacifier is going to involve getting hands dirty... and a bit sticky if you're not careful. Fair Warning: barring any chisels or hammers or diving boots, fastening Nuk onto power cable is an "All Sales Final" sort of affair. You've got two options; 1) Glue halves together over the cable and simply let it slide up and down cord, or 2) if you don't want anything left to chance, you can gently coat inside of Nuk's barrel with a thin layer of glue to hold cable permanently in place. Also, bear in mind I'm using stock version of power supply that came with my printer. I've heard some people's wall warts lack M3D logo on the back and look different from mine. I seriously doubt this will lead to any serious discrepancies in cable thickness, but I do suggest inspecting STL file first before you get going.
With this file you will be able to print M3D Cable Catch II with your 3D printer. Click on the button and save the file on your computer to work, edit or customize your design. You can also find more 3D designs for printers on M3D Cable Catch II.
