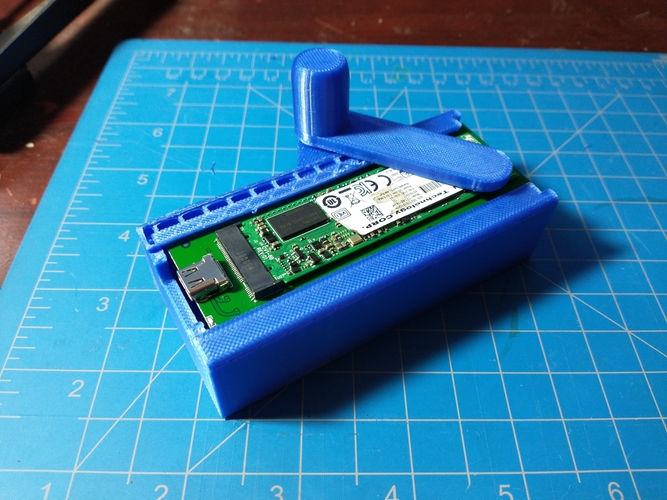
M2 Caddy
pinshape
I bought an external device to attach m2 drives to my computer, but the device gets sealed by screws. This is inefficient when you have dozens to format or test. This device enables me to take out the board that the m2 drive gets secured to, but allows it to be held down with a lever. The side rails allow the board to slide through until it hits the end, then there's enough space to attach a USB cable from the device to a computer or tablet. Once it's in place you can attach an m2 drive to it if not already attached, then instead of using a screw to hold it down, swing the lever near the end to secure it. Because it's a swivel lever, it will work with drives smaller than 2280. You still need to properly eject the drive from your computer, but you can do it much faster now. In the photo, it shows one top ripped off. This was my second attempt as I printed it in place with the lever overhanging on the side. When it printed, I put it too close in order to save filament and supports, only to have it fuse itself during printing. I then changed it so the lever is two separate pieces.
With this file you will be able to print M2 Caddy with your 3D printer. Click on the button and save the file on your computer to work, edit or customize your design. You can also find more 3D designs for printers on M2 Caddy.
