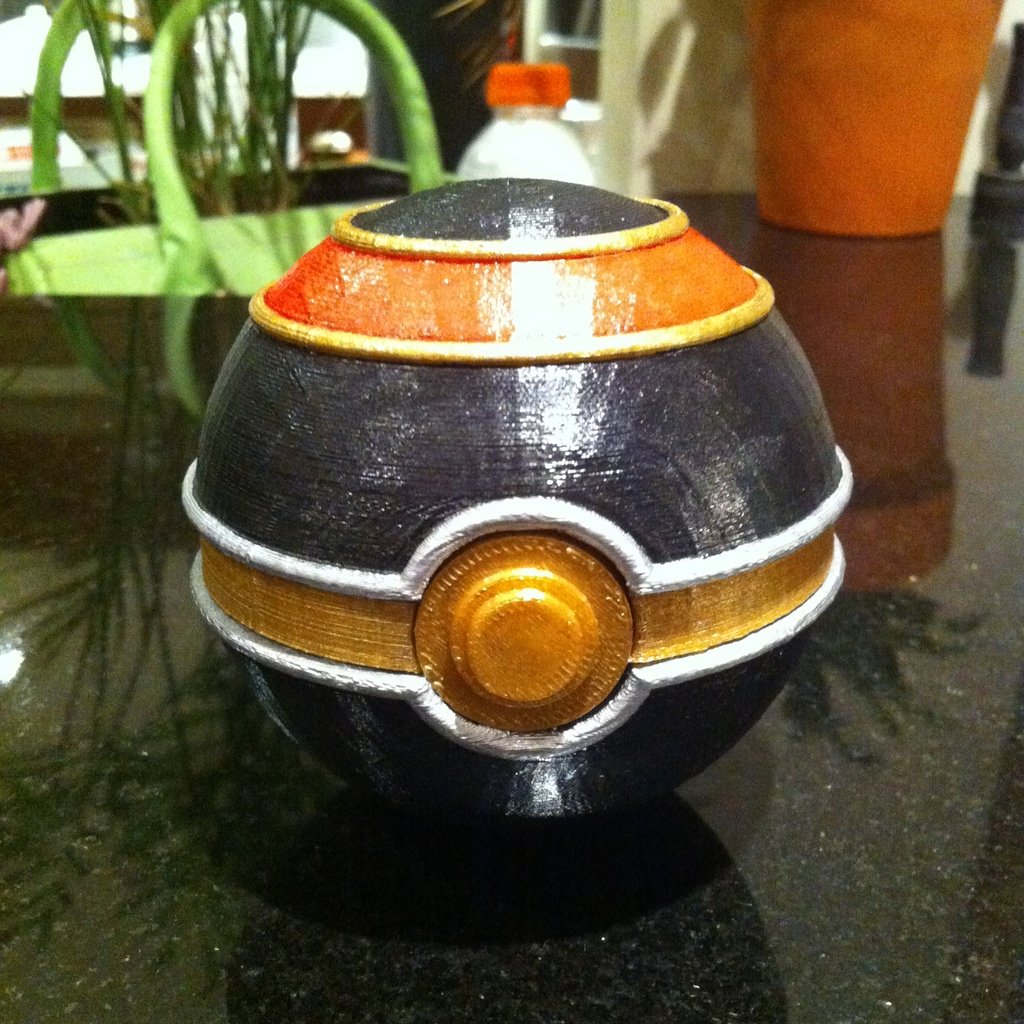
Luxury Ball, with magnetic clasp
thingiverse
This version is based on the "Pokeball, with magnetic clasp". I've completely remade every file except for the hinge, so this ball may not work well with parts from the original or any of my other remixes. With this design, the lid is a single piece that you'll need to paint. If you prefer to print out each color as a separate part, check out http://www.thingiverse.com/thing:955822 To assemble the ball, print the Lid, Bottom, Button, and Ring. After printing all the parts, paint everything. Then glue the button and ring to the bottom with the hinge in place while gluing down the ring. Snap the hinge into the lid last. I've had trouble printing the Ring file using only one shell, so I recommend printing it with two shells. All other files printed successfully with a single shell. Lid_V2 and Bottom_V2 have thicker rims and ridges than the original designs. You'll need two magnets (1/4" X 1/16") to complete the project. Simply glue them in place. Tip: To make your bottom piece more stable, print it at a higher infill percentage, around 40-50%, and then print all other parts with an infill of 5-10%. This will give the ball a bottom-heavy feel that won't roll around as much.
With this file you will be able to print Luxury Ball, with magnetic clasp with your 3D printer. Click on the button and save the file on your computer to work, edit or customize your design. You can also find more 3D designs for printers on Luxury Ball, with magnetic clasp.
