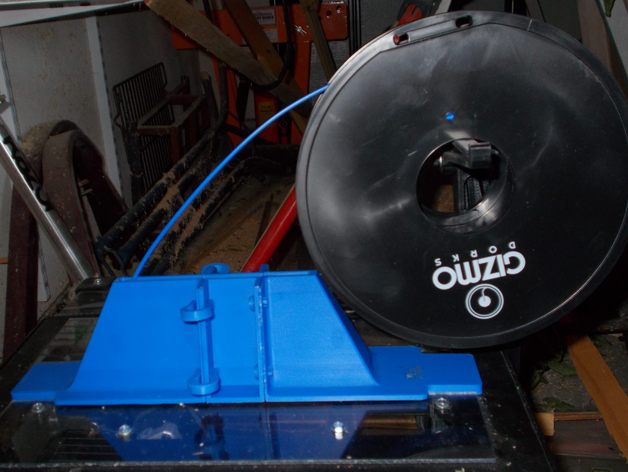
Lulzbot Mini Filament Guide
thingiverse
So I closed up four sides of my Lulzbot Mini, restricting the top to a 1.75-inch slot for access to the filament clamp on the extruder and an unrestricted path for the filament to the extruder. This modification greatly reduces the gap between parts, minimizing heat loss and air leakage in and out. I may fine-tune this further to see if I can reduce it to two main parts instead of three. The four small locating pins used on the right-hand side allow you to position the RHS accurately to the middle part, then glued together with acetone. I might replace these delicate pins at the collet end with integral pins in one or other part if I stick with three parts. The stiff clamps between the middle and left-hand side parts make it easy to replace filaments - they can be a bit hard to put on but hold the parts together firmly. When printing, you may need to give a little twist to the arms to break the two pins away from each other. You can also use these clamps on the RHS instead of the locating pins. I haven't used the tabs on this version, but they can be glued one on each side to the underside of the RHS and LHS parts to prevent any drift left or right. As always, spin part on slicing software to get optimal print results.
With this file you will be able to print Lulzbot Mini Filament Guide with your 3D printer. Click on the button and save the file on your computer to work, edit or customize your design. You can also find more 3D designs for printers on Lulzbot Mini Filament Guide.
