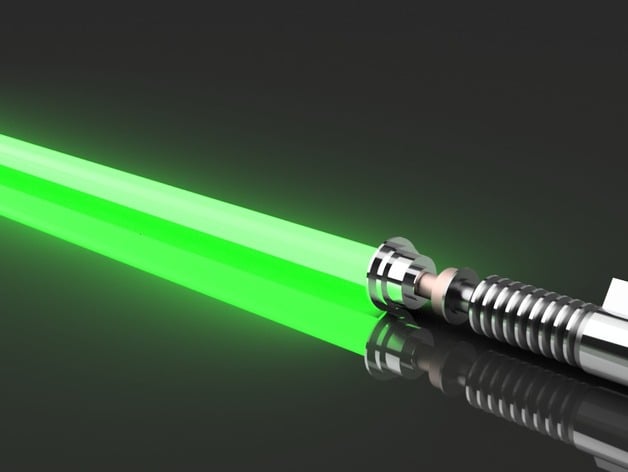
Luke's Lightsaber
thingiverse
Outside dimensions referenced from a schematic provided by Martin Taylor. Chamfers and fillets added to areas to reinforce design strength. The hollow lightsaber will house electronics and lights once completed, utilizing Fusion 360 achieve files and .step files for editing. Total parts to print: 5-7 (dependent on printing the tube mount and battery lock). The largest part measures less than 5in tall, suitable for most printers. Removing some threads can reduce the build size. There are duplicates of support-requiring parts; you may choose to use generated supports with Meshmixer or create your own by editing files without supported prefix. For my lightsaber, a 5ft x 1in OD tube is used, secured via tube attachment with threads on it. The nylon tube's limited threading ability requires forced attachment to the bottom of the tube. Light sanding may be necessary for optimal fit. A recommended link for tube acquisition is provided: http://www.hyperdynelabs.com/docs/hyperblade/HyperBlade%20saber%20blade%20kit.pdf, specifying two distinct tubes - one for the inside LED blade and another for the outside blade. The current design only accommodates the outside tube; a minor modification can allow for both tubes. McMaster sells 5ft length outside tubes at http://www.mcmaster.com/#8628k67/=10fuu6s, which I shortened to around 3ft based on forum discussions about optimal blade length. The RidgedHandle component is designed with an intention of housing a 18650 rechargeable battery (approximately 67mm x 18.8mm OD), providing ample space for wire routing past the sides of the battery. USB: An Amazon order at http://www.amazon.com/gp/product/B00R3B0AOK?psc=1&redirect=true&ref_=od_aui_detailpages00 is utilized; mounts into the bottom section, protecting it from dust when not in use. The USB cap utilizes left-handed threads for effortless removal. Print settings: - MakerBot printer brand - Replicator 2 model number - .1 - .15mm resolution Rafts and supports do not affect print quality. Post-printing: After printing with PLA on a Makerbot, I ran sandpaper and a sharp deburring tool on areas that required smoothing; threads fit perfectly. Optional painting can be achieved using silver and gold Sharpie paint pens, although I still need to refine the gold color into a copper-rustic hue. Updates will be provided if any changes are made. How this design was created: Dimensions were referenced from Martin Taylor's schematic for outer body design; then moved onto 123D Make for cardboard cut-outs and ultimately transferred to 3D printing.
With this file you will be able to print Luke's Lightsaber with your 3D printer. Click on the button and save the file on your computer to work, edit or customize your design. You can also find more 3D designs for printers on Luke's Lightsaber.