LowRider2 Z Endstops to Home Up
prusaprinters
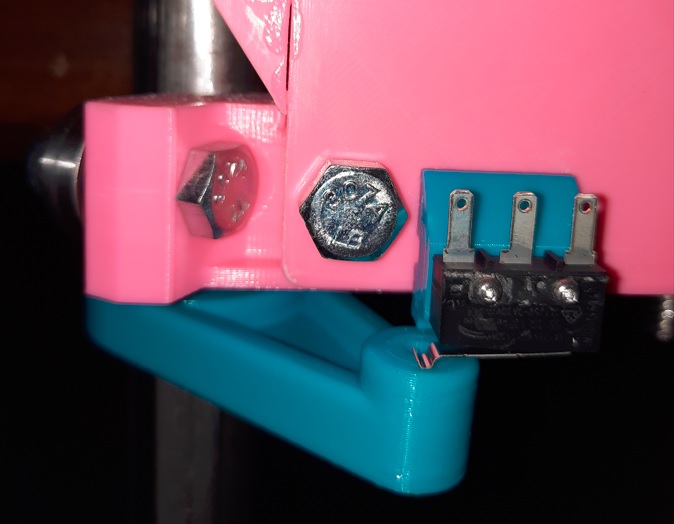
<p>I remixed TheMaxx's remix:</p><p><a href="https://www.printables.com/model/43716-lowrider2-z-end-stop">https://www.printables.com/model/43716-lowrider2-z-end-stop</a> </p><p>of rreinier's Z axis tube bracket. </p><p><a href="https://www.thingiverse.com/thing:3323447">https://www.thingiverse.com/thing:3323447</a> </p><p>I modified TheMaxx's .stl by scaling to 101.6% in all axes to fit 25.4mm tubes and also added 1.5mm of additional thickness to the bottom that has a 1.5mm fillet on the bottom as well to match the top. I used a M4x16mm screw and M4 locknut to secure on the Z tube approximately near the bottom of the leadscrew.</p><p>The intention is that a bracket on one tube on each side of the lowrider2 is angled out to hit a microswitch mounted to the outside of the Y plate when homing up.</p><p>--</p><p>I also added a custom microswitch holder to complement this Z Stop bracket that fits on front face and the underside of the LR2 Y Plate. I designed it to be superglued to my printed Y plate but have the switch replaceable using M2x12 screws although I believe shorter M2x10mm screws should also work. The large flat angled side is the top. I printed it and think it came out well. This should allow the LR2 to Z home up. I used Omron SS-3GL13PT microswitches.</p><p>I recommend connecting to the Normally Closed position on the switches which are the outermost terminals on those switches.</p>
With this file you will be able to print LowRider2 Z Endstops to Home Up with your 3D printer. Click on the button and save the file on your computer to work, edit or customize your design. You can also find more 3D designs for printers on LowRider2 Z Endstops to Home Up.