LowRider2 Z Endstops to Home Down
prusaprinters
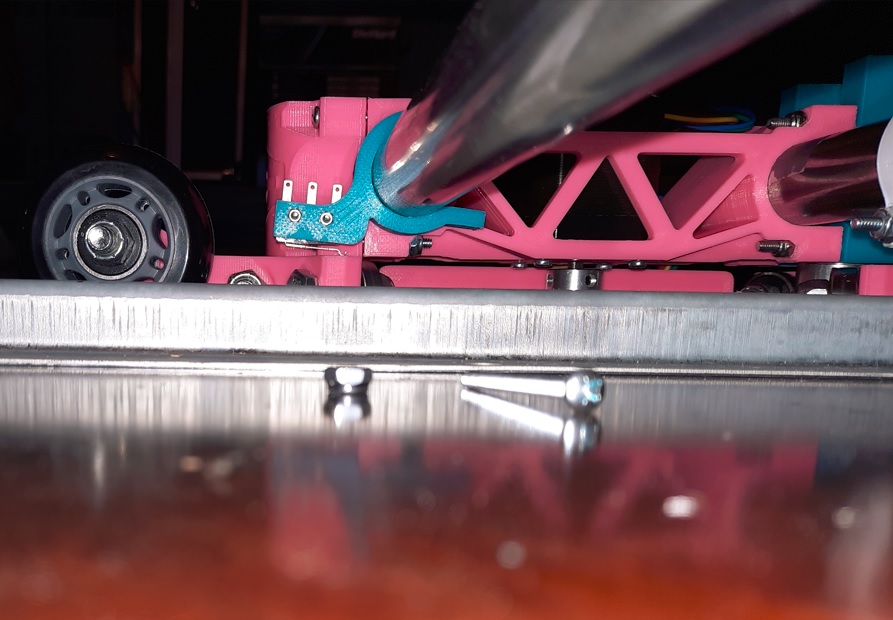
<p>25.4mm</p><p>This is a remix from: <a href="https://www.printables.com/model/180136-mpcnc-lowrider2-endstop-and-electronics-case-mount">https://www.printables.com/model/180136-mpcnc-lowrider2-endstop-and-electronics-case-mount</a> by TeachingTech:</p><p>MPCNC_Lowrider2_-_z_stop_holder.stl<br>MPCNC_Lowrider2_-_z_stop_holder_mirrored.stl</p><p>I had received Omron SS-3GL13PT microswitches when I ordered the V1 Engineering Lowrider 2 CNC build kit. This is a remix to accomodate those microswitched for homing the Z axis down.</p><p>The datasheet and mechanical drawing for this switch is here (top of page 4):</p><p><a href="https://omronfs.omron.com/en_US/ecb/products/pdf/en-ss_p.pdf">https://omronfs.omron.com/en_US/ecb/products/pdf/en-ss_p.pdf</a> </p><p>These particular switches have a “simulated roller lever” which is longer and has a bump (in place of a roller) at the end. To make solid lever contact as well as more readily access the end switch terminal closest to the tube, I extended the length of Michael's z stop holder mounts by 7mm and shifted the switch mounting holes toward the end of the bracket by the same. I also shifted the two 2mm switch mounting holes up by 3mm.</p><p>The 2mm switch mounting holes in the bracket are tight so I cut threads into the bracket mounting holes by running a M2 screw through the bracket first before mounting the switch. M2x10mm screws appear to be optimal. I used M2x12mm through the switch and into the bracket which is what I had available and then further secured using M2 nuts). The bracket on the 1" tube should be rotated up very slightly up to adjust the distance required to activate the switch before finally securing the bracket in place on the tube.</p><p>I intend to implement a Normally Closed (NC) switch configuration which leverages the two endmost terminals on the switch and leaves the middle terminal unconnected. NC configuration appears to be the recommendation by V1 Engineering as well because a loose connection in the wiring would look like an open circuit (equivalent to the switch being pressed in) which I believe would stop homing.</p><p>Additionally, Z Homing up, not down, I understand is the default for the V1 Engineering prebuilt software configurations to my knowledge so I also anticipate a software change may be required to leverage this Z homing down switch configuration. It also appears that homing down in this manner is likely to be obstructed by additional thickness of a spoil board if present and perhaps a bit hitting the router is mounted while homing down. </p><p>Thanks very much to Michael at Teaching Tech for the excellent video series and upgraded follow-up video and designs compatible with the V1 Engineering Lowrider 2 CNC machine!</p><p>--</p><p>Update:</p><p>After considering this further I decided to home the Z axis up instead of down using a bracket mounted to the Z tube to touch a microswitch mounted to the outside of the Y plate. I used this instead: <a href="https://www.printables.com/model/218976-lowrider2-z-endstops-to-home-up">https://www.printables.com/model/218976-lowrider2-z-endstops-to-home-up</a> </p><p>--</p>
With this file you will be able to print LowRider2 Z Endstops to Home Down with your 3D printer. Click on the button and save the file on your computer to work, edit or customize your design. You can also find more 3D designs for printers on LowRider2 Z Endstops to Home Down.