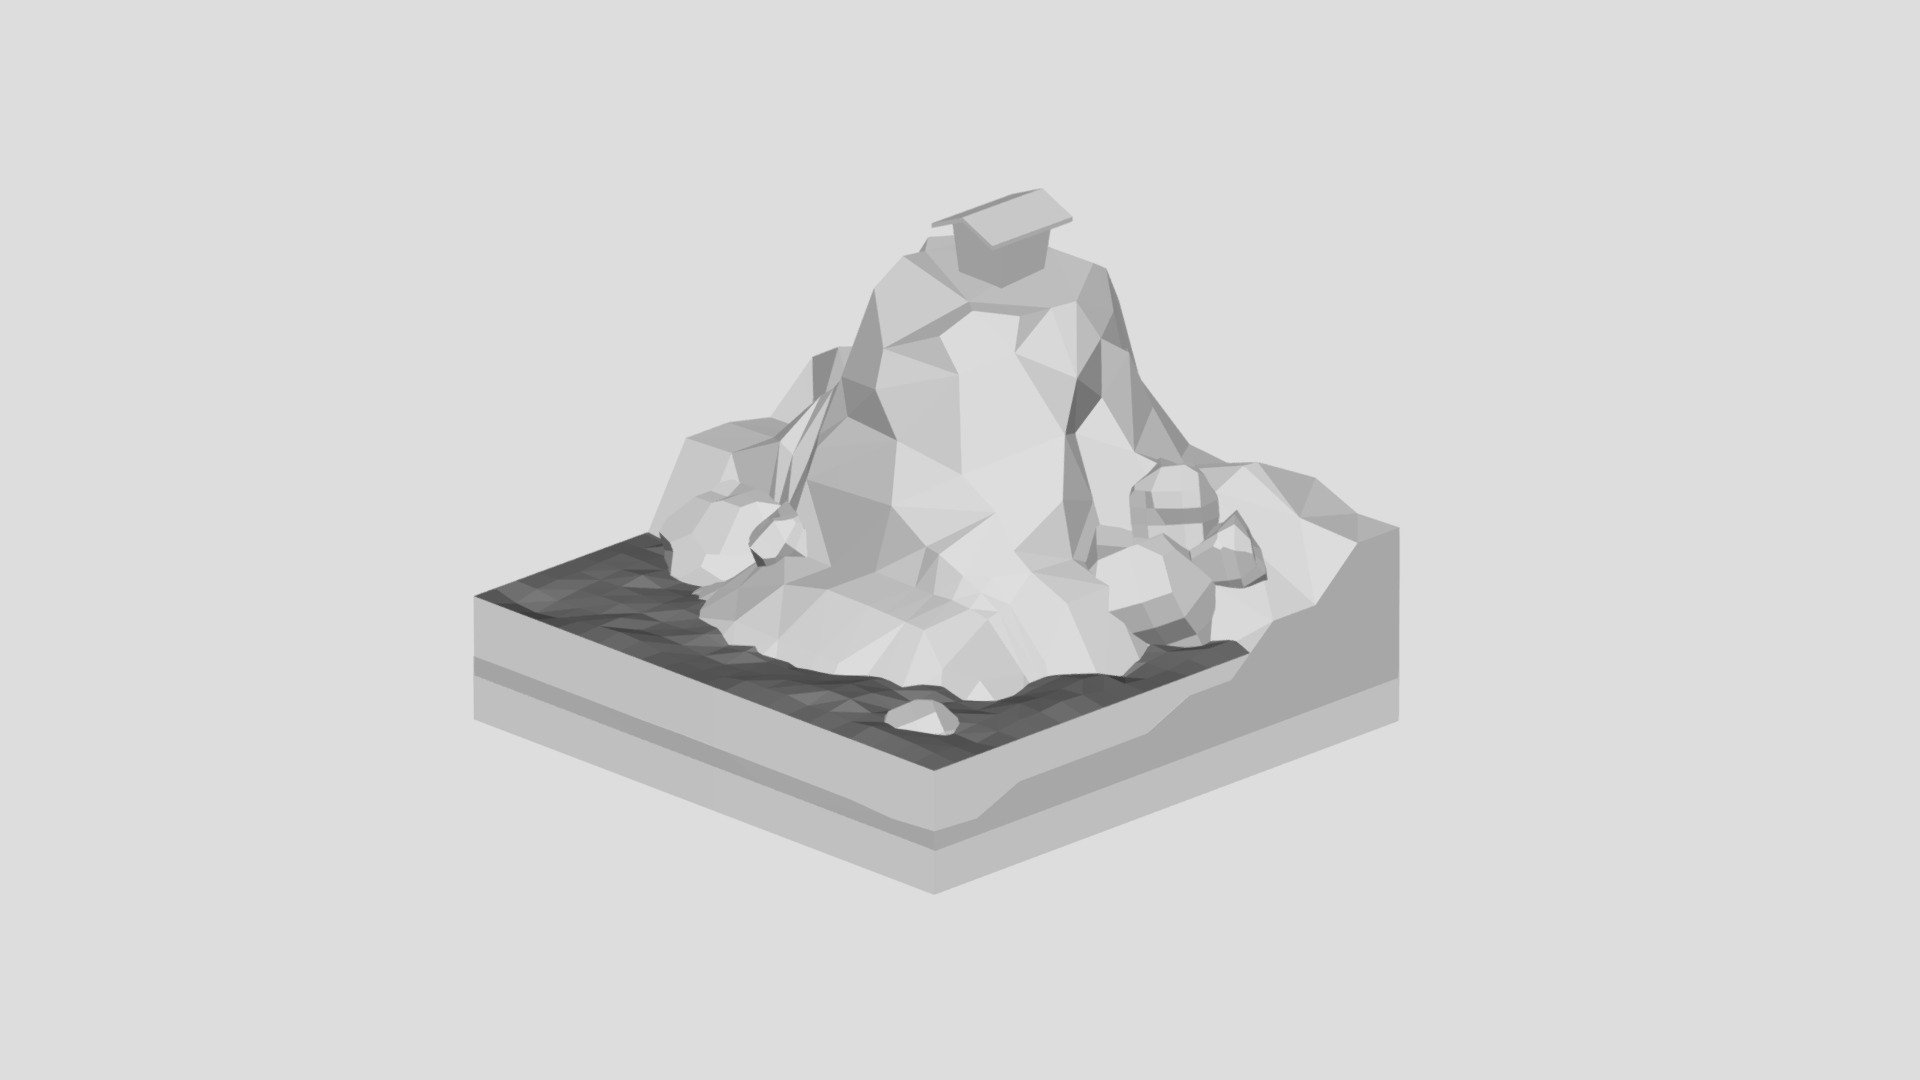
Lowpoly Landscape
sketchfab
Creating a low-poly landscape in Blender involves crafting a realistic-looking environment using minimal polygons. To start, create a new project and set up your scene by adding a plane object to serve as the base terrain. This can be done by navigating to the "Add" menu in Blender's top navigation bar and selecting "Mesh" > "Plane". Next, adjust the dimensions of this plane to suit your landscape design needs. You may also want to duplicate this plane multiple times to create a more intricate terrain. To do this, select one of the planes and navigate to the "Edit Mode" where you can select all vertices by pressing 'A'. Then, copy and paste these vertices to another location in your scene using 'Ctrl+C' and 'Ctrl+V'. To add realism to your landscape, you can sculpt your terrain by selecting the vertices and moving them into position. For a more natural look, use a combination of bumps and smooth curves to create hills, valleys, and other features.
With this file you will be able to print Lowpoly Landscape with your 3D printer. Click on the button and save the file on your computer to work, edit or customize your design. You can also find more 3D designs for printers on Lowpoly Landscape.