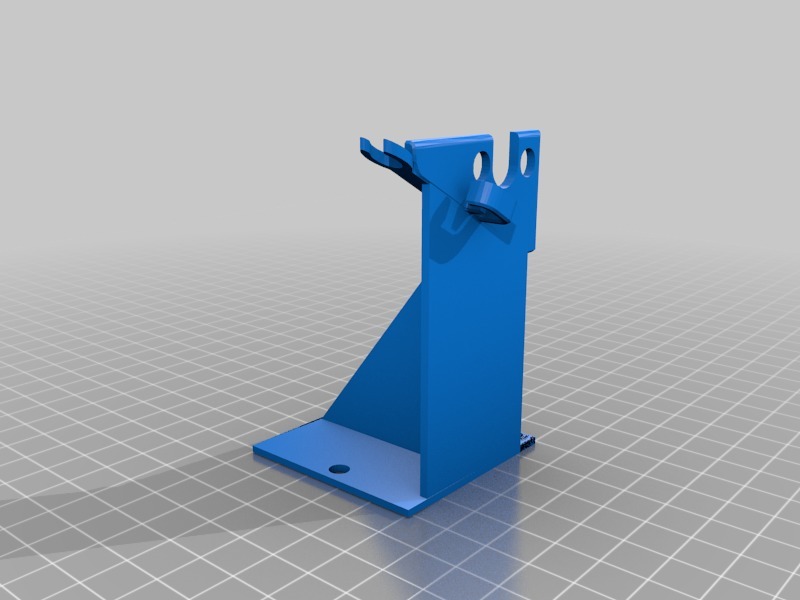
Low filament sensors Mount for CR-10 Creality endlessparts.com
thingiverse
Mounting low filament sensors on your CR-10 by Creality is a straightforward process that can be completed in just a few steps. First, gather all necessary materials and tools, including the sensor itself, mounting brackets, screws, and a drill press or hand drill. Next, locate the ideal position for the sensor on your printer's frame. Ideally, it should be placed near the nozzle to accurately detect filament diameter changes. Secure the mounting bracket to the frame using the provided screws. After that, attach the low filament sensor to the bracket by screwing it into place. Make sure it is level and securely fastened to prevent any movement during printing operations. Finally, connect the sensor to your printer's control board following the manufacturer's instructions for your specific model of the CR-10. This may involve soldering wires or using a plug-and-play connector, depending on your setup. Once everything is connected and properly secured, test the low filament sensor by running a print job and verifying that it accurately detects when the filament runs out. With these simple steps, you'll be able to enjoy the benefits of having a reliable low filament sensor on your CR-10 printer from Creality.
With this file you will be able to print Low filament sensors Mount for CR-10 Creality endlessparts.com with your 3D printer. Click on the button and save the file on your computer to work, edit or customize your design. You can also find more 3D designs for printers on Low filament sensors Mount for CR-10 Creality endlessparts.com.
