Low-cost plate shaker
prusaprinters
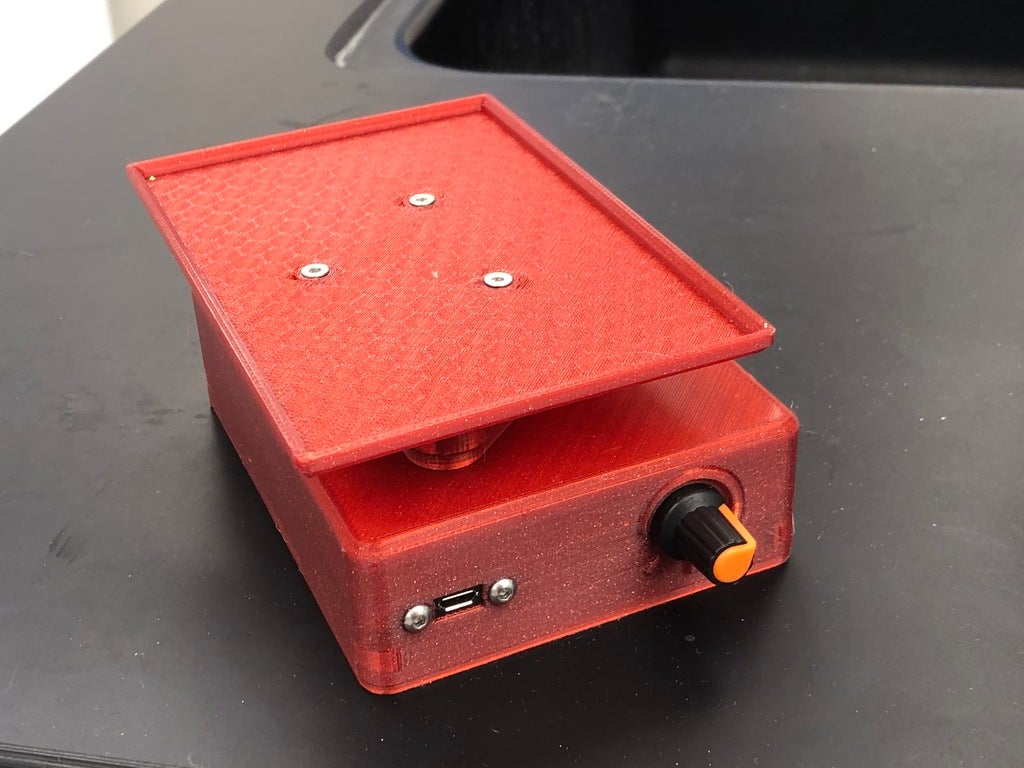
<p>We needed an inexpensive and compact plate shaker for our anaerobic chamber. The Crickit Lab Shaker, remixed by DotScott1, was the perfect inspiration!</p> <p>I modified the original Crickit project to use the same inexpensive electronics as DotScott1's remix, but with a few modifications to fit our needs. The case is changed from three parts to two, with the entire upper part of the case a single print, and with all of the electronics mounted to the top. The bottom case panel now includes places to press-fit neodymium magnets to help prevent the shaker from moving around, and can be screwed firmly into the top case with countersunk machine screws. There's now also a nifty printed 'volume' indicator for the PWM potentiometer. :)</p> <p>To save space in the incubator, these are all powered off of an Amazon USB charger with right-angle USB connectors. I tested to ensure that the charger would supply up to the 1.2 A stall torque for the DC gearmotor.</p> <p>Check the included Excel spreadsheet for order links and prices.</p> <h3>Print instructions</h3><h3>Category: Biology Summary</h3> <p>We needed an inexpensive and compact plate shaker for our anaerobic chamber. The Crickit Lab Shaker, remixed by DotScott1, was the perfect inspiration!</p> <p>I modified the original Crickit project to use the same inexpensive electronics as DotScott1's remix, but with a few modifications to fit our needs. The case is changed from three parts to two, with the entire upper part of the case a single print, and with all of the electronics mounted to the top. The bottom case panel now includes places to press-fit neodymium magnets to help prevent the shaker from moving around, and can be screwed firmly into the top case with countersunk machine screws. There's now also a nifty printed 'volume' indicator for the PWM potentiometer. :)</p> <p>To save space in the incubator, these are all powered off of an Amazon USB charger with right-angle USB connectors. I tested to ensure that the charger would supply up to the 1.2 A stall torque for the DC gearmotor.</p> <p>Check the included Excel spreadsheet for order links and prices.</p> <h3> Print Settings</h3> <p><strong>Printer:</strong></p> <p>Railcore II 300ZL</p> <p><p class="detail-setting rafts"><strong>Rafts: </strong> <div><p>No</p></div><strong>Supports:</strong></div></p> <p>Yes</p> <p><p class="detail-setting resolution"><strong>Resolution: </strong> <div><p>0.2 mm</p></div><strong>Infill:</strong></div></p> <p>15%</p> <h3> <strong>Filament:</strong> Prusament PETG Carmine Red <br/> <p class="detail-setting notes"><strong>Notes: </strong> </p><div><p>All parts were printed without supports, except for the linkages. Note that you need two idler linkages per shaker!</p></div> Post-Printing</h3> <p>Assembly is pretty straightforward, and mostly follows the instructions from the original Adafruit build. I used nuts, washers, and blue Loctite for all screws except the blind-end holes for mounting the base and the circuit board.</p></p></p>
With this file you will be able to print Low-cost plate shaker with your 3D printer. Click on the button and save the file on your computer to work, edit or customize your design. You can also find more 3D designs for printers on Low-cost plate shaker.