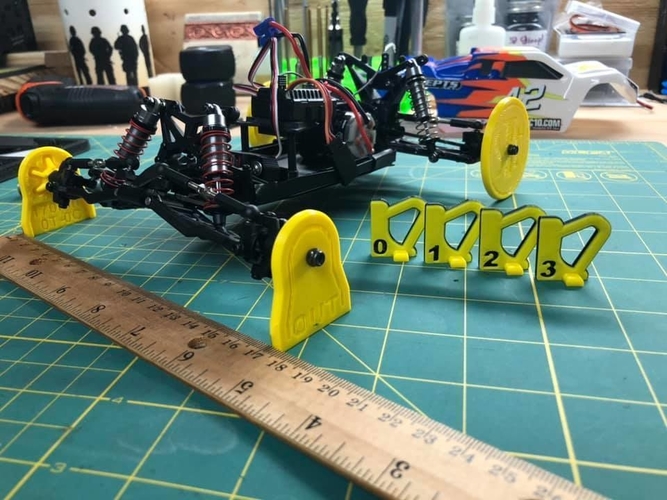
Losi Mini T 2.0 - Toe and Camber Setup
pinshape
To properly use this setup station, one should utilize a metric ruler. The rear discs are approximately the same size as the stock tire, allowing you to potentially get away without them; however, it's best to have them on for a rigid setup that won't alter the compression of the suspension. 1) Bolt the round discs (located at the rear) onto your axles flush against the hex. 2) Utilize the "0" Camber gauge and adjust your discs until they reach zero Camber. 3) Align the tip of the front disc on the left with the "0" mark on your ruler, then begin adjusting. Once you've reached approximately 170mm on both the front and back of the disc, you will be at "0" toe. 4) Verify that your Camber is still the same after making this adjustment. 5) When you believe you've achieved zero toe, lift the car and set it back down, allowing it to settle naturally. Then, recheck your measurement. 6) Next, set your Camber using the 0, 1, 2, or 3 degree tool and recheck your front and back measurements; they should remain the same. 7) If you're adding Toe and Camber, simply use the JPEG Chart I created for the math. This concept applies to any R/C setup. To obtain specific numbers for another car, start by setting toe and camber to zero. The hole diameter in the discs is 4.15mm.
With this file you will be able to print Losi Mini T 2.0 - Toe and Camber Setup with your 3D printer. Click on the button and save the file on your computer to work, edit or customize your design. You can also find more 3D designs for printers on Losi Mini T 2.0 - Toe and Camber Setup.
