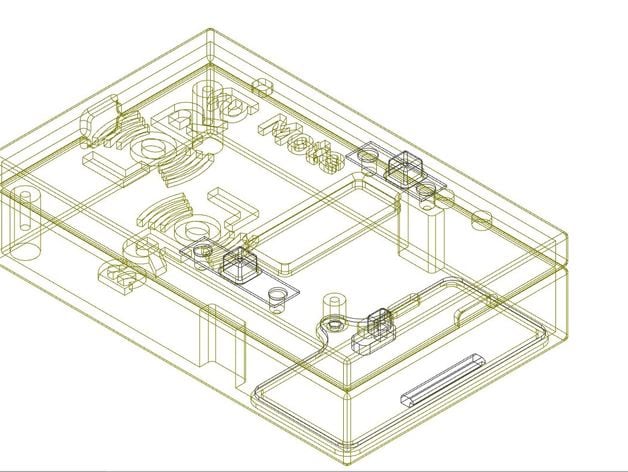
LoRa Microchip_RN2483_LoRa_Mote enclosure version 2
thingiverse
The Microchip LoRa Mote Version 2 sports a fresh design, boasting different dimensions than its predecessor. This updated model features an LCD display instead of OLED, and its buttons have been relocated for easier access. To create an enclosure for the Microchip RN2483_LoRa_Mote version 2, you'll need to print out a new button layer with high resolution at .10 inches. When printing this top part, it's essential to turn it upside down to achieve a smooth surface and avoid any support materials getting in the way. After your top part is printed, place two buttons within their designated spots and carefully melt the pins into place using a nail. Before gluing the top and bottom parts together, make sure the buttons are functioning properly. Lastly, update the new top part by adding GPIO and ICSP entry points for easy access to your board's internal components.
With this file you will be able to print LoRa Microchip_RN2483_LoRa_Mote enclosure version 2 with your 3D printer. Click on the button and save the file on your computer to work, edit or customize your design. You can also find more 3D designs for printers on LoRa Microchip_RN2483_LoRa_Mote enclosure version 2.
