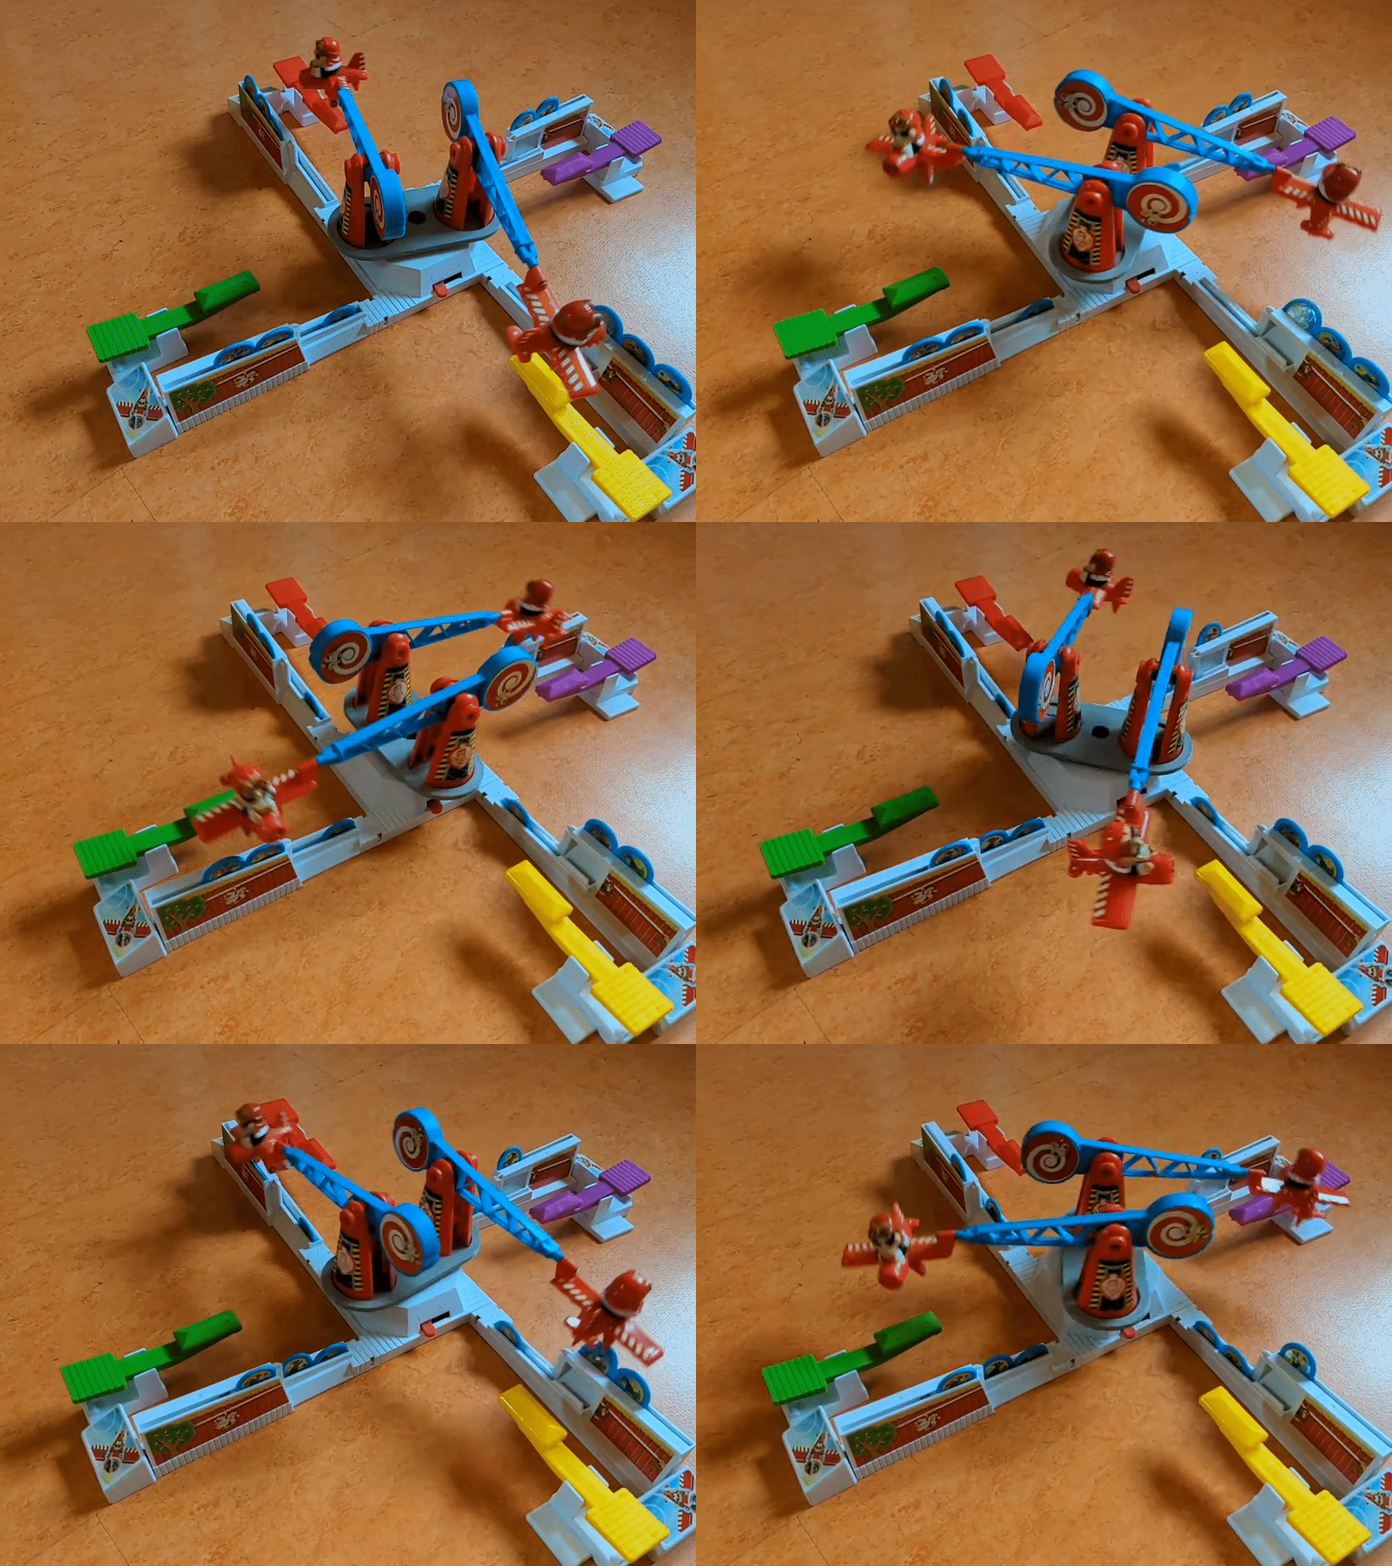
Looping Louie Double Plane adapter
prusaprinters
<p>The adapter plate is pretty simple to print, it only has a few places with straightforward overhangs.</p><p>No additional hardware besides a phillips head screwdriver is required.</p><p>After the print is finished, you need to unscrew the base of both plane pillars.<br>Then you hold one of the bases onto the underside of the adapter so the screw holes line up. <br>Now take the first pillar and align it with the screw holes on the upper side and screw it in from the bottom, go from the middle out, then repeat with the second one.</p><p>Print settings: </p><ul><li>PETG</li><li>2 perimeters</li><li>3 top bottom layers</li><li>0.2 mm layer height</li><li>10 % honeycomb infill</li><li>no brim</li></ul><figure class="media"><oembed url="https://vimeo.com/696607051"></oembed></figure>
With this file you will be able to print Looping Louie Double Plane adapter with your 3D printer. Click on the button and save the file on your computer to work, edit or customize your design. You can also find more 3D designs for printers on Looping Louie Double Plane adapter.
