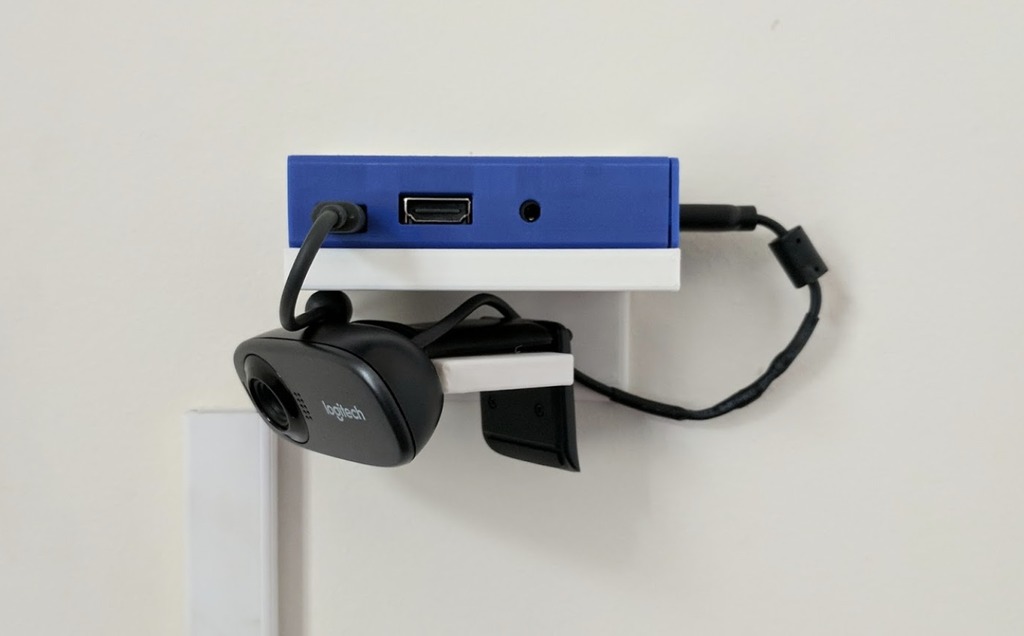
Logitech C310 Wall Mount v2 (with Pi Shelf) - for MotionEye
thingiverse
I put together a DIY baby cam using a Raspberry Pi 3 and a Logitech C310 webcam. The previous setup was cluttered with visible wires, which posed an added risk of water damage from my wife's spills onto the Anker USB hub. My son recently moved to a different room, providing the perfect opportunity to design a more efficient mount. The distance between the front plate and the mounting hole perfectly accommodates the Logitech C310 webcam, positioning it at a 30-degree angle for optimal viewing. One screw hole secures the unit to the wall, making it easy to install. This solution is tailored to my specific needs, but others may find it useful. A note on camera wiring: the original cable was excessively long and required shortening. With some basic tools like heat shrink tubing and a soldering iron, this process is straightforward. A helpful tip is to cut the data and power wires to different lengths before soldering, preventing a bulky knot in the middle of the cable.
With this file you will be able to print Logitech C310 Wall Mount v2 (with Pi Shelf) - for MotionEye with your 3D printer. Click on the button and save the file on your computer to work, edit or customize your design. You can also find more 3D designs for printers on Logitech C310 Wall Mount v2 (with Pi Shelf) - for MotionEye.
