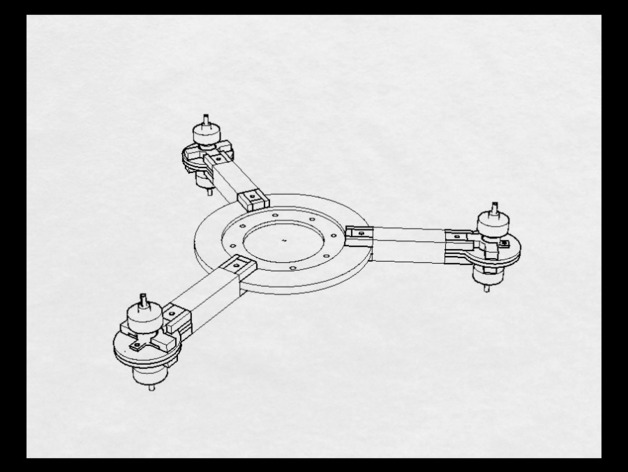
Logicflight Y6m - Simplest & Durable mini Drone
thingiverse
Logicflight calls Berlin home, building bespoke UAVs & conducting aerial research for over 2 years. We unveil our first prototype, Logicflight Y6m, a cutting-edge tricopter with motor redundancy. Design simplicity was paramount, stemming from painful experiences building and repairing complex models sourced elsewhere. Assembly should take an intermediate user approximately 2 to 4 hours. Questions or feedback are welcome; please leave them in the comments for our assistance. A word of caution: Logicflight Y6m is a work in progress and an experimental model. We assume no liability for misuse, accidents, or damage caused by activating motors, handling electronics & batteries improperly. Treat components with care to avoid burning or explosions. Contact us at contact@logicflight.com should you have any doubts or questions. Assembly instructions follow: Required Materials: - 6 x Turnigy 1811 brushless Outrunner 2900kv - 6 x 6A Turnigy ESCs - 12 x 5x3x3 Propellers (6 x CW & 6 x CCW) - 1 x 35C 2S 2000mah to 3000mah Lithium battery - 1 x Flight Management Unit - 1 x 4CH to 8CH Receiver Print instructions: 1. Arms and Holders: We recommend printing with raft and support material (we used PVA + PLA). 2. Main Body: No support required. 3. Install motors in motor holders. 4. Join motor holders using M2 short screws and nuts. 5. Assemble arms and main body using M3 screws and nuts. 6. Attach the Flight Management Unit, Receiver, GPS, sensors, & other electronics. 7. Fly and enjoy!
With this file you will be able to print Logicflight Y6m - Simplest & Durable mini Drone with your 3D printer. Click on the button and save the file on your computer to work, edit or customize your design. You can also find more 3D designs for printers on Logicflight Y6m - Simplest & Durable mini Drone.
